Things You'll Need
Beam sample
Tape measure
Calculator
Half-inch graph paper
Pencil
Ruler
Straight edge
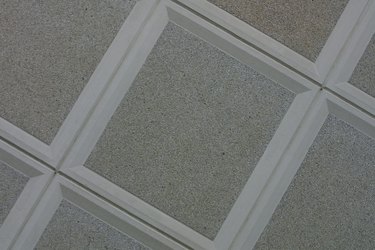
In ancient times, many buildings were made of stacked stone. When the masons reached the ceiling line, they used support stones to span across the space and roofing stones on top of the support stones to provide shelter. This system created beams below and cavities above, a style that came to be called coffers. Today, the exposed beams are made of wood and the recesses are paneled. Calculating the dimensions of a modern coffered ceiling often puzzles and confuses homeowners. The trick that carpenters use will make your calculations much easier and you will end up with evenly sized coffers.
Step 1
Assemble a beam sample out of the materials you will use for your ceiling beams. Often these include a 2-by-4-inch board mounted to the ceiling and 1-inch boards for the sides.
Video of the Day
Step 2
Measure the full outside width of your beam sample. In most coffered ceiling designs a beam is mounted along each wall.
Step 3
Measure the width of the ceiling and deduct the full outside width of your beam sample. Divide this amount by the number of recesses you want across the width of the room. Measure the length of the ceiling and deduct the full outside width of your beam sample. Divide this amount by the number of recesses you want across the length of the room.
Step 4
Transfer your measurements to half-inch graph paper. Mark the full width of the room with every half-inch on the paper equal to 1-foot in the room. Mark the full length.
Step 5
Measure away from the left wall side using the measurement of your beam width. Make a mark labeled X. Measure from X using the divided width measurement. Mark each section to the right wall side. You should end up exactly at the right wall side. Measure away from the right wall side to the left using the measurement of your beam width. Make a mark. Move to your left to your next mark. Measure away from the mark to the left using your beam width. Repeat for each mark until you reach the left wall. Your last beam is already marked.
Step 6
Measure away from the top wall side using the measurement of your beam width. Make a mark labeled Y. Measure from Y using the divided length measurement. Mark each section to the bottom wall side. You should end up exactly at the bottom wall side. Measure away from the bottom wall side to the top using the measurement of your beam width. Make a mark. Move upward to your next mark. Measure away from the mark to the top using your beam width. Repeat for each mark until you reach the top wall. Your last beam is already marked.
Step 7
Draw out your lines so you can see the beam and recessed areas clearly. These will look the best when the recessed area measurements are similar.
Tip
Draw your lines directly on the ceiling to see if your size and spacing look good in the room. If the recessed areas are too small, the ceiling will look crowded. If they are spaced too far apart or elongated, they may look awkward. Repeat your calculations until you are happy with how they look on the ceiling.
Video of the Day