Things You'll Need
Towels
Small ice pick or other similar small, sharp-pointed tool
Flat-head screwdriver
Crescent wrench
New manifold appropriate for the existing shower valve to be replaced
Copper pipe cutting tools for unthreaded manifold installation
Channel wrench for unthreaded manifold installation
Soldering materials for unthreaded manifold installation
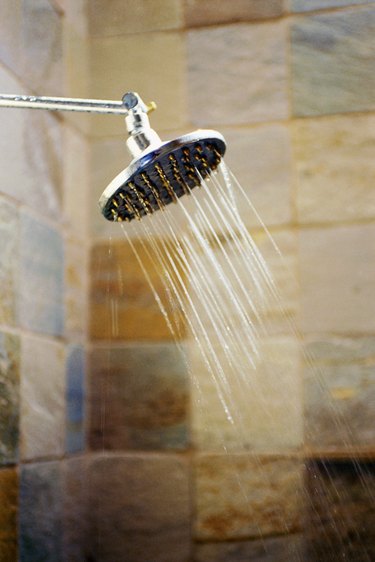
Shower manifolds — or valves — connect to the hot and cold or combined hot/cold water handles, but are located within the shower wall. They mix the water for either shower or tub use. Like any plumbing part in a house, shower manifolds will eventually wear out and need to be replaced. If the bathroom plumbing is older than 60 years, repair parts may have to be specially ordered. However, if newer than 60 years, manifolds are readily available at home materials supply stores. With a basic knowledge of tools and plumbing, a home owner can replace a shower manifold.
Step 1
Shut off main house water valve.
Video of the Day
Step 2
Drain water from the shower pipes by turning handles on; turn handles to off position when all water has drained.
Step 3
Place towel on shower or tub floor to protect the finish.
Step 4
Pop the valve cap off with the ice pick. Remove the handle screw with the flat-head screwdriver. Take off the shower handle. Remove any other parts between the valve and the handle.
Step 5
Remove any flanges or mounting nuts with a crescent wrench.
Step 6
Remove the backside wall access panel or the front mounted shower panel to the interior wall shower plumbing.
Step 7
Close any stop-check valves by turning them to the right.
Step 8
Remove the lock nut from the valve body with a crescent wrench.
Step 9
Insert a towel around the manifold underside to catch any water drips.
Step 10
Unscrew the threaded manifold unit or cut copper pipes to the unit, if soldered.
Step 11
Install the new manifold unit per product instructions; if soldering an unthreaded unit, remove the cartridge and replace after soldering the manifold in place. Crimp copper pipes for unthreaded manifold installation with the channel wrench.
Step 12
Reassemble the shower handles, attaching to the new manifold in the reverse order from removing them.
Step 13
Reattach access paneling. Repair any access holes made to reach interior wall plumbing.
Tip
As you remove shower handle parts, lay them in order on a towel; this makes reassembly a snap.
If no access paneling is available, start a cutting hole with a 1/2-inch drill bit, and cut an opening with either a key hole saw or jig saw.
Warning
Plastic and rubber portions of the cartridge will melt if the cartridge is not temporarily removed prior to soldering an unthreaded manifold to existing copper pipes.
Avoid cutting through electric wires; proceed with care when cutting any new wall openings.
Video of the Day