Things You'll Need
1/4-inch to 1/2-inch thick scratch-proof acrylic sheet, at least 18 inches wide
1/4-inch to 1/2-inch thick scratch-proof acrylic sheet, 3 inches wide
Acrylic saw, band saw or coping saw
Safety glasses or goggles
Permanent marker
Tape measure
Table vice
Piece of scrap 3/8-inch plywood or other wood
Electric drill
Countersink drill bit for 1/8-inch recessed screws
2 16-inch by 10-inch L-shaped metal shelf brackets, predrilled with 1/8-inch holes
20 1/2-inch by 1/8-inch flat-end screws

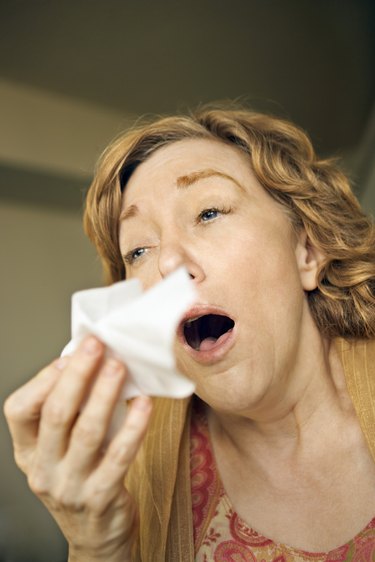
A sneeze guard is used in food-service settings to block contamination from droplets of sweat or mucus when a person leans over a serving tray. While commercially made sneeze guards are the best means of protecting food from contamination, in some cases, adding one isn't always practical. Still, food service and government regulations require sneeze guard protection, even in temporary food serving venues like fundraisers. In a pinch, you can make a sneeze guard that conforms to regulations for protecting the integrity and safety of the food you serve.
Step 1
Measure the length of your counter and subtract approximately 3 inches on either side for the width of the sneeze guard.
Video of the Day
Step 2
Clamp the large acrylic sheet to a work bench or table.
Step 3
Transfer the measurement from the counter to the acrylic sheet and mark with a permanent marker.
Step 4
Cut the large acrylic sheet to the measurement, wearing safety goggles and using a band, acrylic or coping saw.
Step 5
Hold each L-shaped shelf bracket in a vice and bend it with a plier or your hands to an approximate 30-degree angle. The bend should allow the sneeze guard to angle naturally under a person's face while protecting food underneath.
Step 6
Place the longer part of the shelf bracket against one of the short sides of the cut acrylic sheet. Mark the drill holes with the permanent marker. Repeat for the other side.
Step 7
Drill pilot holes in the marked areas, using the electric drill and while wearing safety goggles. Acrylic is more prone to melting from heat, so drill in short increments and allow to cool.
Step 8
Attach the acrylic sheet to the shelf brackets with flat-end screws. Most shelf brackets will have four to eight holes for attachment.
Step 9
Match the smaller, 3-inch wide acrylic sheet to the holes in the lower, straight angle of the shelf brackets and mark with a permanent marker.
Step 10
Drill pilot holes in the smaller acrylic sheet, placing the sheet on top of scrap plywood and clamping it to a firm surface.
Step 11
Attach the smaller acrylic sheet to the lower, straight portion of the shelf bracket with the flat-ended screws.
Step 12
Mount the sneeze guard against an upright surface on the serving table or, if there is no upright surface, to the front of the table. Test the location of the sneeze guard before mounting it, to make sure it can be used properly.
Tip
If you are unable to attach the sneeze guard to the serving table, consider attaching two T-shaped brackets or pieces of wood to the base of the L-shaped brackets, creating a temporary base.
Video of the Day