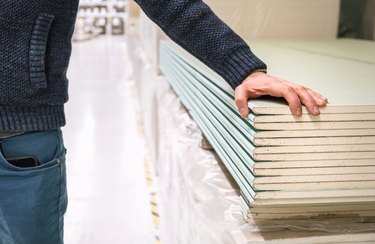
Also called crow's foot pattern, starburst, panda paws or slap brush, the stomped drywall ceiling finish is one of the trendiest and easiest methods of finishing a room. It looks like random, jagged textures, and you only need a few tools to create this look. You won't see this method used on walls, though, because the drywall edges stick out and could catch onto things.
Starting a Stomped Drywall Ceiling
Video of the Day
To create that desirable crow's foot pattern, you will need the right tools and supplies, including drywall compound (mud) and a nylon or natural bristle stomp brush. Before you can do any stomping, the ceiling must be framed and hung with a sheet of drywall. Make sure that it is fastened securely with screws and also verify that it is dry from any taping and mudding. Wear protective goggles and gloves and then cover the floor and anything else you need to protect with a tarp.
Video of the Day
If you are also planning to paint your walls, do that after you have finished the ceiling. You can apply the first layer of drywall mud with a paint roller fitted with a heavy nap that is fitted into an extension pole. This layer should be applied 1/4 to 1/2 inch thick but keep in mind that you will be going back and forth with your paint roller and the stomp brush.
Using Stomp Brushes
You'll definitely want to test your stomped drywall ceiling skills. Dilute some of the compound with a stirring paddle, kitchen mixer or drill and roll a bit onto a sample wallboard. Put the stomp brush into it, move it around and see what the pattern looks like. Natural bristles create a more distinctive stomp style. If the imprints look too stiff, you can soak the stomp brush head in warm water to loosen them until they are limp. Experiment by adding or removing water to get the consistency you want and then prepare to finish the ceiling.
When you have the right consistency, apply the first layer of mud to the ceiling. Before it dries, switch the extension pole to the stomp brush and start stomping. Take your time; you'll want the overall pattern to be random but somewhat consistent in terms of its thickness. Work on small sections at a time, cleaning the edges with a taping knife after the entire ceiling has been stomped.
Other Kinds of Drywall Ceilings
If you don't like the stomp effect, it's no problem because there are several other ones that you might prefer. You're probably familiar with popcorn ceilings but avoid these because the older ones may contain asbestos. A safer option is to spray sand ceilings made from sand mixed with very thin drywall mud, primer or water and sprayed on with a hopper gun. Comb-texture drywall ceilings have slim grooves that are created with toothed trowels. For these comb-textured walls, the half-fan pattern is particularly common.
The rosebud drywall texture technique is one using stomp brushes that are round. Instead of random brushing, this is applied evenly. Every stomp is easily visible, does not overlap and looks like a flower with a center bud and petals. The knockdown method drags a drywall knife over the surface to flatten it; this is one of the most subtle effects you can get.