Things You'll Need
Birch shavings
Carving knife
Dropcloth
Spray paint
Wire
Wire cutters
Plastic rose stamen
Hot glue gun
Hot glue
Green raffia paper
Wood glue
Silk leaves
Scissors
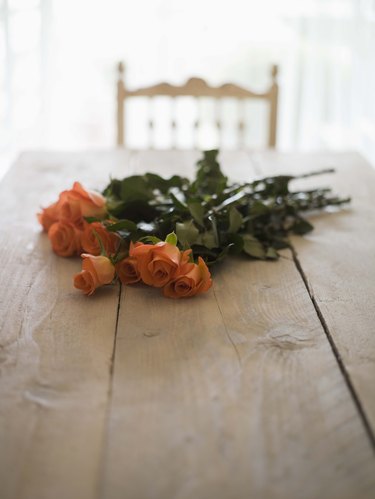
Roses are appropriate as gifts or decorations any time of year. But, like all flowers, roses do not last very long. This is why many people choose to decorate with silk flowers, which require little attention and maintenance. Like silk, wooden flowers can appear just as realistic. Using recycled birch wood shavings, you can make a wooden rose that provides a natural, realistic-looking design. Roses made from birch shavings are just as lovely as the real thing and are crafted to last.
Preparing the Birch Shavings
Step 1
Gather birch wood shavings and set them out in the Sun to dry. You want the wood to be as dry as possible before you start working with it. You can recycle birch shavings from previous woodworking projects or you can purchase them at a craft store.
Video of the Day
Step 2
Use a carving knife to carve birch shavings down into the shape of rose petals. Your rose will need approximately six to 12 petals. Carve petals in three separate sizes, small, medium and large. The largest petals should be approximately 2 inches long and 1-inch wide.
Step 3
Cover your workspace with a dropcloth and spray paint your birch rose petals in the color of your choice. Choose a well-ventilated work space due to the fumes from the spray paint. Allow the petals to fully dry before proceeding. You can also choose to keep the rose the natural color of the wood.
Constructing the Rose
Step 1
Cut a length of wire approximately 10 inches long. Loop and wrap the top of the wire around one plastic rose stamen. Use a dab of hot glue to secure the stamen.
Step 2
Begin wrapping the wire in green raffia paper. Wrap the wire all the way around, from top to bottom, wrapping tightly as you go. Continue wrapping the wire, using multiple layers until the wire appears thick, like a rose stem. Cut the raffia paper and use a dab of hot glue to secure the end.
Step 3
Use a dab of hot glue to attach one of the small birch shaving petals to the stem with the petal cupping around the plastic stamen. Continue, using wood glue, to attach the smaller petals around the stem, overlapping the petals as you glue them.
Step 4
Continue attaching each of the birch shaving petals with wood glue. As you work toward the outside of the rose, use the medium petals with the large petals serving as the outer petals. All the wooden petals should overlap, just like a real flower.
Step 5
Use hot glue to attach the green silk leaves at the bottom of the rose. Cup the leaves around the flower. If needed, use scissor to cut down any excess fabric.
Tip
To make your birch shaving rose more realistic, spray the flower with rose-scented spray. You can find rose-scented spray at craft stores. 1)
Warning
Exercise caution when using the carving knife to cut down the birch shavings. Also exercise caution when working with hot glue, as you can easily burn your fingers.
Video of the Day