Things You'll Need
Drop cloths
Masking tape
Face mask
Safety goggles
Sanding sponges
Extension pole
Dry mop
Wool-nap paint roller
Interior paint
5-gallon bucket
Paint conditioner
Wooden stir stick
Roller screen

Painting a ceiling with a roller can sometimes leave marks. This can happen if the edges of your roller dry out too quickly. The dry nap on the roller edges can leave marks in freshly painted areas. Low-quality paint and a cheap roller can also leave marks in a ceiling. Removing the marks will require you to sand them down and repaint the ceiling. As long as you use the right process and quality materials, you'll have a professional-looking finish.
Step 1
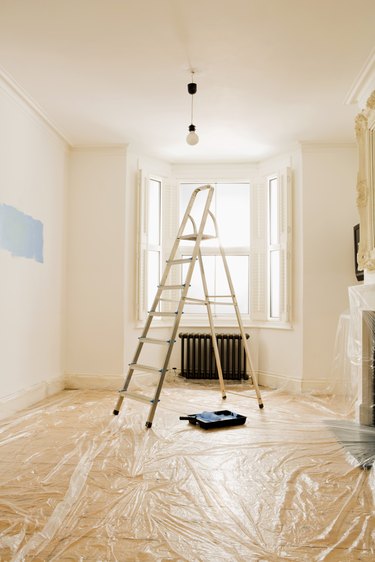
Remove all furnishings from the room. Cover the floor with drop cloths, and place masking tape along the edges of the walls around the ceiling.
Video of the Day
Step 2
Put on a face mask and safety goggles so that you don't breathe in any of the sanding dust or get anything in your eyes.
Step 3
Attach a coarse-grade sanding sponge to the end of an extension pole. Sand the roller marks along their length with the sponge. Switch to a fine-grade sanding sponge, and go over the remaining surface lightly, removing any gloss from the paint and creating a slightly rough texture.
Step 4
Wipe the ceiling clear of dust particles, using a dry mop.
Step 5
Wrap masking tape over a wool-nap roller, and then pull off the tape to remove any loose fibers before you start painting.
Step 6
Pour paint that's the same color as your existing ceiling into a 5-gallon bucket. Mix a paint conditioner in with the paint, using a wooden stir stick, to create a mixture that will go on smoothly. Follow the conditioner manufacturer's instructions for mixing ratio, and use a conditioner that's compatible to your paint. For example, use a water-based conditioner with water-based paint.
Step 7
Place a roller screen into a bucket. Attach the paint roller to the extension pole, and then lightly dip the roller into the paint in the bucket. Use the ridges on the roller screen to remove enough paint from the roller so that it doesn't drip.
Step 8
Apply a new layer of paint to the ceiling with light strokes of the roller. Overlap the strokes by an inch, and start each stroke over a previously placed still-wet line of paint to avoid creating new roller marks. Always keep the roller wet with paint. Allow the paint to dry overnight before removing the tape on the edges of the ceiling and the drop cloths.
Video of the Day