Things You'll Need
Polymer clay in assorted colors
Transparent polymer clay
Tools for carving, shaping and cutting polymer clay
Acrylic paint and clear gloss
Small paint brushes
Smooth tile or glass work surface
Powdered chalk or pastels
Photos of food
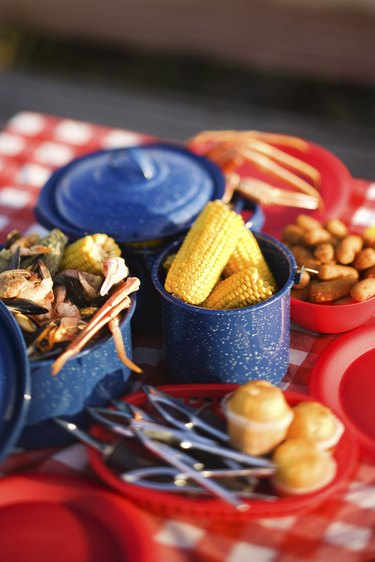
Polymer clay foods are crafted from a synthetic clay-like art material that is flexible while cool but hardens after heat curing in an oven, thus permanently preserving the artist's work. Polymer clay foods are created on a miniature scale and frequently adorn doll houses, kitchens, and appear as jewelry accents. By closely studying the details of real foods, then using the right tools, techniques, and materials, it's possible to make realistic miniature versions of nearly any food.
Adding Details
Step 1
Combine transparent and colored polymer clay when making most food models, as real food naturally contains some degree of transparency. Experiment to find the correct proportions—a slice of watermelon will naturally require more transparent clay than a slice of bread, but even the bread needs a bit of transparent clay mixed in for the final product to appear realistic.
Video of the Day
Step 2
Study food photos and replicate details as closely as possible. For example, a real orange isn't just a round ball—its surface is marked with tiny indentations, and it usually has a hint of green near the stem end. Roll a polymer clay orange along the top of a toothbrush to create realistic texture, and brush on a dab of light green pastel powder on one end.
Step 3
Always paint any cut edges on fruit with a clear gloss finish to achieve a wet look in the final product. This technique also works for other wet foods, such as jelly, gravy and slices of raw meat. Clear gloss may be tinted with a touch of acrylic paint to replicate the transparent color of melted butter or maple syrup.
Step 4
Few foods in nature are one solid color, so use acrylic paint and powdered chalk to add highlights, shadows and color variations to polymer clay foods. Randomly dot tan chalk on bread items to indicate areas of darker browning; sprinkle white chalk dust over a tiny cookie to replicate powdered sugar or sprinkles; and use a toothbrush to spatter brown paint spots onto ripe bananas.
Step 5
Use clay crafting tools to add minute details before heat curing the final product. Score realistic veins into tiny lettuce leaves; pick the edge of a cake slice with the tip of an awl to create a crumb-like texture; cut thin sheets of clay into diamond shapes to decorate the outside of a model pineapple; all will add to the effect..
Tip
Always make sure the clay is fully conditioned through extensive kneading and working before molding it into the final product. Polymer clay that isn’t properly conditioned will break apart during the heat curing process.
Warning
Polymer clay is not heat-resistant, so never use it to make anything that will be exposed to temperatures above 300 degrees. Use caution when cutting with sharp clay tools.
Video of the Day