Things You'll Need
Can with plastic lid
Ice pick or awl
Knitting needle
Phillips head screw, ¼ inch long
Toilet tissue core
Glue
Styrofoam ball
Paper
Pencil
Ruler
Craft aluminum or aluminum baking tins
Scissors
8 wooden skewers
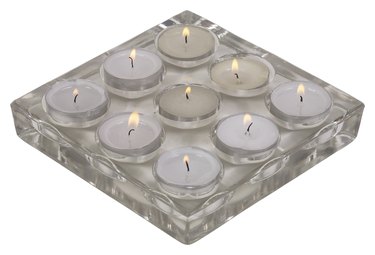
Tealights
Rising heat from a candle causes carousel blades to turn if they are on a freely moving axis. Although you can buy elaborately carved wooden carousels at specialty shops, you can make your own candle-powered carousel out of a can and some craft materials. The heat from common tealight candles provides the movement. Making a homemade candle-powered carousel is an art project suitable for older children.
Step 1
Remove the metal top from a tin can. The can should have a plastic lid, such as a baking soda can or a drink mix can. The ideal size is around 3 inches in diameter and at least 5 inches tall. Punch a hole with an ice pick or an awl in the center of the bottom of the can. Make the hole slightly larger than the diameter of a knitting needle.
Video of the Day
Step 2
Punch a small hole in the center of the can's plastic lid. Screw a ¼-inch Phillips screw through this hole from the bottom side of the lid. The point of the screw will stick out the top side.
Step 3
Cut a level, ½-inch section from a cardboard core of a toilet tissue roll. Center it on the screw tip on the top side of the plastic lid and glue it in place. Put the lid on the can and turn the can over so the hole you pierced in the bottom is on top and the can rests on the cardboard ring.
Step 4
Insert the pointed end of a straight knitting needle through the hole. Rest the point in the center of the cross slots on the screw head on the opposite end. The knitting needle must stick out the top.
Step 5
Cut a Styrofoam ball exactly in half. Rub the flat surface of one half on a piece of sandpaper to make the cut surface flat.
Step 6
Draw an I-shape on a piece of paper, starting with a horizontal line 4 inches long for the base. From the midpoint of that line draw a vertical line that is perpendicular to the base and also 4 inches long. Draw another horizontal line 1 ½ inches long at the top that is parallel to the base and whose midpoint is the top of the vertical line. Draw a diagonal line from the right end of the top line to the right end of the base line. Draw another diagonal line from the left end of the top line to the left end of the base line. Cut out this shape. Now you have a template for the carousel wings.
Step 7
Use the template to cut out eight aluminum wings from craft aluminum sheets. You can also use disposable aluminum baking tins. The center line of the template is the fold line for the wings.
Step 8
Fold each wing along the fold line around a wooden skewer that is 6 inches long. Leave 1 inch of the wooden skewer exposed at each end of the skewer. Glue the wings in place. Now you have eight fan blades for your carousel.
Step 9
Insert the eight fan blades into the dome of the half of the Styrofoam ball ¼ inch from the flat side. Insert the end of each skewer closest to the narrowest part of the wing. Space the skewers evenly around the dome. Each one should be directly across from another. Turn each fan blade so the free side of each wing is at the same angle and pointing slightly downward.
Step 10
Center the flat side of the dome on top of the flat end of the knitting needle sticking out of the can. The dome and fan blades should now spin freely.
Step 11
Light four tealight candles and set them evenly around the can under the fan blades. The rising heat from the candles will cause the fan blades to move, thus creating your carousel. Adjust the angle of the wings to speed up or slow down the carousel's speed.
Tip
Decorate the can with paper, paint, stickers or any other decoration you want.
Video of the Day