Things You'll Need
Tape measure
Circular saw
Framing nail gun
2 1/2-inch framing nails
7/8-inch oriented strand board (OSB)
Construction adhesive
Caulking gun
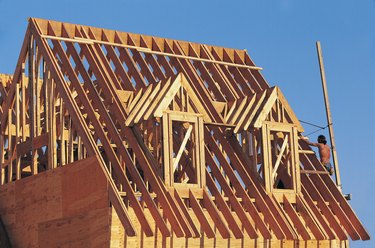
Some roofs are much longer than average milled board lengths, which creates the need to splice one ridge board to the end of another ridge board. When you prepare to make the splice, note the rafters' location. A splice should end between rafters, not where a rafter lands directly on the splice. Nailing a rafter to a splice can create a weak area in the roof.
Step 1
Measure from the last rafter to the end of the first ridge board. If the distance is fewer than 24 inches but greater than 8 inches, cut the end of the ridge board to measure 8 inches from the last rafter.
Video of the Day
Step 2
Attach the end of the second ridge board to the end of the first ridge board with an angled nail. Make the two ends align completely.
Step 3
Measure 5 inches back from the end of the first ridge board, and mark the location. Do the same on the opposite side. Measure 5 inches across the second ridge board, and mark the location. Complete that task on the opposite side, too. This is the location where you will fasten blocking to secure the splice.
Step 4
Cut two 10-inch sections of ridge board for blocking. An option is to cut the blocking from 7/8-inch oriented strand board (OSB).
Step 5
Apply construction adhesive with a caulking gun to one side of both 10-inch sections of ridge board or OSB blocking. Place one 10-inch section on one side of the spliced ridge boards so that it covers the splice evenly or is aligned between the marks you made. Place the other 10-inch section on the opposite side of the splice, aligned between your marks.
Step 6
Complete the splice by securely fastening the 10-inch sections with a framing nail gun and 2 1/2-inch framing nails. Put a nail in each corner of both 10-inch splice blocks.
Tip
Plan the layout of rafters ahead of time so that you can cut the first ridge board on the ground and not on the roof.
Warning
Use caution when operating a power saw on a roof.
Video of the Day