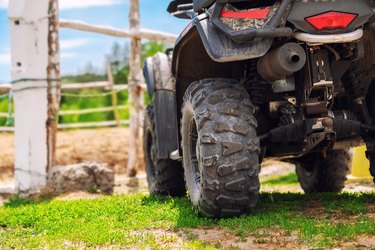
Spraying in small orchards, vineyards or large lawns can be quickly completed using an all-terrain vehicle, or ATV with a DIY boom sprayer. A spray tank is mounted on the ATV rack; a boom holding several nozzles increases the amount of surface area sprayed. While farming businesses use side booms with three flat-fan nozzles on one or both sides, a simple boom of three spray nozzles mounted behind the ATV can be used for weed sprays on lawns.
Spray booms can be installed on the ATV in different locations, but nozzle type, boom height and the distance between spray nozzles are important design considerations. The design detailed here is based on a 15-inch boom height using 80-degree flat-spray nozzles.
Video of the Day
Video of the Day
Considerations for DIY Boom Sprayers
When coming up with homemade boom sprayer plans, it's important to realize that spacing and height positioning vary with different types of nozzles. Use a spray coverage calculator to determine appropriate dimensions. This is also true of a boom sprayer for tractors.
For application in orchards or vineyards install a center section to allow for breakaway or flexibility in case plants are accidentally hit. Some people install rubber guards at the ends as well. The spray fluid should be pre-filtered with a 40-to-50 mesh screen to prevent clogged nozzles. To prevent over-pressure in the system, a valve can be installed on a T for a portion of the fluid to return to the tank after a pressure gauge.
If you're not skilled at metal-working have the bending work done at a local metal shop. Paint in a well-ventilated area.
How to Build an ATV Sprayer Boom

Step 1: Heat and bend the steel
Heat up each piece of the flat steel bar at 8 inches from one end using a welding torch fitted with a rosebud. When the metal becomes flexible, bend it 90 degrees.
Step 2: Cool and drill the bar
Allow the bar to cool. Then drill two holes on the short end for mounting the 1-inch U-bolts on the ATV rack, and another hole on the other end for bolting to the 3/4-inch square steel boom.
Step 3: Drill two more holes
Place the square steel in a vice and drill the two holes about 12 inches apart, or where appropriate for mounting onto your ATV rack.
Step 4: Insert bolts and washers
Insert the bolts in the square steel and connect to the single hole on the long end of the bent flat steel pieces. Put on the washer, tighten the nuts and then prime and paint the boom metal for corrosion protection.
Step 5: Cut the tubing
Cut the tubing to obtain one piece that is 19 inches long, another of 15 inches and a smaller piece of 2 inches in length.
Step 6: Connect the sides
Connect the sides of the T to the 15- and 2-inch pieces. On the side that has the 2-inch piece, connect the compression fitting for the center spray nozzle and then the 19-inch tubing. Connect the elbow compression fitting for the outer nozzle on that side. On the other side, connect the 15-inch piece of tubing to the T and fit the elbow on the end for the spray nozzle. Make sure your spray nozzles are oriented downward.
Step 7: Secure and attach the fittings
Connect the polypropylene tubing to the square steel tube with zip-ties. Apply Teflon tape to the threads and mount the spray nozzles. Secure the compression fittings in the correct downward orientation on the spray bar using the 3/4-by-1 3/4-inch U-bolts.
Step 8: Mount the boom

Mount the boom on the ATV rack using the 1-by-1 3/4 U bolts. To protect the metal on the racks, you can insert a piece of rubber from an inner tube where the U clamps to the metal. Lastly, connect the polypropylene tubing to the compression T and to the sprayer pump outlet. Secure the connection to the pump with a hose clamp.