How to make cowboy coffee: a cleaner no-filter method
How to make cowboy coffee well comes down to four things you control: coarse grounds, water just off the boil, a four-minute steep, and patience while the grounds settle. For a full pot, about four 8-ounce cups, that means roughly 32 ounces of water and 60 grams, about 8 tablespoons, of coarse coffee. No filter, no plunger, no machine, just a pot and a heat source.
Cowboy coffee means coarse grounds go straight into hot water in a pot, steep briefly, and get poured off once they settle at the bottom (Coffee A to Z, 4 months ago). Roastopedia traces the method to the 19th-century cattle-drive era, when trail cooks needed a large-batch brew that required no special gear (Roastopedia, 3 months ago). Modern brewing guidance has refined that basic idea into something more precise: water just off boiling, a four-minute steep, then a rest before pouring, a version recommended independently by a Danish coffee roaster and a general brewing guide (Copenhagen Coffee Lab, last month).
What follows covers the full recipe with real quantities, adjustments for brewing over an open flame, fixes for the mistakes that ruin a pot, and a shorter look at one documented trail-style recipe for comparison rather than imitation.
How to make cowboy coffee without a filter
Video of the Day
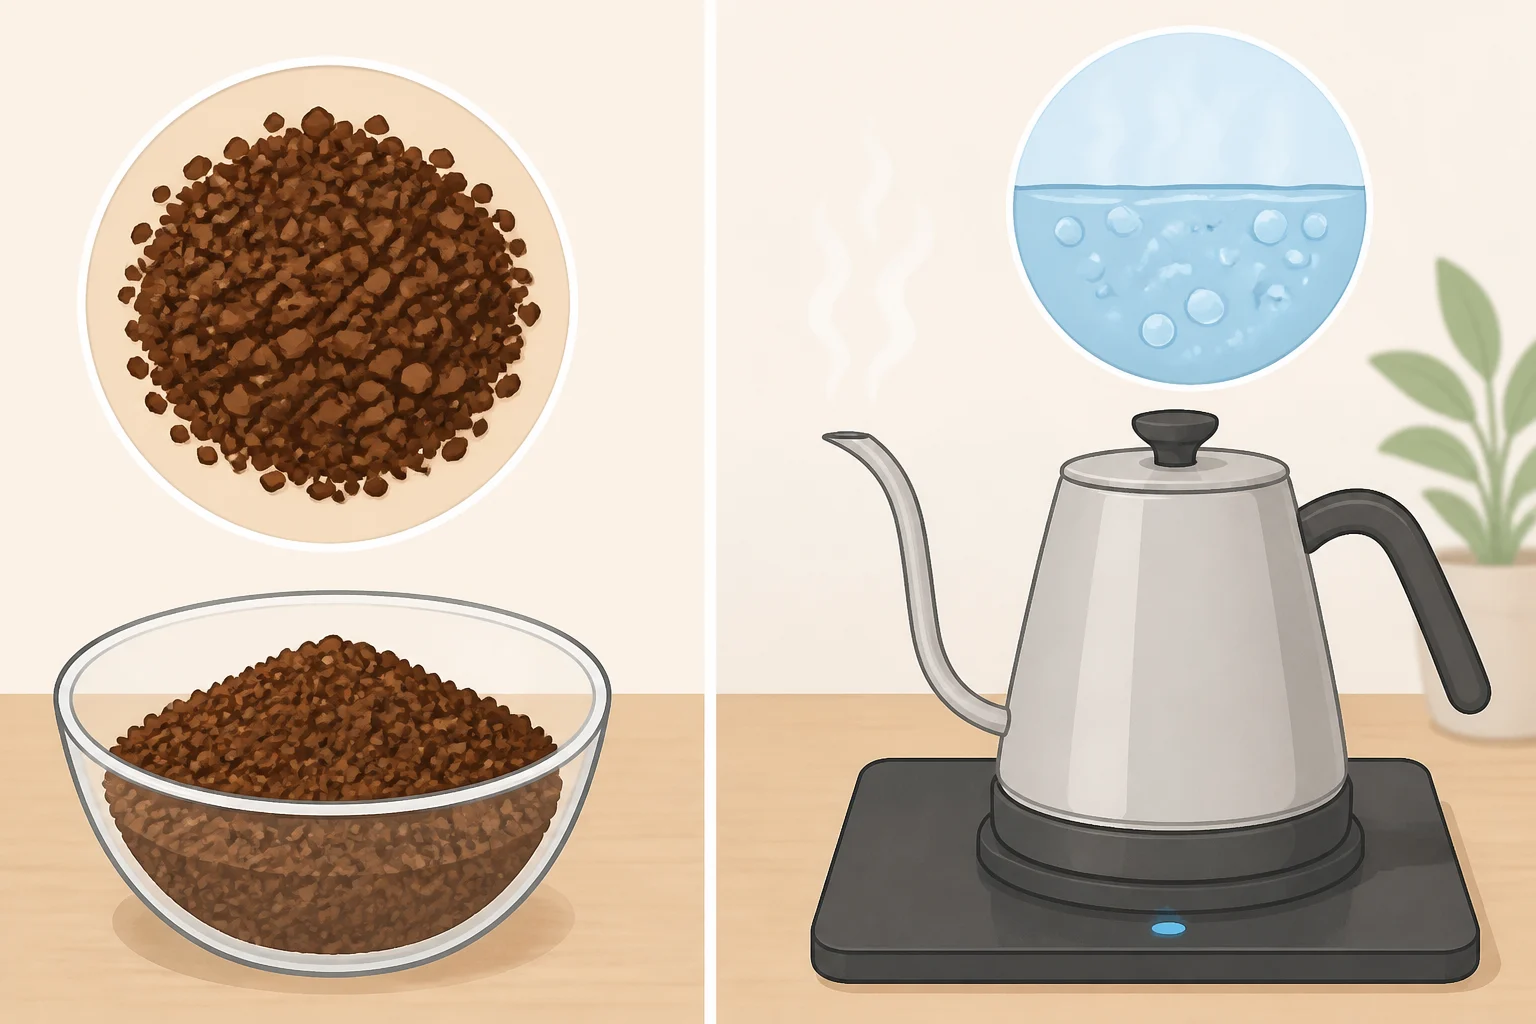
Gather a pot or kettle with a pour spout, a heat source, fresh water, and coffee ground coarse, roughly the texture of coarse sea salt (Copenhagen Coffee Lab, last month). If you're buying pre-ground coffee, ask specifically for a coarse grind; anything closer to table salt or flour turns the cup murky and over-extracted (Copenhagen Coffee Lab, last month).
Bean choice matters here since nothing hides behind paper. A medium-dark or dark roast with nutty or chocolatey notes holds up under direct immersion, while light roasts tend to taste sharp and overly acidic in this method (Coffee A to Z, 4 months ago).
None of the steps below involve boiling the grounds. If part of what brought you here was a search for how to boil coffee grounds, that's a different, rougher method covered further down, one that skips the temperature control this recipe relies on. Grind size, steep time, and ratio matter too, but keeping the water just under a boil throughout is what separates a balanced cup from a bitter one.
Scaling the recipe
| Water | Coffee (tablespoons) | Coffee (grams, approx.) |
|---|---|---|
| 8 oz (1 cup) | 2 tbsp | about 15 g |
| 16 oz (2 cups) | 4 tbsp | about 30 g |
| 32 oz (4 cups) | 8 tbsp | about 57-60 g |
These figures come from Coffee A to Z's tablespoon measurements and Copenhagen Coffee Lab's gram-based ratio of about 60 grams per liter, which line up closely once rounding is accounted for (Coffee A to Z, 4 months ago; Copenhagen Coffee Lab, last month). The gram column below 32 ounces is a calculated approximation, not a figure either source states directly. If you're scaling by weight, treat grams as the more precise version; bean density and grind size mean tablespoons won't always match exactly.
- Heat water until small bubbles form at the bottom of the pot, just short of a full boil. A rolling boil runs close to 212°F at sea level, hotter than the range recommended for extraction (Coffee A to Z, 4 months ago).
- Pull the pot off the heat and let it sit about 30 seconds. Coffee A to Z says this brings the water to around 200°F, which lands inside the 92-96°C (198-205°F) window Copenhagen Coffee Lab recommends separately (Coffee A to Z, 4 months ago; Copenhagen Coffee Lab, last month).
- Add the coffee and stir once. Coffee A to Z lists over-extraction as the most common cause of a bitter cup, and adding grounds to water still at a full boil can contribute to it (Coffee A to Z, 4 months ago).
- Steep for 4 minutes, uncovered. Both major sources land on four minutes as the balance point for extraction (Coffee A to Z, 4 months ago; Copenhagen Coffee Lab, last month).
- Splash 2-3 tablespoons of cold water over the surface, then rest 3-5 minutes. Coffee A to Z recommends that window when minimizing sediment is the priority (Coffee A to Z, 4 months ago). Copenhagen Coffee Lab's own version uses a shorter 1-2 minute rest, which gets coffee into the cup faster (Copenhagen Coffee Lab, last month). Default to the longer rest when you have time; use the shorter one when you don't.
- Pour slowly, without tilting the pot sharply, to keep settled grounds at the bottom (Copenhagen Coffee Lab, last month). A fine sieve is a reasonable backup if sediment slips through, though at that point the pour isn't strictly filter-free anymore, so treat it as a fallback rather than a default step (Copenhagen Coffee Lab, last month).
Add it up and total active time runs seven to nine minutes, four minutes of steeping plus a three-to-five-minute rest, not counting however long the water takes to heat.
The underlying principle, grounds fully submerged with no paper filter, is also how coffee cupping works, the industry's standard method for judging bean quality; the two share the same basic immersion logic, even though cupping is far more controlled (Roastopedia, 3 months ago). Done carefully, the result should be less bitter and less muddy than a hard-boiled pot. Not restaurant-perfect, but noticeably cleaner.
Video of the Day
How to make cowboy coffee over a campfire
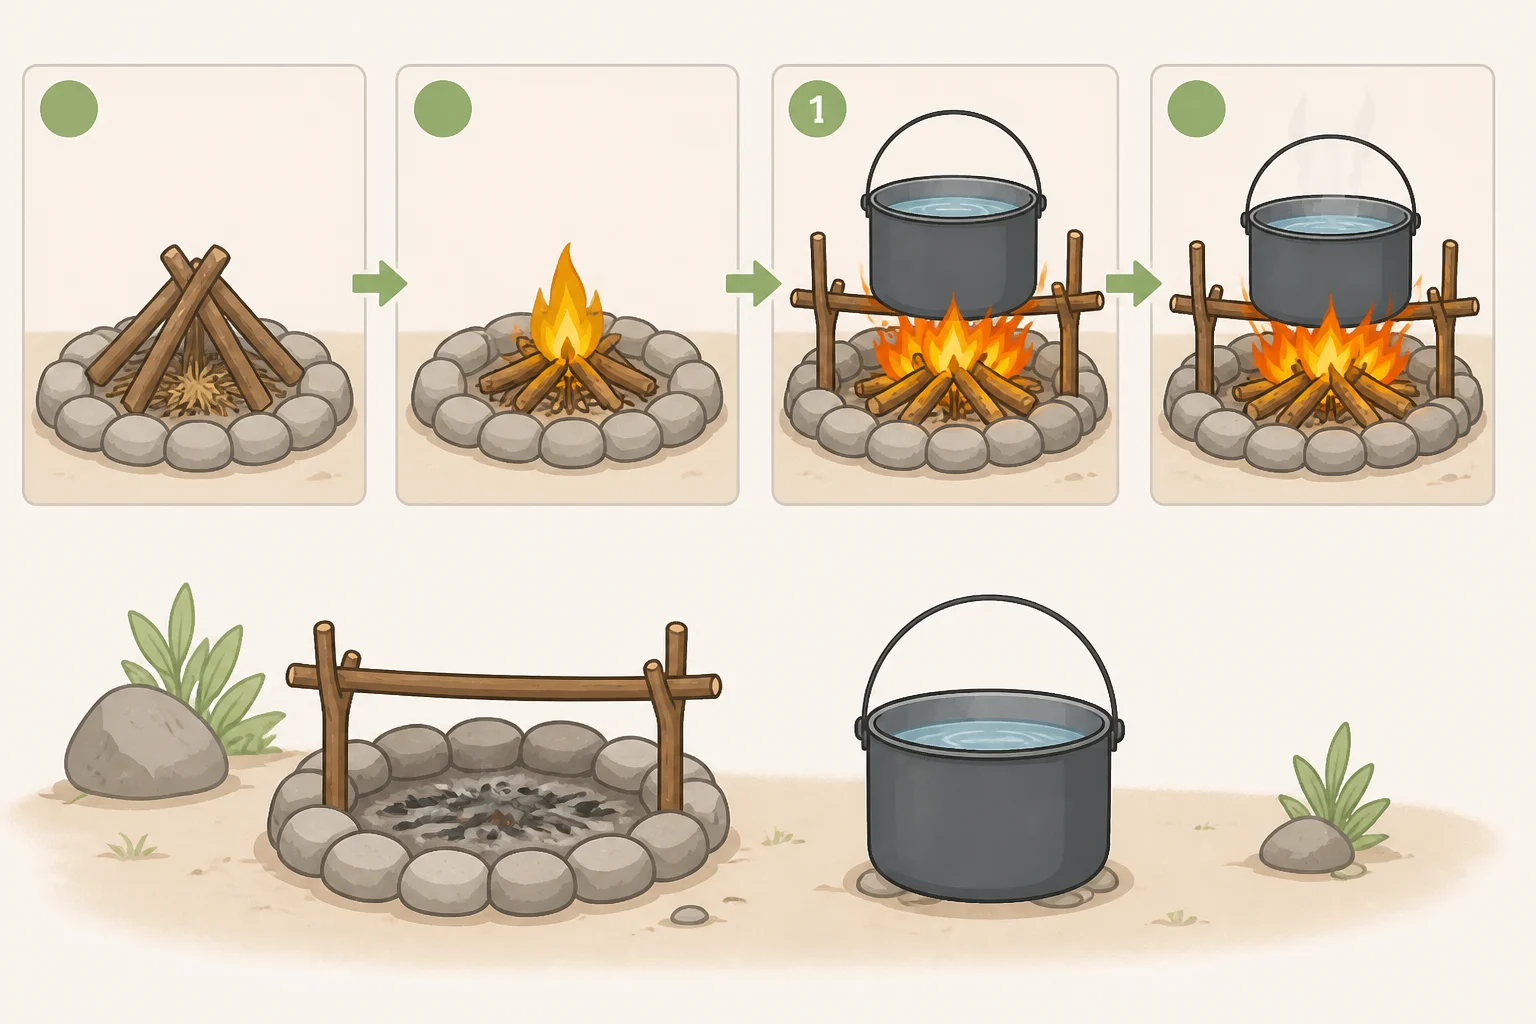
A campfire changes the heat control, not the underlying method. Fire is harder to manage precisely than a stove burner, so in step 2, pull the pot fully off the flame rather than just nudging it aside; full removal gives a better shot at landing in the right temperature window outdoors.
Elevation is the other variable. Water boils cooler at altitude, around 194°F at 10,000 feet compared with 212°F at sea level (Coffee A to Z, 4 months ago). Keep the ratio and the four-minute steep as written rather than stretching the time to compensate for cooler water; that's a practical recommendation for this recipe, not a separately tested altitude rule.
Once the pot is off the fire, set it somewhere flat and stable, packed dirt or a rock rather than uneven ground. It's a practical habit more than a documented rule: jostle the pot during the rest period and settled grounds go right back into suspension. Campfire cowboy coffee rewards patience more than a stovetop pot does, mostly because everything about an open flame is less predictable.
None of this requires an actual fire, either. Coffee A to Z notes that a kitchen stove works just as well, so the same basic method holds up as a backup any time a coffee maker isn't around (Coffee A to Z, 4 months ago).
Fixing a bad batch
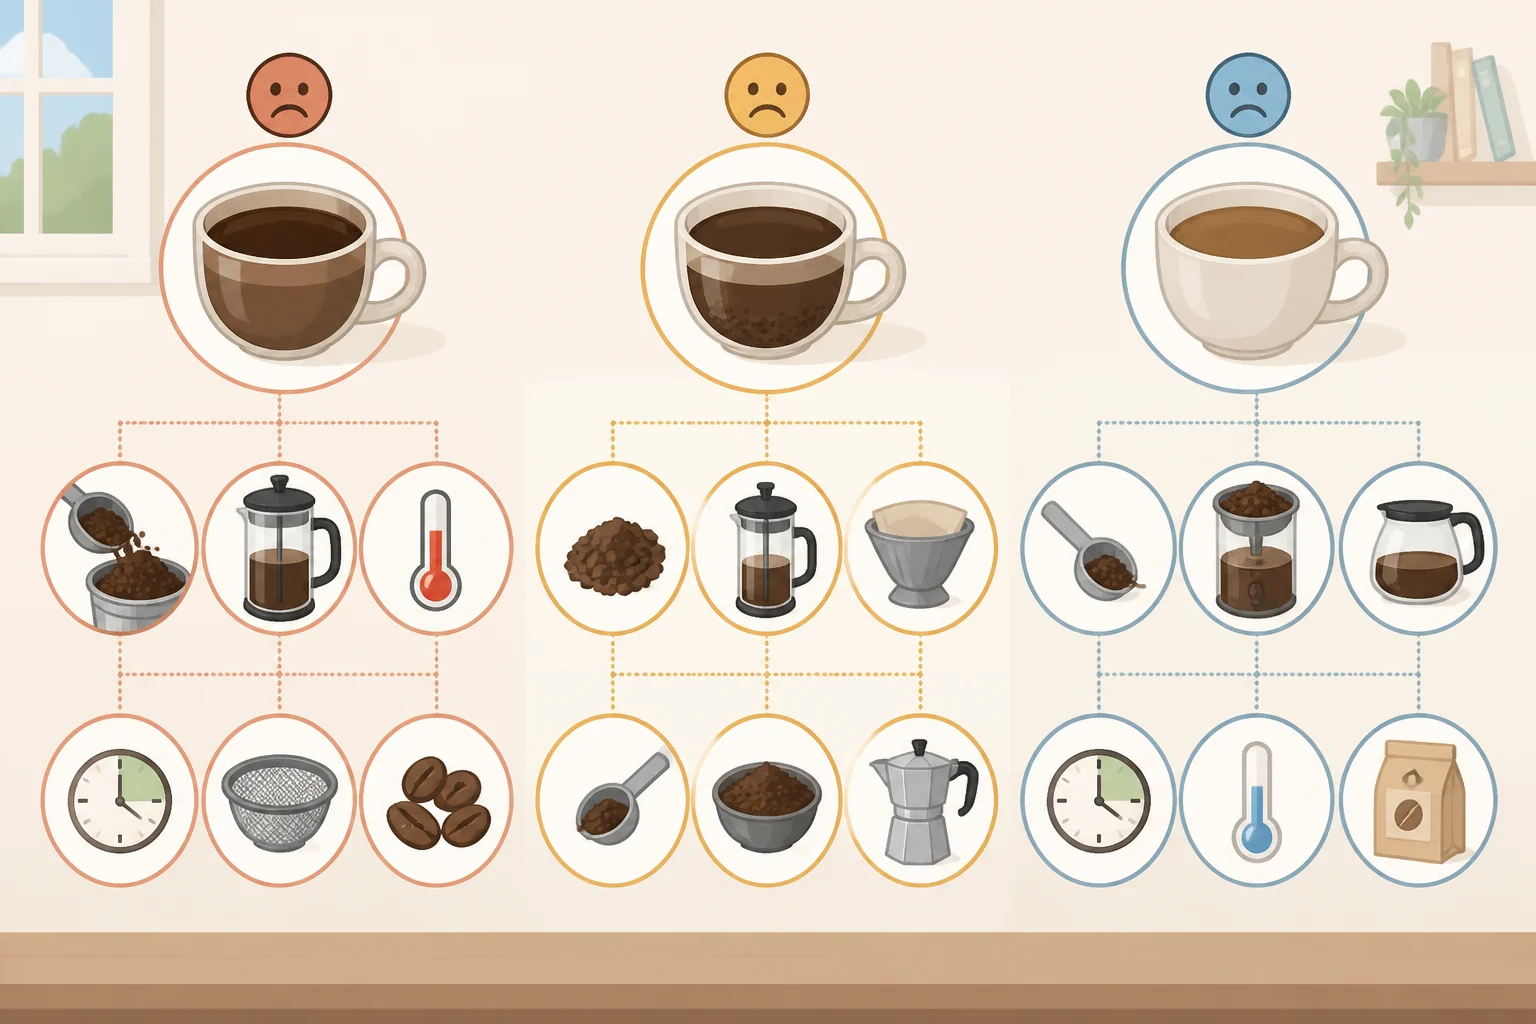
Treat bitterness, sediment, and weak flavor as three separate problems, not one vague complaint of bad coffee. Each has its own cause, and fixing the wrong variable just wastes another pot.
Bitter coffee is usually a temperature, time, or dose problem. If the water was still at a rolling boil when the grounds went in, if the steep ran past five or six minutes, or if there was too much coffee for the water, dial back whichever variable slipped (Coffee A to Z, 4 months ago).
Gritty coffee with sediment is a grind-size or settling problem, separate from bitterness. If the pour looks cloudy even after a full rest, the grind was probably too fine or the pot got tipped too fast; go coarser, extend the rest after the cold-water splash, and pour without tilting sharply (Copenhagen Coffee Lab, last month; Coffee A to Z, 4 months ago).
Weak coffee needs more grounds, not more time on the heat. Cowboy coffee is often assumed to be stronger than filtered coffee simply because the grounds stay in constant contact with the water, but strength mostly comes down to the coffee-to-water ratio (Copenhagen Coffee Lab, last month). If a cup tastes thin, Coffee A to Z suggests moving from 2 tablespoons to 2.5 tablespoons of grounds per 8 ounces of water rather than boiling longer (Coffee A to Z, 4 months ago).
One documented trail-style recipe
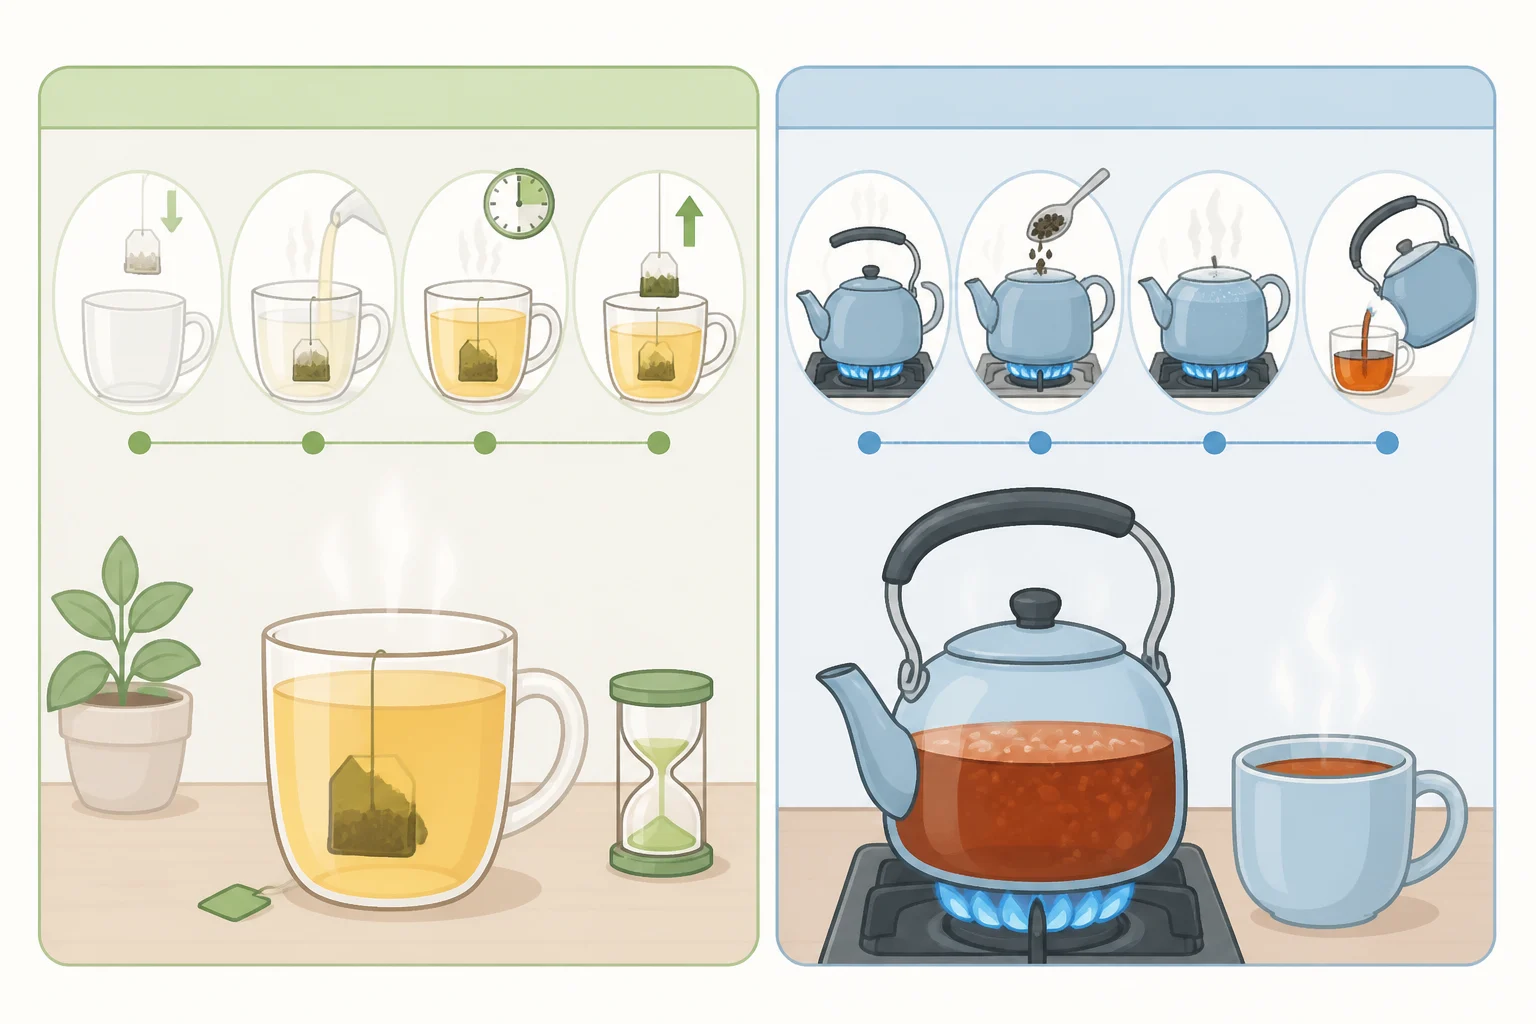
The method above differs in several ways from a trail-style recipe reproduced earlier this year by writer Natalie Bright, which calls for grounds stirred into a quart of water, brought to a boil, and kept boiling for a full 10 to 12 minutes, well beyond the four-minute steep described by Copenhagen Coffee Lab and Coffee A to Z (Natalie Bright, earlier this year).
Settling relied on whatever was on hand rather than a measured splash. Roastopedia describes crushed eggshells and salt used alongside cold water as reported clarifying agents, brewed in pots as large as three to five gallons, the standard size on a trail crew (Roastopedia, 3 months ago). Natalie Bright's account describes a five-gallon pot kept on the fire overnight specifically to keep the night watch awake, with strength prized over balance; some accounts trace the "six-shooter coffee" nickname to cooks who claimed it was strong enough to float a pistol, though that detail reads more like trail folklore than something anyone actually measured (Natalie Bright, earlier this year).
Bean supply shaped the recipe as much as taste did. Arbuckle Brothers' pre-roasted Ariosa, sold starting in 1864, was one of the first commercially roasted coffees widely distributed on the frontier (Coffee A to Z, 4 months ago). Roastopedia notes it became the standard for trail brewing partly because Arbuckle's coated the beans in a glaze of egg white and sugar to slow spoilage and help the brew clarify (Roastopedia, 3 months ago). None of this needs replicating at home. It's coffee built by cooks solving a different problem than the one this guide solves: keep a crew caffeinated through a long night, using whatever beans and whatever fire were on hand.
The takeaway
Before taking this method camping, run it once on a kitchen stove, where the heat is predictable and mistakes are easy to diagnose. Make a small batch, 8 ounces of water to 2 tablespoons of coffee, and nudge the ratio up or down until it matches your own taste. Once that feels automatic, the same steps scale to a full pot over an open fire without any other changes.