How to reverse sear pork chops for a juicy, crisp finish
Pull a pork chop at 145°F and the payoff is immediate: the meat stays juicy without costing you anything in flavor. In a study published last year in Foods, tasters couldn't detect a difference in pork flavor between chops cooked to 145°F, 160°F, or 175°F, but they rated the lower-temperature chop far juicier, more tender, and better textured. Researchers cooked 264 pork loin chops to one of those three endpoints, then had an 85-person consumer panel rate them blind (Foods). This guide takes that number and builds a practical method around it: how to reverse sear pork chops so a thick, bone-in cut comes out juicy with a real crust, instead of the dry, gray result too many home cooks still land on.
One caveat matters before anything else. The chops in that study were boneless, about an inch thick, and simply oven-roasted to each endpoint, no reverse sear, no bone, no pan finish. This guide borrows the temperature finding, not the exact setup, and applies it to a thicker, bone-in chop cooked in two stages: a gentle oven phase followed by a hard sear (Foods).
What follows reverse-sears a thick-cut, bone-in pork loin chop, with exact quantities and thermometer placement, so hitting 145°F depends on the numbers in front of you rather than guesswork.
Why pork chops dry out, and how to keep them from drying out
Video of the Day
Getting juicy reverse-seared pork chops starts with understanding why they dry out in the first place, and the answer comes down to two overlapping causes: how modern hogs are raised, and plain overcooking (ThermoWorks). The American appetite for leaner, cheaper meat pushed hog breeding toward animals that carry far less intramuscular fat than older breeds did, and that fat used to cushion the meat against a few extra minutes on the heat (ThermoWorks). Less fat means less margin, especially in a cut as lean as the loin, which is exactly where chops come from (ThermoWorks).
Separate lab testing on the loin muscle backs that up: it carries the highest shear force and the most cook loss of the pork muscles measured, meaning it has less room for error than the rest of the animal (Meat Science). That same research tracked how toughness changes with heat. It holds roughly steady between 60°C and 70°C, then climbs sharply once it crosses 70°C, a threshold that works out to about 158°F (Meat Science). At 63°C, or 145°F, a chop sits well inside that stable window, below the point where toughness and moisture loss start climbing fast. That gap is most of what keeps a chop from drying out in practice.
One buying decision buys back some margin. Heritage-breed pork carries more intramuscular fat than the conventional stuff, which makes it more likely to stay juicy even if it runs a touch hot (ThermoWorks). It isn't required for this method, and it isn't cheap, but if a butcher counter or farmers market has it, it's worth grabbing for a nervous first attempt.
Video of the Day
The best temperature for reverse sear pork chops
The strongest evidence for 145°F comes from that same Foods study. Chops pulled at that temperature held more moisture and showed lower shear force than chops taken to 160°F or 175°F, a difference the consumer panel also picked up: they rated 145°F chops significantly juicier, more tender, and better textured, with no measurable change in pork flavor (Foods). That result came from boneless, oven-roasted chops rather than the bone-in, pan-finished method below, but the endpoint itself is a reasonable target here even though the exact technique differs from the study's setup.
145°F also happens to be the USDA's minimum recommended pork temperature, and it's lower than most home cooks assume (ThermoWorks). Separate 2023 lab research on pork muscle put ideal eating quality closer to 65°C, or about 149°F, based on measured shrinkage and toughness: slightly higher than the consumer panel's preferred number, but in the same range and well under where most people actually pull a chop (Meat Science). Both figures point the same direction, lower than instinct suggests, which is why this guide targets 145°F: it carries food-safety backing and consumer-preference data at once.
What you need before you start
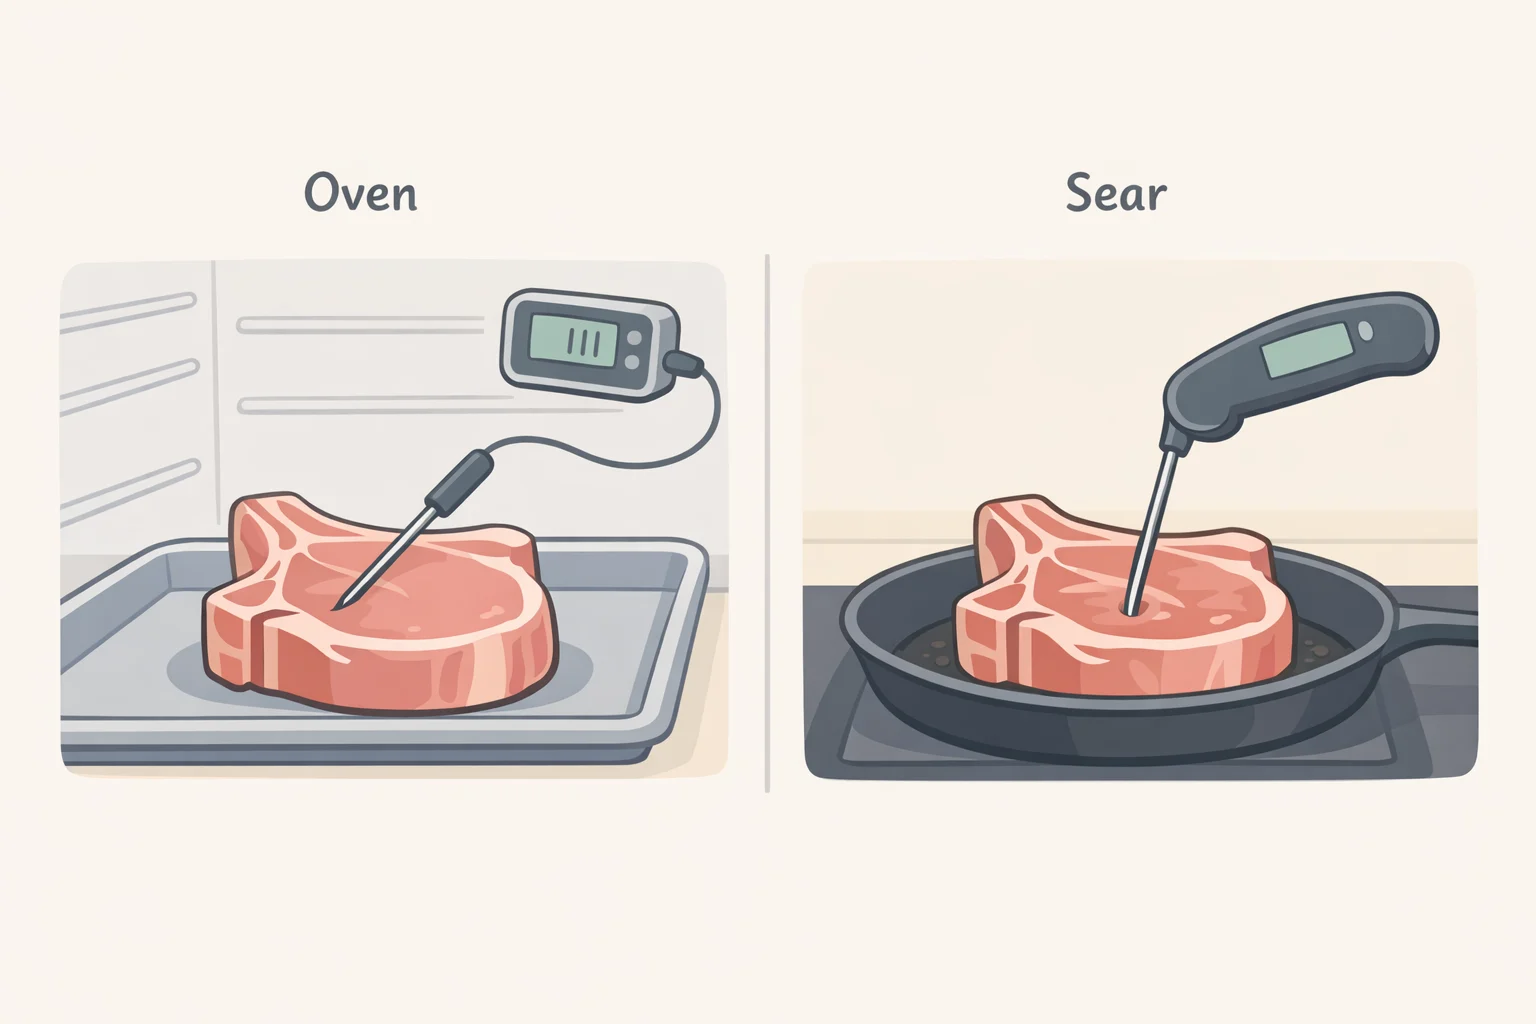
- The chops: 2 bone-in pork loin chops, at least 1½ inches thick, roughly 14 to 15 ounces each. Chops this thick hold onto moisture and flavor better as they cook, and that extra mass is what makes a two-stage cook worth doing in the first place (Serious Eats).
- Salt: 2 teaspoons Diamond Crystal kosher salt for two chops (half that volume if using table salt), applied dry, at least 1 hour and up to 24 hours ahead (Serious Eats).
- Fat for searing: 2 tablespoons neutral oil in the skillet. Unlike a steak, which many cooks sear in a bare pan, pork chops need added oil to brown properly (ThermoWorks). Keep 2 to 3 tablespoons of butter on hand separately if you plan to baste.
- Equipment: a rimmed baking sheet with a wire rack, a heavy oven-safe skillet, a leave-in probe thermometer for the oven stage, and a fast instant-read thermometer for the sear. On a cut this sensitive to temperature, touch alone won't tell you what you need to know (ThermoWorks).
If it's been a while since either thermometer was checked, dunk the probe in an ice water bath before starting: mostly ice, with just enough water to surround the tip. A properly calibrated thermometer should read at or very close to freezing. One running a few degrees off throws every target in this guide off with it, and there's no fixing that mid-cook.
This method assumes thick, bone-in chops. Thinner, boneless value-pack chops don't carry enough mass for a real two-stage cook; skip the oven stage and pan-sear them directly over medium-high heat instead, flipping every minute or so until the center reads 145°F.
How to reverse sear pork chops, step by step
-
Dry-brine ahead. Pat the chops dry and apply the 2 teaspoons of kosher salt evenly. Refrigerate uncovered for at least 1 hour, up to 24. Salt draws moisture to the surface and then gets reabsorbed, seasoning the meat while leaving a drier surface that browns faster and deeper later. A wet brine, by comparison, adds water that gets in the way of a good sear (Serious Eats).
-
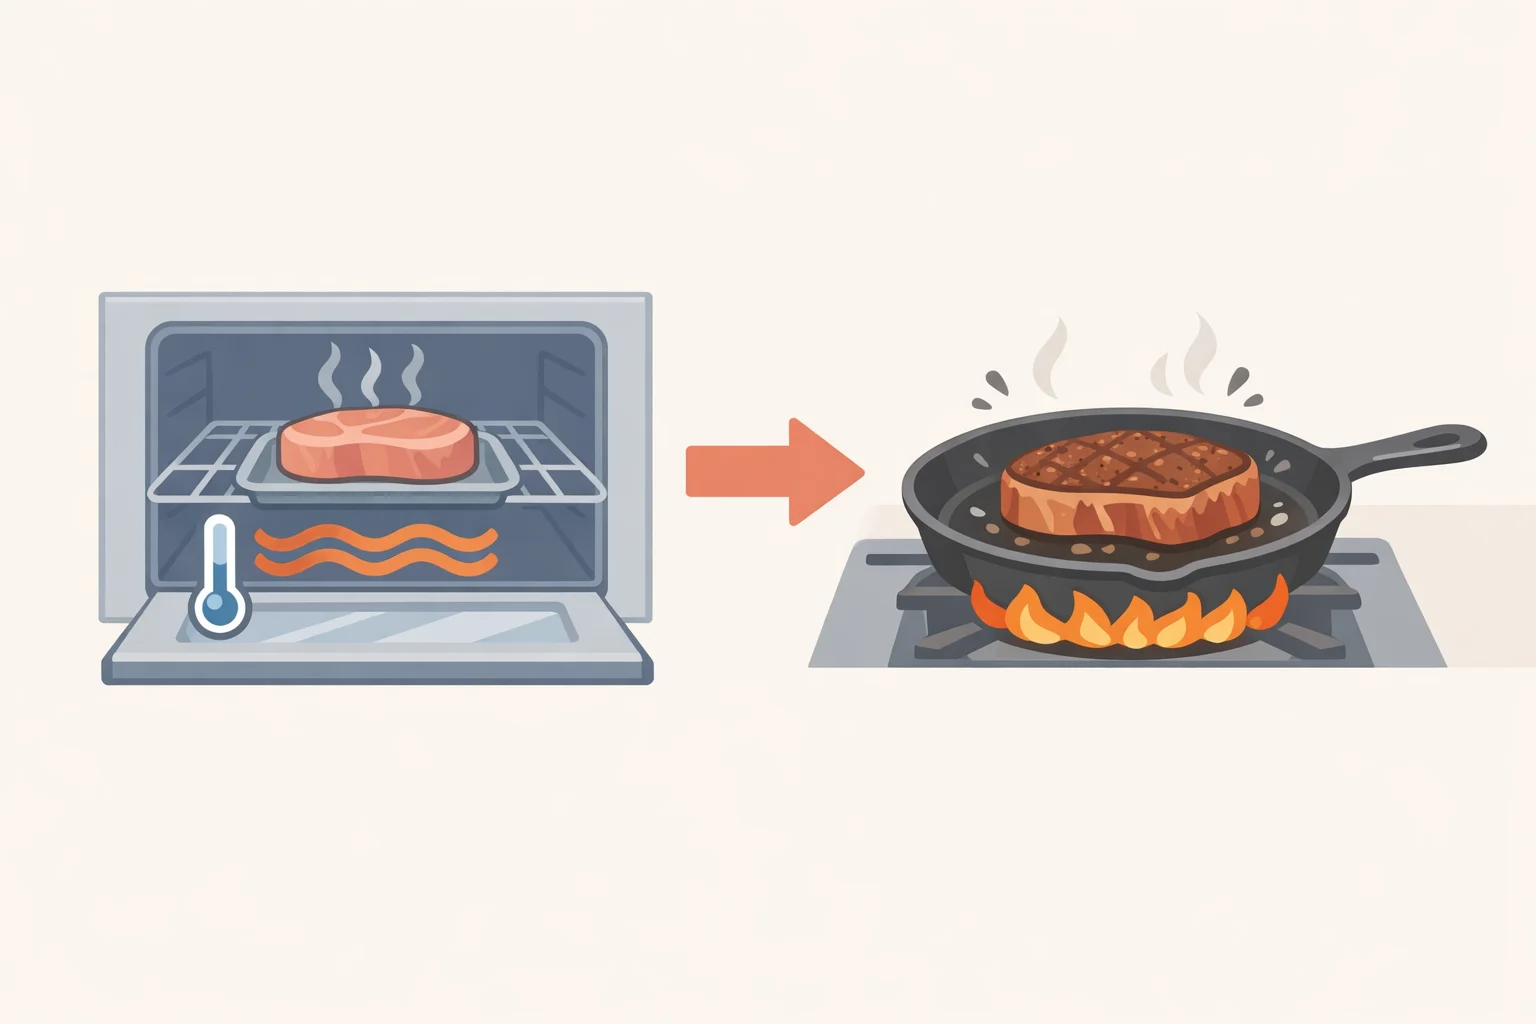
Cook low and slow first. Preheat the oven to 300°F. Set the chops on the rack and insert the probe horizontally into the thickest part of the meat, away from the bone, then cook until it reads 110°F. Don't set a timer and walk away: a chop closer to 1 inch thick hits that number faster than one at 1½ inches, and if the two chops in front of you aren't quite the same thickness, pull each by its own probe reading rather than waiting for both to hit 110°F together (ThermoWorks).
-
Sear hard. Heat the oiled skillet until it's shimmering and just starting to smoke. If a chop has a thick fat cap along one edge, standing it up on that edge for a few seconds before laying it flat gives the fat a head start on rendering. Add the chops and sear about 2 minutes per side, giving each one room in the pan; a skillet crowded with two chops can cool down before either side browns properly, so sear them one at a time if the pan runs small. The oven brings the interior up gently and evenly, so the pan only has to handle browning, not cooking the center; that's the entire logic of reverse searing (ThermoWorks).
-
Baste, if you want. After flipping, add the butter, tilt the pan toward you, and spoon the melted butter over the chop for 30 to 60 seconds. It's optional, mostly for extra flavor and color, and it works on pork chops the same way it does on a steak (ThermoWorks). Butter browns fast in a hot pan; if it turns dark and starts smelling burnt instead of nutty, ease the heat down or pull the skillet off the burner for a few seconds before continuing.
-
Check temperature correctly. Insert the instant-read thermometer from the side, aiming for the geometric center of the chop, and take the lowest reading as the probe moves through the meat. That's the true internal temperature, not the first number that flashes up. Avoid the bone entirely.
-
Pull around 140°F, then verify at 145°F. ThermoWorks tested pulling chops at this exact point for the carryover this two-stage method produces, and found it landed reliably on target (ThermoWorks). Rest for at least 3 minutes, then check the temperature again. Carryover depends on chop thickness, how hot the pan still is, and even the temperature of the kitchen, so treat 3 minutes as a floor, not a fixed stopping point. If the reading is still under 145°F, put the chop back over low heat and check again every so often until it clears that number; there's no substitute for the thermometer here. Resting mainly manages that carryover; it isn't what makes the chop juicy on its own. A controlled blind tasting found tasters picked rested and unrested samples as juicier at almost identical rates once both were matched for final temperature (Serious Eats).
-
Judge doneness by thermometer, not color. Chops pulled at 145°F look noticeably pinker and more vividly colored inside than chops cooked past 160°F. That's expected at this temperature, not a sign of undercooking (Foods).
Quick-reference targets: 110°F is the oven-stage checkpoint, not a safe serving temperature. 140°F is the pan-pull point built around carryover. 145°F is the verified, safe final temperature, confirmed after resting at least 3 minutes.
If the crust isn't dark enough once the chop hits 145°F, resist leaving it over heat for more color; that only pushes the interior past target. Pull it instead, and if the crust genuinely needs help, give it one more short pass in a hot, dry pan, just long enough to finish browning the surface, rather than tenting it and hoping.
The opposite problem, a pale crust while the center is still short of 145°F during the original sear, usually means the pan wasn't hot enough to start. Note that for next time rather than stretching the sear now; more time in the pan at that point risks overcooking the center before the crust catches up.
Cook by the probe, not the clock
A thick-cut, bone-in pork chop reverse-seared this way won't turn into a steak, and it doesn't need to. What changes is that the chop stops being a guessing game: thickness sets how long the oven stage takes, the probe reading sets when it's actually done, and the pan exists only to build a crust once the interior has already arrived.
That division of labor, thickness for timing, temperature for doneness, heat for crust, is what separates a chop that's merely fine from one that's genuinely good. The same principle carries over almost unchanged to other lean, thick cuts that are easy to overcook: bone-in chicken breasts, thick lamb loin chops, even a thick veal chop. Once cooking by the number replaces cooking by the clock, a dry chop stops being something to expect and starts being something you notice when it happens.