How to grill halloumi without it sticking to the grate
Halloumi's curd gets cooked in near-boiling whey, somewhere around 90-95°C, before it's pressed into blocks (KnowTheCheese, 5 months ago). That step is why the cheese can sit on a grate above 200°C and hold its shape instead of melting into the coals. It won't stop the cheese sticking on its own, though; that comes down to how dry the surface is and how hot the grate runs, which is most of what this guide covers. Learning how to grill halloumi is really about working with that structure instead of fighting it: dry the cheese, get the grate properly hot, and let a crust form before you touch it.
BBC Good Food frames the same trait from the cook's side of things: halloumi turns deep gold rather than melting, because it has an unusually high melting point for a cheese (BBC Good Food, 2 months ago). Because it chars and browns the way meat does instead of oozing the way cheese does, it shows up constantly as a stand-in for meat in wraps, burgers, and kebabs (BBC Good Food).
This guide covers a repeatable method for grilling halloumi outdoors that sharply cuts down on sticking, plus the visual cues that tell you when it's ready to flip and serve. Results still shift with slice thickness, grill temperature, and how clean the grate is, so treat this as a strong default rather than a guarantee. A troubleshooting section covers what to do when something goes wrong, and a closing note covers other equipment for anyone without an outdoor grill.
Why halloumi behaves differently on the grill
Video of the Day
Halloumi is a semi-hard brined cheese from Cyprus, and the whey-cooking step during production gives it structural integrity most cheeses don't have (KnowTheCheese). That's why it can brown on a grill without falling apart: apply heat and time, and it develops a charred exterior while staying firm and creamy in the middle, without needing any special equipment (BBC Good Food).
That resistance to melting isn't subtle. KnowTheCheese scores halloumi's melt quality at just 8 out of 100, a rating the site describes as intentionally near zero, since the cheese is built not to melt in the first place (KnowTheCheese). Practically, that means doneness comes down to color and texture rather than a stopwatch: once the surface browns and the middle goes soft, the cheese is ready, and that visual read matters more than hitting an exact minute count.
Video of the Day
What you need
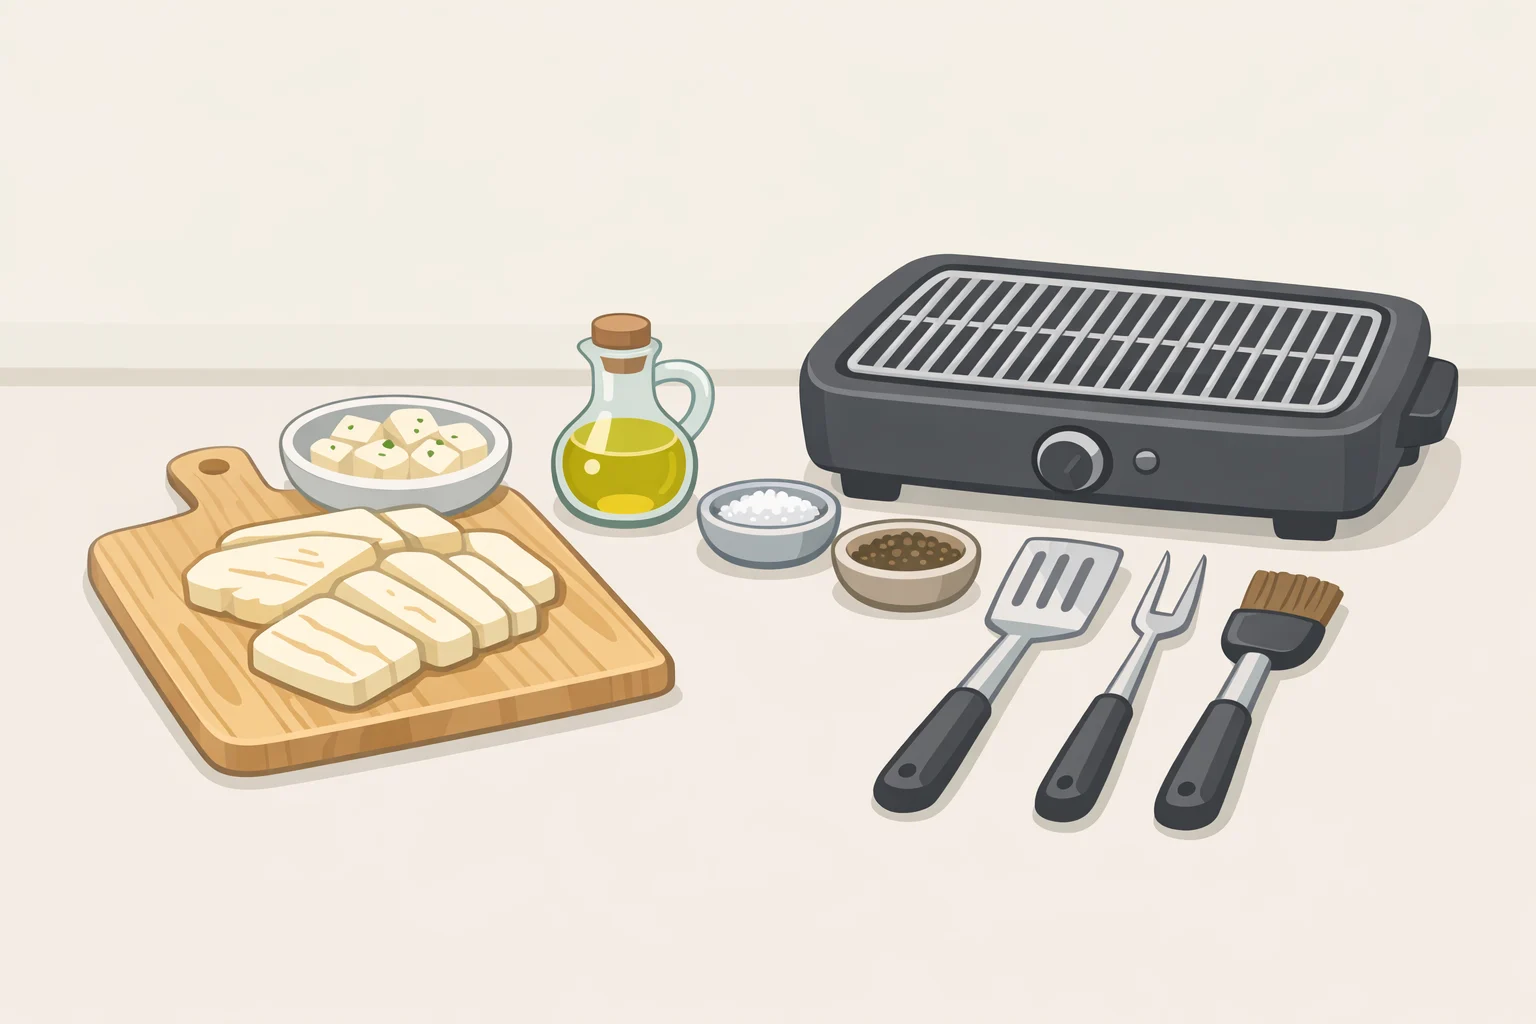
- A block of halloumi, roughly 225g (8oz), which serves about four as a side (EatHealthy365, 9 months ago)
- Paper towels, enough for a thorough pat-dry
- Tongs or a thin spatula for flipping
- An outdoor grill, gas or charcoal
- Olive oil, plus a long-handled grill brush for applying it (or a pastry brush if you're oiling the cheese instead)
- A lemon, black pepper, and fresh herbs for serving
- Optional: a bowl of cold water, if you plan to soak the block first
Set out the serving plate and garnishes before the cheese goes on. Once the grates are hot, each batch is done in under six minutes, and halloumi doesn't sit around waiting while you dig out the pepper mill.
How to grill halloumi on an outdoor grill
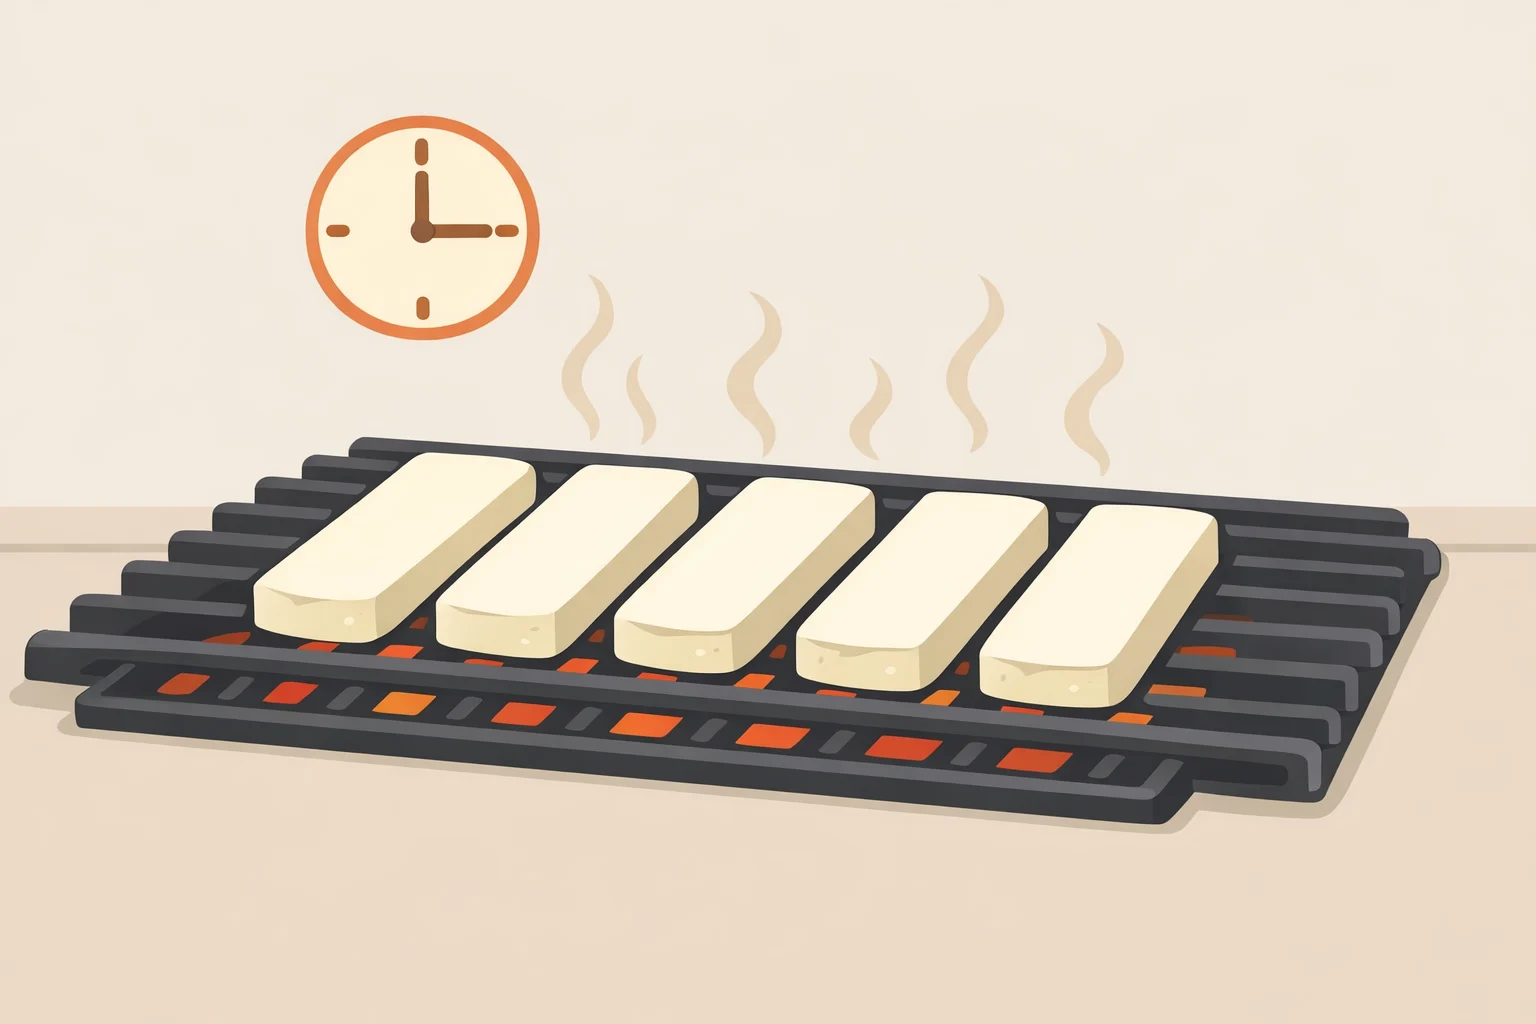
The sequence below runs from block to plate. Follow it in order, and let the visual cues, not just the clock, tell you when to move to the next step.
-
Slice the block into 1cm to 1.25cm planks. BBC Good Food's method uses roughly 1cm slices, while EatHealthy365 lands closer to 1.25cm; either works (BBC Good Food; EatHealthy365).
-
If the block tastes too salty for your liking, soak it whole in cold water for 30 to 60 minutes before slicing. This step is optional, and results vary by brand, but it can pull out some surface salt ahead of cooking (EatHealthy365). Pat the block extremely dry afterward; the soak adds moisture right before the step where moisture is the enemy.
-
Pat every slice bone-dry with paper towel, pressing rather than wiping, then let the slices rest on a dry towel for a few minutes. Surface moisture is the leading cause of sticking, according to EatHealthy365, and the extra air-drying time helps beyond the initial pat (EatHealthy365).
-
Clean the grates and bring the grill up to real heat. On a gas grill, that means high; on charcoal, wait until the coals have turned ashen and the grate itself is very hot (BBC Good Food). Either way, aim for roughly 200-230°C, or 400-450°F (EatHealthy365).
-
Using a long-handled grill brush, apply a thin film of olive oil to the hot grates just before the cheese goes on. Keep your hands well clear of the flame, and never pour oil directly onto the grate; a light wipe is enough, since a pool of oil can flare or drip straight through the bars. EatHealthy365 credits this step, done on very hot grates, with searing the cheese on contact and keeping it from sticking (EatHealthy365).
-
Or skip the grate and brush the oil onto the cheese slices instead. That's BBC Good Food's approach (BBC Good Food). Both are source-backed techniques rather than one proven best method, so pick whichever suits your grill and your comfort level with an open flame.
-
Lay the slices directly on the bars and leave them alone for 2 to 3 minutes. Look for deep golden color and defined grill marks, the sign that a crust has formed and the cheese is ready to release on its own (BBC Good Food; EatHealthy365).
-
Flip once, then finish for another 1 to 2 minutes on the second side. It needs less time now, since the cheese has already started to soften (EatHealthy365).
-
Pull it off the grill immediately and finish it while hot. Squeeze fresh lemon juice over the top, add black pepper, and scatter fresh herbs if you're using them. Grilled halloumi is best eaten within minutes of coming off the heat; it doesn't hold well, and reheating won't fully bring back the original texture (EatHealthy365).
If you're cooking for more than four people, work in batches rather than crowding the grate. That way every slice gets a clean run at the hot bars instead of jostling for space.
How long to grill halloumi
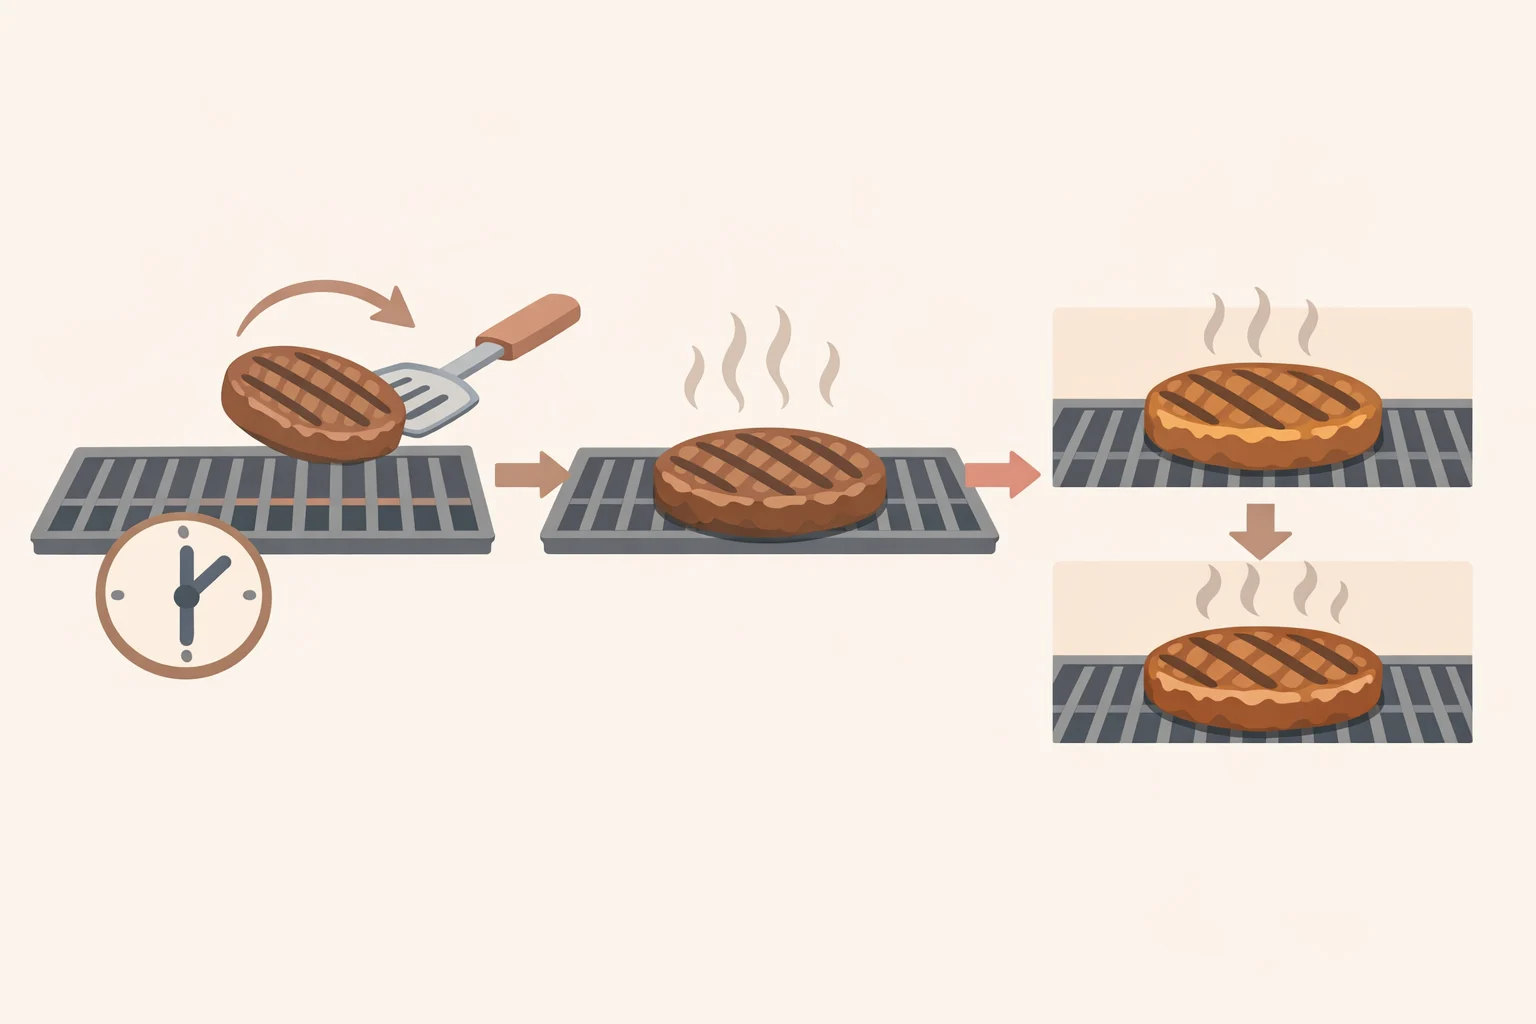
A batch spends about 5 to 6 minutes total over direct heat: 2 to 3 minutes on the first side, 1 to 2 on the second (EatHealthy365). BBC Good Food's barbecue version runs a similar 2 to 3 minutes per side, with the total shifting slightly depending on how hot the coals have gotten (BBC Good Food). Use that window as a guide, but pull the cheese once both sides are browned and the center has softened, whichever comes first.
Troubleshooting by symptom
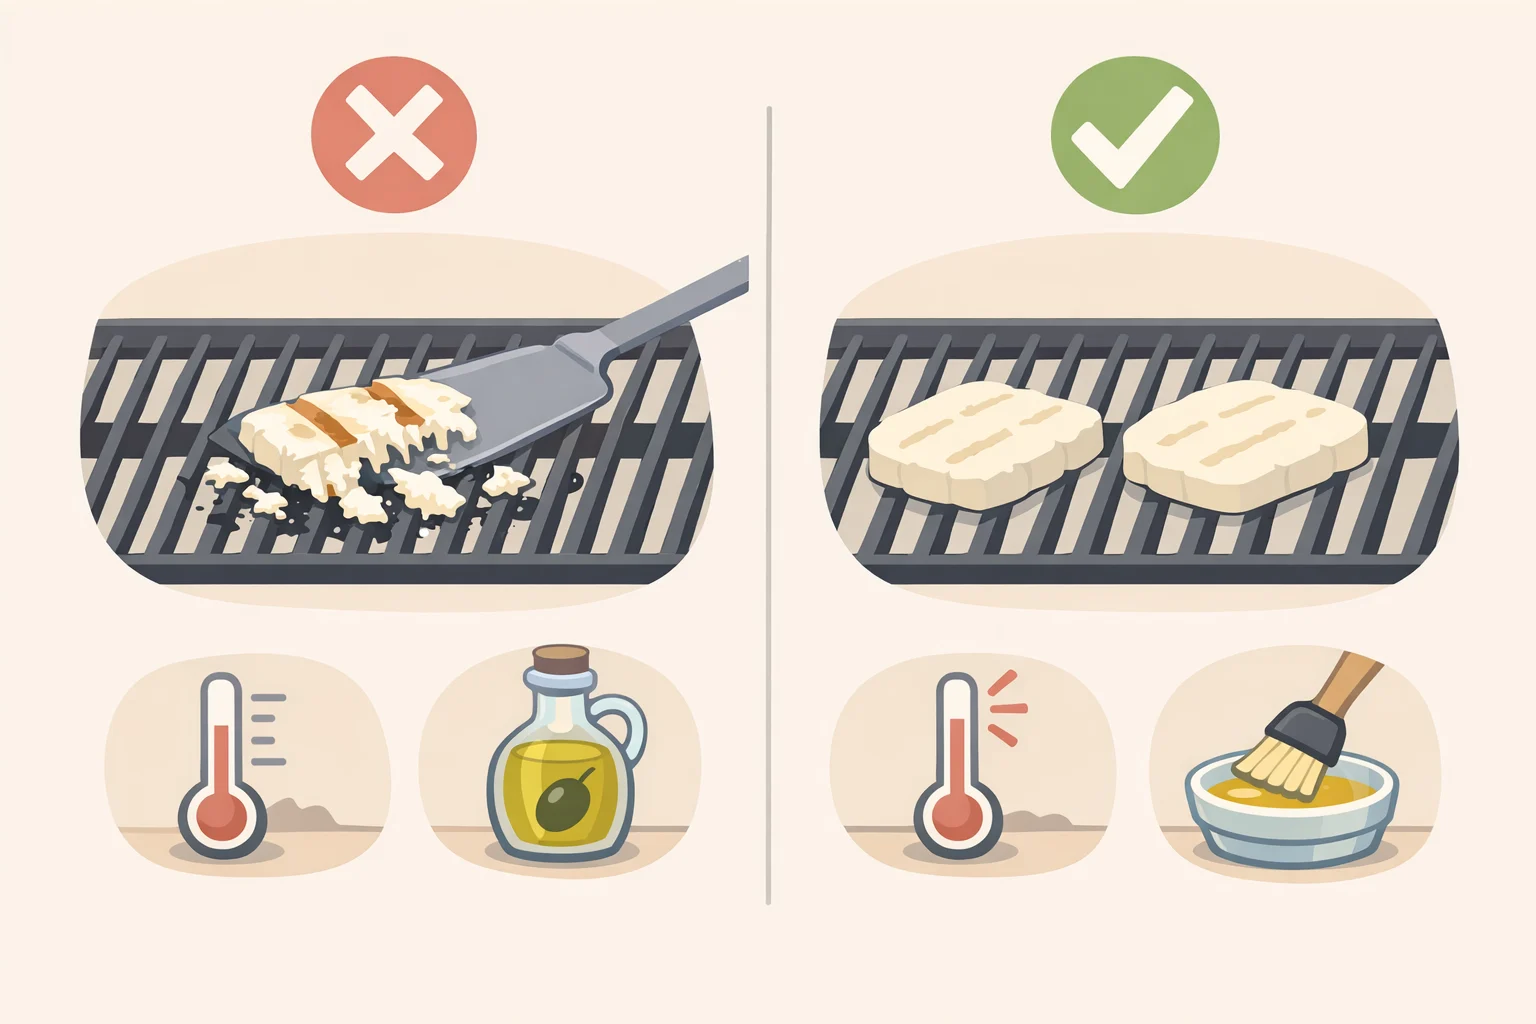
It won't release and is stuck before it browns. The slice likely still had surface moisture when it hit the grill, or the grate hadn't reached full heat. Don't force it with a spatula; let it cook a little longer, and on the next batch, dry the cheese more thoroughly and give the grill more time to preheat (EatHealthy365).
It released fine but looks pale instead of browned. The grill probably wasn't hot enough, or the slices went on slightly damp. Halloumi needs real heat, in the 200-230°C range, to sear rather than just warm through (EatHealthy365).
It browned nicely but turned tough or squeaky by the time you ate it. It probably sat out too long after cooking, or spent a bit too much time over direct heat to begin with. Serve it the moment it comes off the grill instead of holding it while the rest of the meal finishes; halloumi doesn't hold well once it's cooked (EatHealthy365).
If you're not grilling outdoors
Not everyone has a barbecue going, and the core logic, dry cheese plus real heat, carries over to other equipment with only minor timing changes.
Broiler or oven grill: BBC Good Food's indoor version calls for 3 to 4 minutes under the broiler before checking for browning and flipping (BBC Good Food).
Pan-searing: KnowTheCheese recommends a completely dry, oil-free non-stick or cast-iron pan on medium-high, about 2 to 3 minutes per side. Oil in the pan creates steam that slows browning (KnowTheCheese).
Skewers, for a crowd: BBC Good Food notes that large, diced chunks of halloumi can be threaded onto skewers and barbecued instead of grilled as flat planks (BBC Good Food). The same drying-and-heat logic still applies; just expect thicker chunks to need a little longer over direct heat than a plank would.
The method above solves the sticking problem; what to do with the cheese afterward is mostly a matter of taste. BBC Good Food serves grilled slices with Mediterranean vegetables like tomatoes and peppers, leaning on sweet or acidic dressings to balance the salt, and also tosses cooked slices into leafy, grain, or bean-based salads (BBC Good Food). Once the drying-and-heat routine is second nature, it carries over to pan-searing, broiling, and skewers with only small timing adjustments, so the next block of halloumi has plenty of places to go besides straight off the grill.