How to make birria tacos: a fat-fried quesabirria method
The difference between a birria taco that shatters when you bite it and one that collapses into mush often comes down to one choice: what touches the tortilla before it hits the pan. Dip that tortilla straight into the consommé and fry it, and it turns soggy, then burnt, as the cook tries to force the crunch back in (Gelson's warns). That's the premise behind the crisp-texture method this guide follows. Learning how to make birria tacos this way means treating the braise as three separate components, meat, fat, and consommé, instead of one pot of stew scooped from indiscriminately.
Birria didn't start as a taco. Its earliest Mexican records go back to the 1600s, when Spanish colonizers brought goats into the Jalisco region and handed them off to Indigenous cooks there, goat being considered lower-quality meat than beef, pork, or chicken at the time (L.A. Taco reports). Seasoned with a chile paste and slow-braised, that goat became one of Mexico's most recognizable dishes, and beef eventually became the everyday stand-in as birria spread (Gelson's notes). What hasn't changed is the fat: the marbling left on the meat during the braise rises to the surface, and that reserved fat, not the broth, is what crisps the tortilla later (Gelson's explains).
This guide walks through building a full batch of birria, separating it into its usable parts, and frying the tortilla in that rendered fat instead of the broth. It isn't the only correct way to eat quesabirria tacos with consommé; some cooks dip straight into the stew liquid for a softer, redder result, which is the traditional route (Billy Parisi describes that method). This version, and the crispy cheese birria tacos it produces, is for readers chasing maximum crunch.
What you'll need
Video of the Day
This beef birria tacos recipe splits into two stages: a long braise that can be done a day or two ahead, and a fast fry-and-fold step done right before eating.
For the birria base:
- Beef chuck, cut into large chunks (ribeye, lamb, or short ribs also work)
- Kosher salt and black pepper
- Dried chile pods, rehydrated in beef broth rather than water
- Chopped onion and garlic
- Bay leaves, oregano, coriander, and cumin
- Fire-roasted tomatoes
- Brown sugar and apple cider vinegar
- Beef broth
Leave the fat on the meat when you cut it. It looks wasteful going into the pot, but that fat is what renders down into the frying fat this whole method depends on (Gelson's).
For the tacos and consommé:
- Reserved birria consommé, warmed
- Fresh corn tortillas, about 20 for a full batch
- 2 cups shredded Oaxaca cheese
- 1 diced yellow onion
- ½ cup chopped cilantro
- Juice of 2 lemons (lime works too)
(Billy Parisi)
A heavy pot or Dutch oven, an immersion blender, two forks for shredding, and a nonstick skillet cover the equipment. Skip cast iron for the frying step; it tends to overbrown the tortilla before the inside catches up (Gelson's).
Video of the Day
Step 1: build the beef birria base
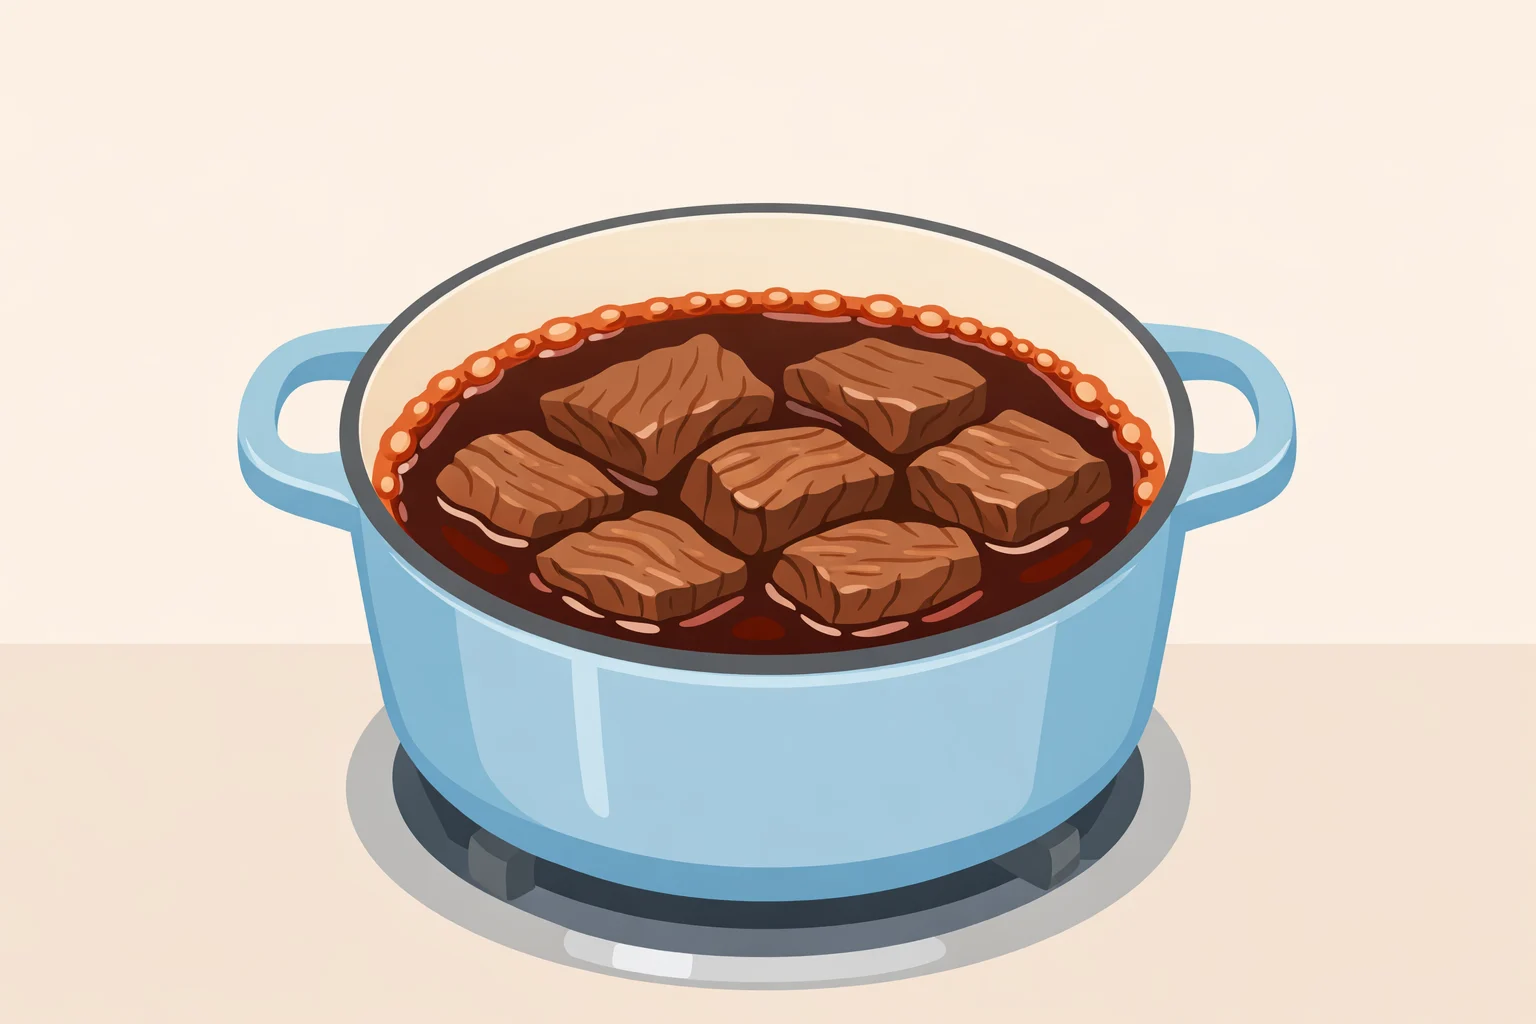
- Rehydrate the chiles. Soak dried chile pods in beef broth rather than plain water. The broth pulls in a smokier depth that water can't provide, and the chiles are usually ready in about 20 minutes (Gelson's).
- Season and rest the beef. Cut the chuck into large chunks, season with salt and pepper, and leave the surface fat in place instead of trimming it off. Let the seasoned meat rest at room temperature for about 30 minutes before it goes into the pot (Gelson's).
- Brown in batches. Sear the beef without crowding the pan. Give each piece room and it develops crisp, browned edges; crowd it and it steams instead (Gelson's).
- Build the sauce and braise. Sauté chopped onion and garlic, then stir in bay leaves, oregano, coriander, cumin, fire-roasted tomatoes, brown sugar, and apple cider vinegar with the beef broth. Boil for about 5 minutes, add the rehydrated chile pods, and blend the whole mixture smooth with an immersion blender (Gelson's). Pour it over the beef and braise, covered, in a 325°F oven for about 3 hours (Gelson's).
- Lift, shred, and skim. Pull the meat out of the pot without stirring the liquid, then shred it with two forks. Whatever fat has risen to the surface during cooking is the frying fat this method needs; skim it off, or chill the liquid first so a firmer cap forms and lifts away in one piece. What's left underneath becomes the consommé base (Gelson's).
Step 2: make the dipping consommé
Once the meat is out and the fat skimmed off, whatever remains in the pot is the dipping consommé. If any chile pods were soaked in plain water instead of broth at some point, taste that soaking liquid before it goes anywhere near the pot. It can turn bitter, and broth is the more dependable default (Mexican Please recommends).
Keep the consommé warm on the stove while the tacos fry, then ladle it into bowls right before serving. Top with diced onion, chopped cilantro, and a squeeze of lime or lemon, which cuts through the richness and rounds out the bowl (Billy Parisi recommends).
How to make birria tacos with a crisp tortilla
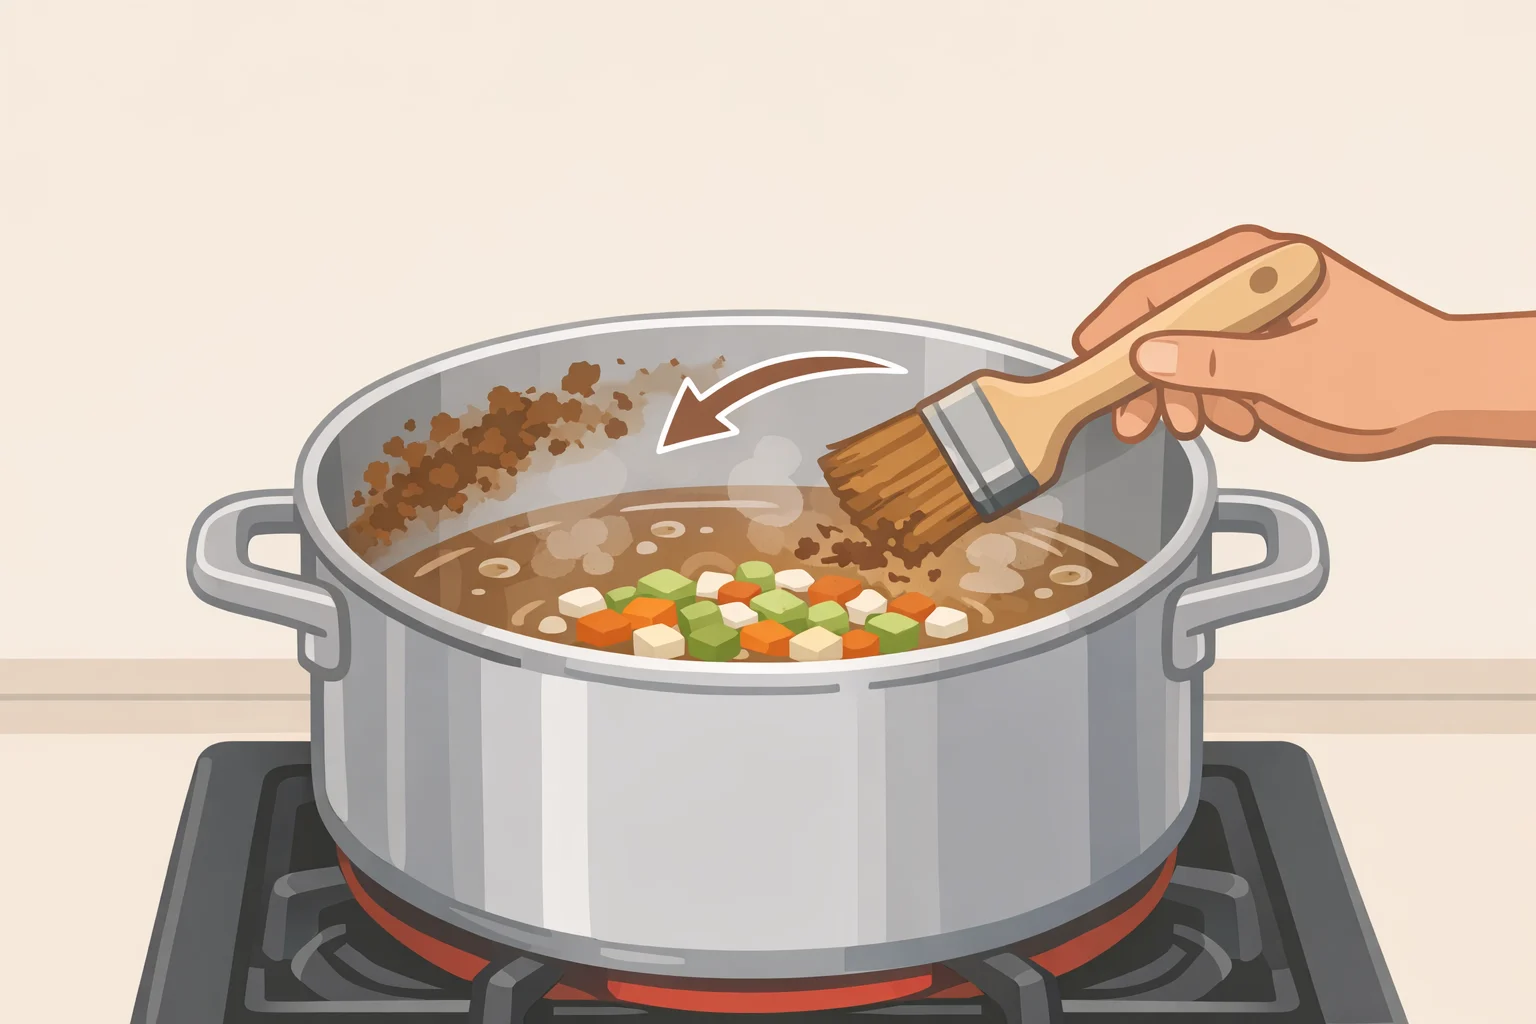
This step decides the taco's texture, so work in small batches and don't rush it.
- Start with fresh tortillas. Older ones sitting in the fridge are more absorbent and more likely to turn soggy the moment filling hits them (Gelson's).
- Heat the reserved fat in a nonstick skillet, not cast iron, which tends to overbrown the tortilla before the inside cooks through (Gelson's). Lay a tortilla in the fat without submerging it, and let it sit about a minute before the first flip (Gelson's). If a tortilla resists folding, pass it through the hot fat for three to five seconds first to firm it up (Gelson's).
- Add the fillings once the tortilla has color. Top with shredded Oaxaca cheese, which melts smoothly, and shredded beef, then fold the tortilla as the cheese starts to melt (Gelson's; Billy Parisi).
- Go light on the sauce, or skip it. For the crispest shell, keep the consommé in the dipping bowl entirely. Even a light brushing of sauce on the meat weakens the tortilla before it has a chance to crisp, so limit it or leave it out (Gelson's).
- Finish cooking. Cook a minute or two, fold, and cook about a minute more, flipping until both sides are browned and crisp. If a tortilla isn't as crisp as expected, give it a bit longer in the fat rather than pulling it early (Billy Parisi; Gelson's).
Fixing common problems
Tortillas that tear when folded probably needed that quick pre-fry pass in hot fat before filling went in (Gelson's). If cheese browns before it melts, drop the heat and give it a few extra seconds covered rather than pulling the taco early. A skillet that starts drying out between batches needs another spoonful of reserved fat, not broth, to keep the fry consistent. And tacos that soften while the rest of the batch cooks hold up better uncovered on a wire rack than stacked on a plate, since stacking traps steam and undoes the crisping.
Storing homemade birria tacos for later
A big braise is the whole point of this method, and freezing extends it further. Birria freezes well for up to 6 months when kept submerged in its own consommé, and it's best thawed in the refrigerator for about a day before reheating (Billy Parisi, a recipe updated this summer).
Store the fat and consommé in separate containers if possible. That way the frying fat is ready to melt straight into a skillet next time, instead of getting skimmed cold off a mixed pot. Billy Parisi's full recipe, braise included, runs about 20 minutes of hands-on prep against roughly three and a half hours of cook time, but almost all of that is unattended oven time (Billy Parisi). That braise only has to happen once; everything after it is a fast reheat and fry.
Beyond the taco
Once a batch of birria and its separated fat and consommé are sitting in the fridge, the taco is just one option. The same chile-based braise has been adapted across Mexico to other proteins: turkey and chicken versions turn up regularly, and coastal cooks build seafood birria around whatever high-oil fish is in season, from black cod to escolar to swordfish (L.A. Taco reports). Vegetarian cooks in Jalisco have been rehydrating soy protein and braising it in the same spice blend for decades, proof that the method matters more than the meat (L.A. Taco notes).
For a first attempt, braise a day or two ahead and refrigerate it with the fat and consommé kept apart. Fry only as many tacos as will get eaten right away, and pull the rest of the components from the fridge to fry to order as cravings hit. The braise is worth doing in bulk; the fry takes only a few minutes to repeat.