Crushed Fried Onions on Hot Dogs: How to Keep the Crunch
Press crushed fried onions onto the frank before the condiments go on, and they stay crunchy long enough to matter. That single sequencing decision is what separates a topping that delivers from one that dissolves into the mustard before you finish the first bite.
This guide covers how to layer crushed fried onions on a grilled hot dog, how finely to crush them, how much to use, and which builds will kill the effect before you even take that first bite.
Why crushed fried onions work as a crunchy hot dog topping
Video of the Day
The problem with chips is familiar: they go soft fast under wet condiments. In practice, a flat chip layer breaks down faster than a coarse, irregular onion layer, partly because of contact surface area and partly because chips start with a higher moisture uptake rate once the structural fat cooks off. Crushed fried onions, particularly the shelf-stable canister kind, have a denser, more rigid structure when coarsely broken. There's more to preserve when something wet lands on top.
There's a flavor argument too, and it's the more important one. Food writer Alyse Whitney warns against "overpowering fat on fat" when building a topping stack, per Eater's hot dog party guide. A buttered bun plus a grilled frank plus a greasy chip layer are all pulling in the same direction. Fried onions bring a savory, slightly bitter note from the cooking process, which puts them on the opposite side of the flavor equation rather than adding more of what's already there.
Whitney names potato chips, corn nuts, and chevdo as the crunch-topping options worth considering for hot dogs. Crushed fried onions aren't on that list, but the recommendation here is practical rather than authoritative: they're widely available, easy to crush to the right consistency, and flavorfully compatible with both yellow mustard and ketchup in a way that heavily seasoned snack foods often aren't. Corn nuts are worth knowing about if you want maximum texture durability on a longer build. Fried onions are the everyday starting point.
Video of the Day
When crushed fried onions on hot dogs work, and when they don't
The technique has a specific context where it performs well. Knowing the edges upfront saves a failed build.
Where it works:
- Grilled hot dogs. The slightly textured, charred surface gives the onions something to press into. A boiled dog has a slicker surface, and the onion layer shifts more easily when you bite.
- Builds with one or two condiments. Yellow mustard alone, or mustard with a little ketchup. Short topping list.
- Toasted buns. A toasted bun holds its shape under the topping load; a steamed bun compresses and the whole assembly loses structure.
Where it fails:
- Chili dogs or any build where a wet topping goes over the frank. The onion layer gets buried before it can deliver any crunch. Skip it entirely on those builds and bring the texture somewhere else: a stiffer side, a textured topping on a separate, simpler dog.
- Anything with fresh salsa, braised onions, or other toppings with significant liquid content. The onions soften quickly under moisture coming from multiple directions simultaneously.
- Builds assembled ahead of time. Crushed fried onions hold up better than chips, but they're not indefinitely stable. Assemble and eat.
Whitney's note about hot dog party flexibility applies directly here: "you want things to be able to work on the hot dog or as a side," per Eater's guide. On a loaded or saucy dog, moving the textural contrast to a side is the right call, not forcing a crunchy layer that won't survive the assembly.
What you need before you start
- One grilled hot dog in a bun. Grilled, not boiled.
- Crushed fried onions, shelf-stable canister variety. Plain or lightly salted; skip garlic-herb or heavily seasoned versions, which compete with the condiments.
- Yellow mustard. Start here before adding ketchup.
- Butter or plain mayo for toasting the bun (optional, but worth doing).
How to add crunch to a hot dog without losing it: the five-step build
Step 1: Toast the bun
Spread a thin layer of butter or plain mayo on the cut face of the bun. Place it face-down on a hot griddle or skillet until the surface is golden, somewhere in the range of 60 to 90 seconds depending on your heat level. A toasted bun keeps its shape under toppings in a way an untoasted bun won't.
Whitney recommends griddling the bun with flavored mayo as the best way to build flavor at the foundation of the whole build, per Eater's guide. Plain butter does the same structural job with a more neutral profile. Let the bun sit off the heat for about 30 seconds before loading it; straight off the griddle it's too soft and will compress immediately under the toppings.
Step 2: Place the hot dog in the bun
That's it for this step. Nothing else goes in yet.
Step 3: Crush the fried onions, then press them onto the frank
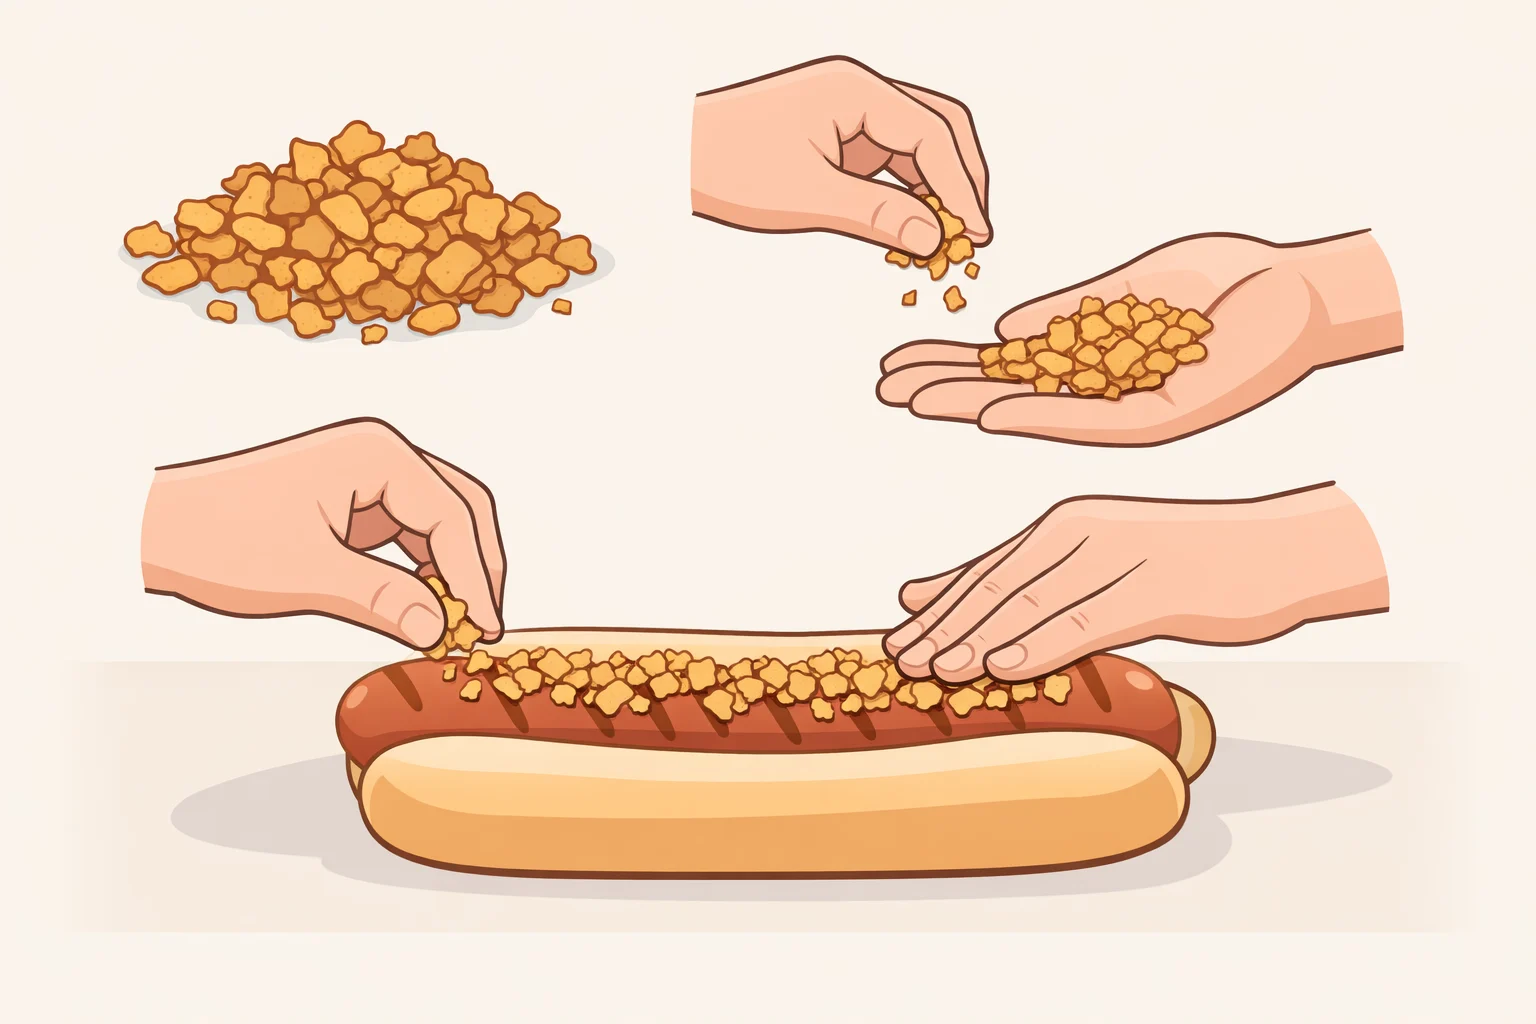
This step does more work than it looks like. Take a small handful of fried onions and break them between your palms or inside a folded kitchen towel. The target is coarse breadcrumbs: irregular pieces with some variation in size. Not fine powder, not large intact rings, not panko-fine dust. That size range is what delivers a distinct crunch rather than just adding texture noise, and it's what allows the pieces to grip the surface of the frank rather than rolling off.
Two to three tablespoons is the right quantity for a standard-size hot dog. Less than that and the crunch is intermittent; more than that and you get a thick pile that shifts under the condiment drizzle and detaches in a clump when you bite. One thin, even coat along the full length of the frank is the goal. Press down lightly with your fingers after scattering them. The frank's surface has enough texture to hold the pieces if you give them a little contact pressure.
A few things to watch for: if the pieces are too uniform, they tend to slide. If they're too fine, they dissolve almost as fast as a chip layer would. Irregular is right. Think of the difference between panko and regular breadcrumbs; the uneven texture is what makes coarse crumbs better at staying put on a surface.
Step 4: Drizzle mustard over the crispy onion layer
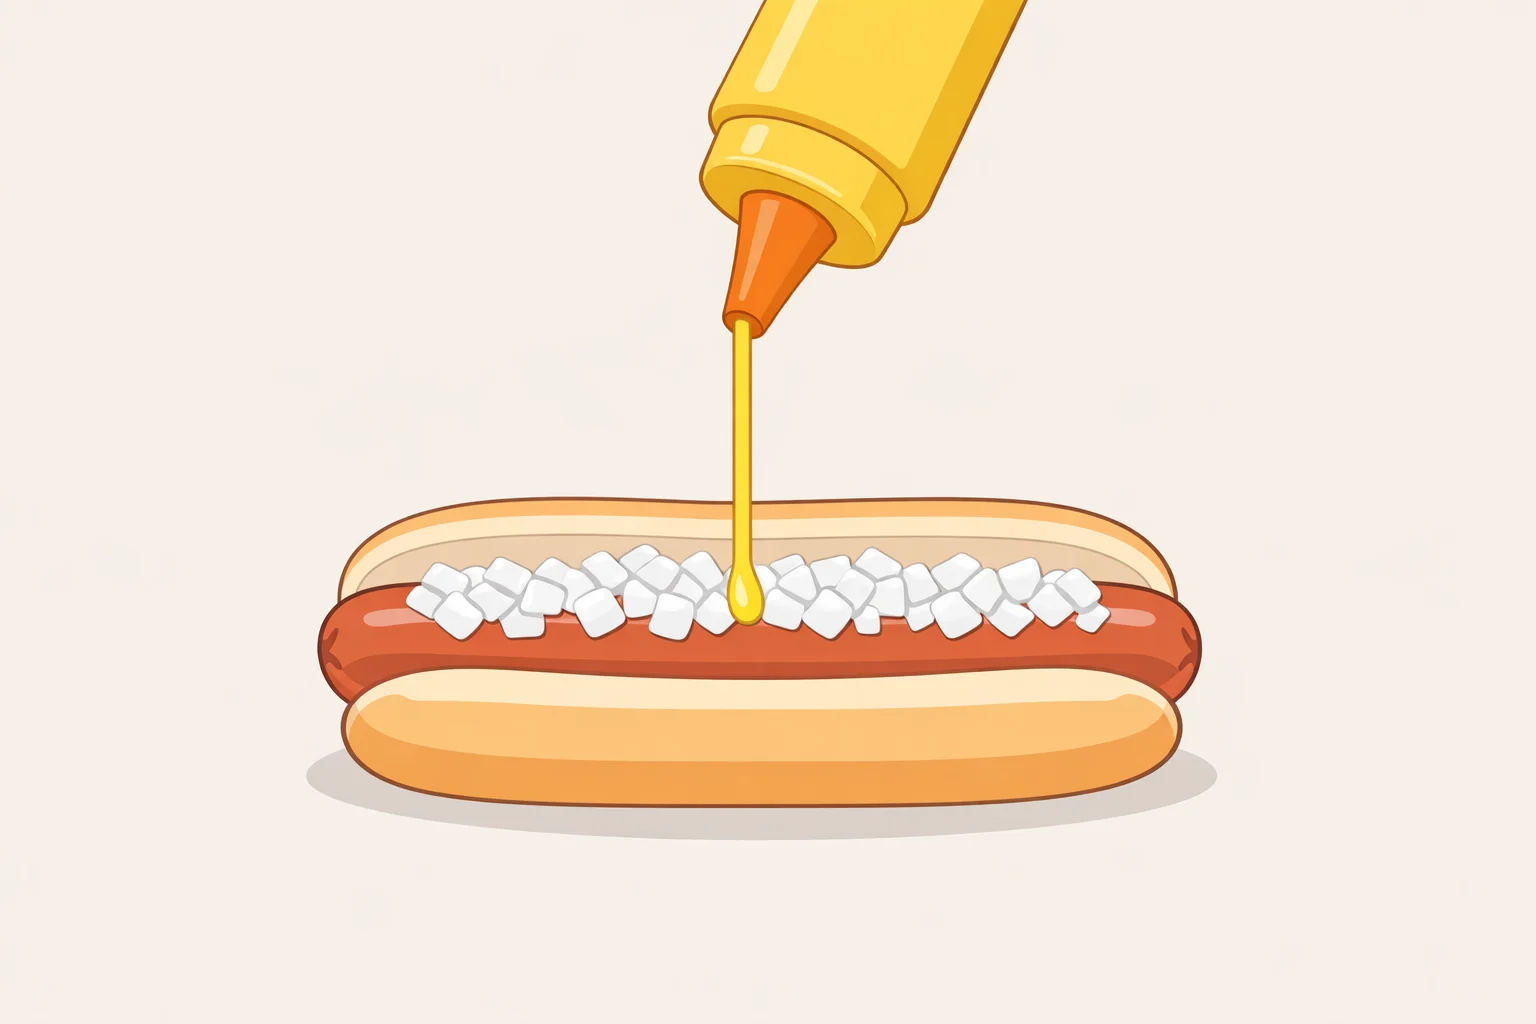
Apply mustard in a controlled line down the length of the dog, not a heavy pour across the whole surface. The fried onions are now sitting between the frank and the condiment. The drizzle lands on the onion layer from above rather than soaking up from below. That's the positioning that keeps them intact.
Start with mustard alone on the first build. It pairs cleanly with the savory onion flavor and gives you a clear read on what the onion layer is doing before you add another variable. A good visual cue: the mustard should sit on top of the onion pieces in a visible line, not disappear immediately into them. If it vanishes on contact, the layer is too thin or the onions were crushed too fine.
Add ketchup once you've built this once and can see what the onion layer actually does. If you pour heavy with either condiment, the onions will soften faster regardless of sequence. Thin drizzle first; more at the table if needed.
Step 5: Eat immediately
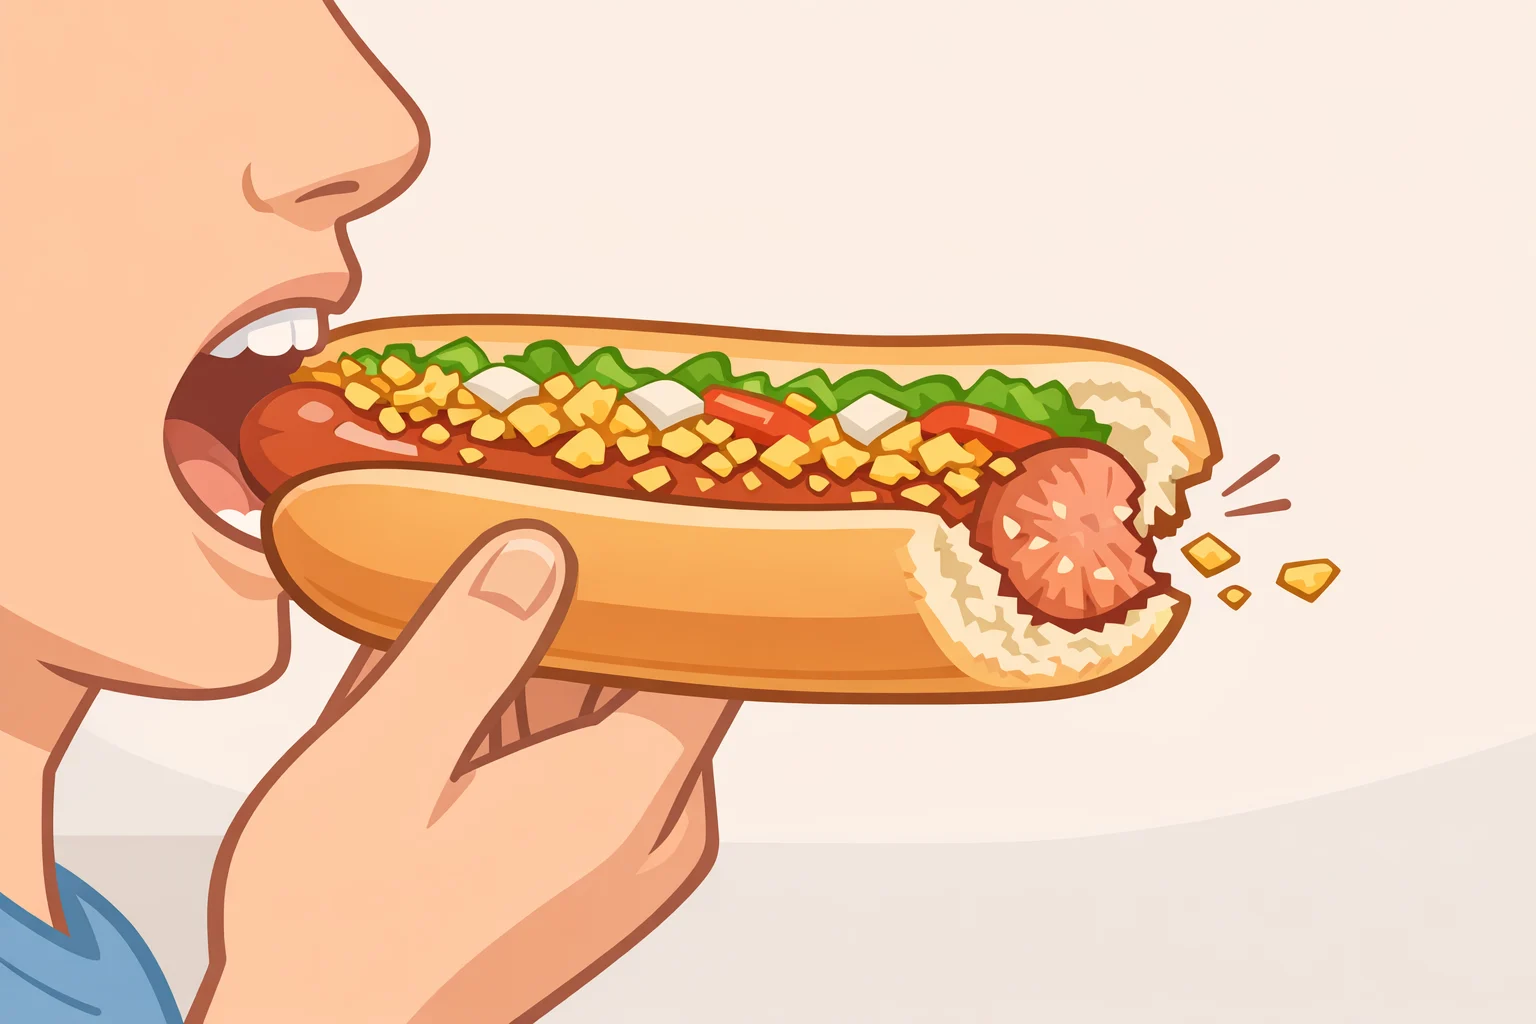
The crunch window is real. Don't build ahead.
The variation worth trying: pickled peppers
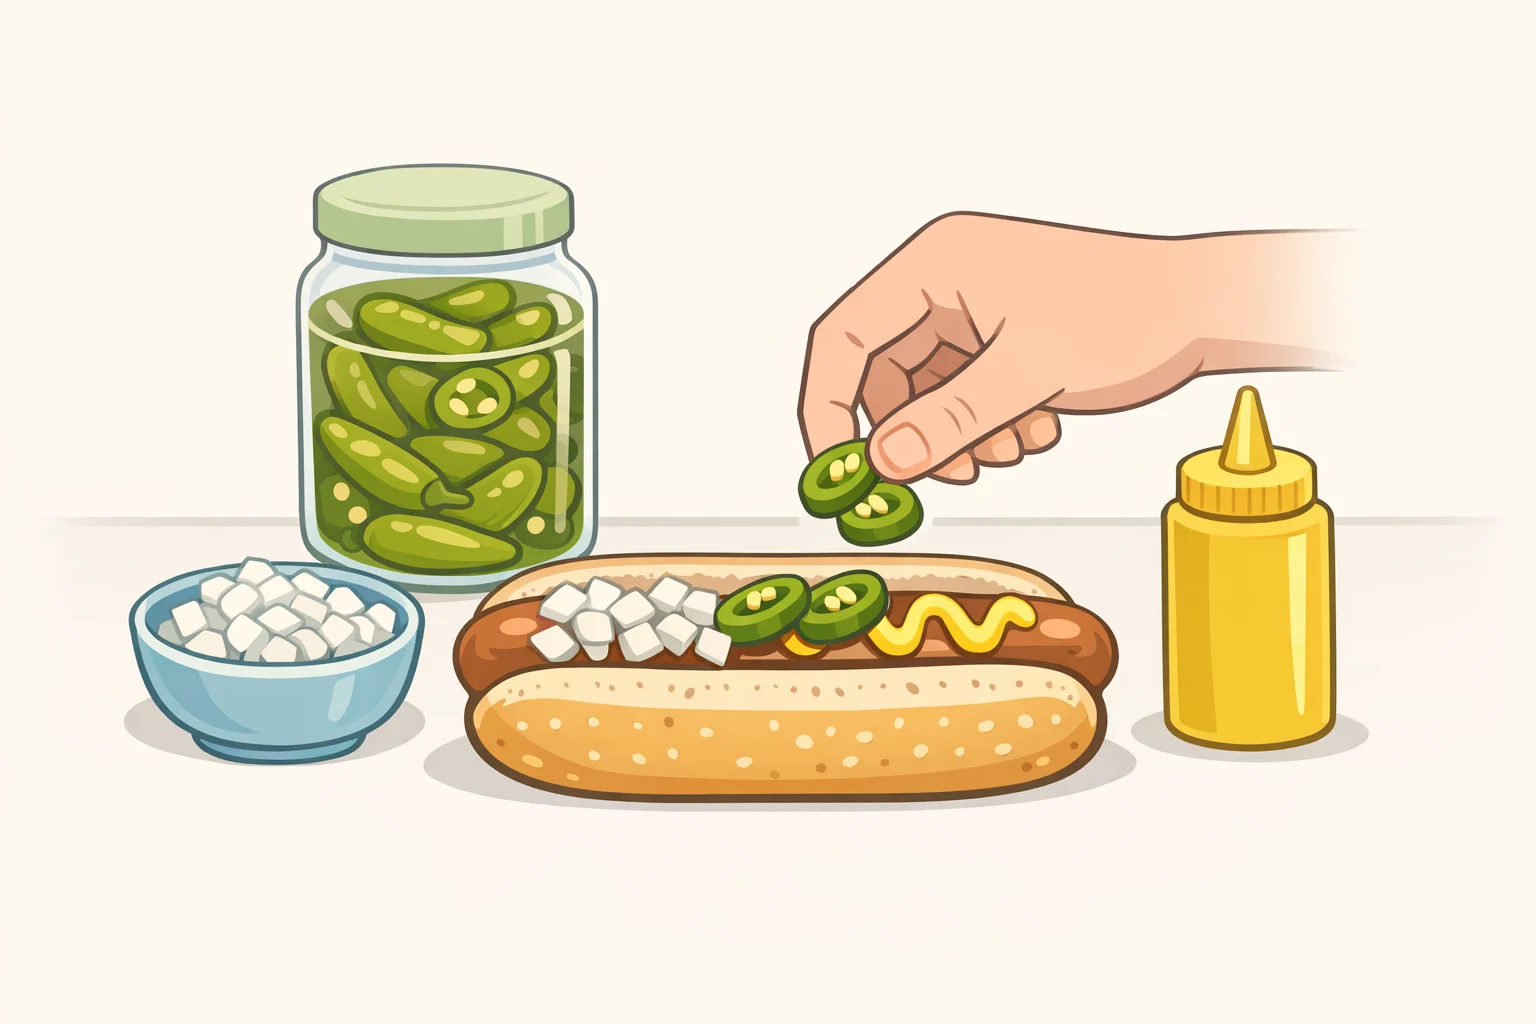
Once the default build is dialed in, one addition improves it without complicating it: a few slices of pickled sport peppers or pickled banana peppers, placed on the frank after the onion layer and before the mustard drizzle.
The peppers add acidity and brightness that neither the onions nor the mustard provides on their own. They contribute very little liquid, so they don't meaningfully accelerate the softening of the onion layer. The crunch holds; the flavor gets sharper and more interesting. Whitney's concern about fat-on-fat builds is what makes this pairing worth the extra step; the pickled peppers solve exactly that problem with a minimal footprint on the rest of the build.
The assembly-order logic extends to more elaborate builds too. The Sonoran dog recipe from Food52, published earlier this year, sequences pinto beans, a bacon-wrapped frank, griddled onions, raw onions, and diced tomato into the bun before finishing with squeeze-bottle mayo and mustard. Substantial layers first, sauces last. That's the same principle at work on a much more involved dog, and it confirms the sequencing isn't a quirk specific to fried onions; it's the right way to build any hot dog with multiple toppings.
Getting the build right
The onion quantity and crush size are where most first attempts go wrong, not the sequencing. Two to three tablespoons, coarsely crushed, pressed lightly into the frank: that's the configuration that makes everything else work. Too much and the layer collapses; too fine and it behaves like powder. Get those two variables right and the condiment-over-onion sequence does the rest.
The default build, grilled dog, toasted bun, coarse fried onions, yellow mustard, is worth making once before adding anything. It shows you exactly what the technique delivers with nothing in the way. Once that's clear, the pickled pepper variation is the obvious next step. From there, Whitney's point about hot dog versatility opens up: "I love that a hot dog can be transformed into so many things," she told Eater. The fried onion build is one version of that transformation: simple, repeatable, and worth getting right before moving on to the more complex builds.