Hot Honey Halloumi Burgers Recipe With Crispy Crust Tips
This guide walks through how to build a hot honey halloumi burgers recipe with a properly browned or genuinely crispy crust, a balanced glaze, and a build sequence that keeps the whole thing from collapsing on the first bite. Three cooking methods are covered. Pick the one that fits your situation, then follow the steps in order.
The core problem: halloumi is salty, dense, and cooks into something rubbery and one-note if you handle it wrong. The fix is a specific prep technique, a sweet-spicy glaze that counterbalances the salt, and an assembly order that keeps the bun from going soggy before you get to the table.
Halloumi is a semi-firm cheese with a high melting point, which means it holds its shape under direct heat rather than spreading, as both Delish and The Global Vegetarian confirm. That's what makes it work as a burger patty at all. Hot honey does the balancing: it counters the saltiness, creates a sticky glaze that clings to the browned crust, and adds just enough heat to make the combination interesting rather than cloying, per The Global Vegetarian.
What you need before starting:
- Yield: 4 servings
- Base method (bare sear): 25 minutes total, per Delish
- Coated-fry method: budget more time (The Global Vegetarian lists 40 minutes prep and 30 minutes cook for their version)
- Equipment: cast-iron skillet or heavy frying pan, fish spatula, paper towels
Key ingredients: one 16-oz block halloumi, neutral oil, hot honey (bottled or homemade), red cabbage, lime, mayonnaise, burger buns
Which cooking method to use for your halloumi burger
Video of the Day
The most important decision before you pick up a knife. It determines how you prepare the cheese and which components make sense alongside it.
Bare sear: Fastest result, deepest even browning, soft interior. Best for weeknights. No coating. Delish prefers this over grilling specifically because direct pan contact produces better all-over color more browning means more flavor at the crust.
Coated fry: Crunchy exterior, softer and less salty center. More time, but the most textural contrast. The Global Vegetarian uses this as their standard method, double-coating the slabs for maximum crunch. If the priority is a fast easy halloumi burger recipe on a weeknight, stick with the sear.
Grilling: Good if you're already cooking outdoors and want char marks. Browning is less even than a sear, and a flour coating won't work on the grill it won't crisp and will fall apart, as The Gluten Free Blogger makes explicit. For a grilled halloumi burger with hot honey, oil the grates well and go without any coating.
Coating instructions throughout this guide apply only to the coated-fry path. Searing or grilling, skip them.
Video of the Day
Step 1: prepare the halloumi moisture control first
Everything that happens in the pan depends on what you do before the halloumi gets there. Surface moisture blocks browning. Don't skip this.
- Remove the halloumi from its brine and slice into four half-inch planks. One 16-oz block, four servings. Thinner slices crisp faster; thicker slices give you more interior softness. Delish uses this thickness as the baseline.
- Lay the slabs on a paper towel-lined tray, press another layer of towels on top, and let them sit for 5–10 minutes. The Global Vegetarian specifies this window before coating and frying. For the bare sear, pat dry a second time immediately before the halloumi goes into the pan.
If the halloumi hisses, spits, and stays pale when it hits the oil, it wasn't dry enough. Pull it, dry it again on fresh towels, and return it to a hotter pan. Steam is the enemy of a crust.
Coated-fry path only optional pre-soak: The Gluten Free Blogger added a boiling water soak in a recent update: submerge slabs for 15–20 minutes before the paper towel dry. The claimed benefits are a softer interior, reduced saltiness, and less rubbery chew. Worth doing on the coated-fry path where the crust handles the crunch; skip it for the bare sear, where you want nothing softening the interior.
Step 2: cook the halloumi
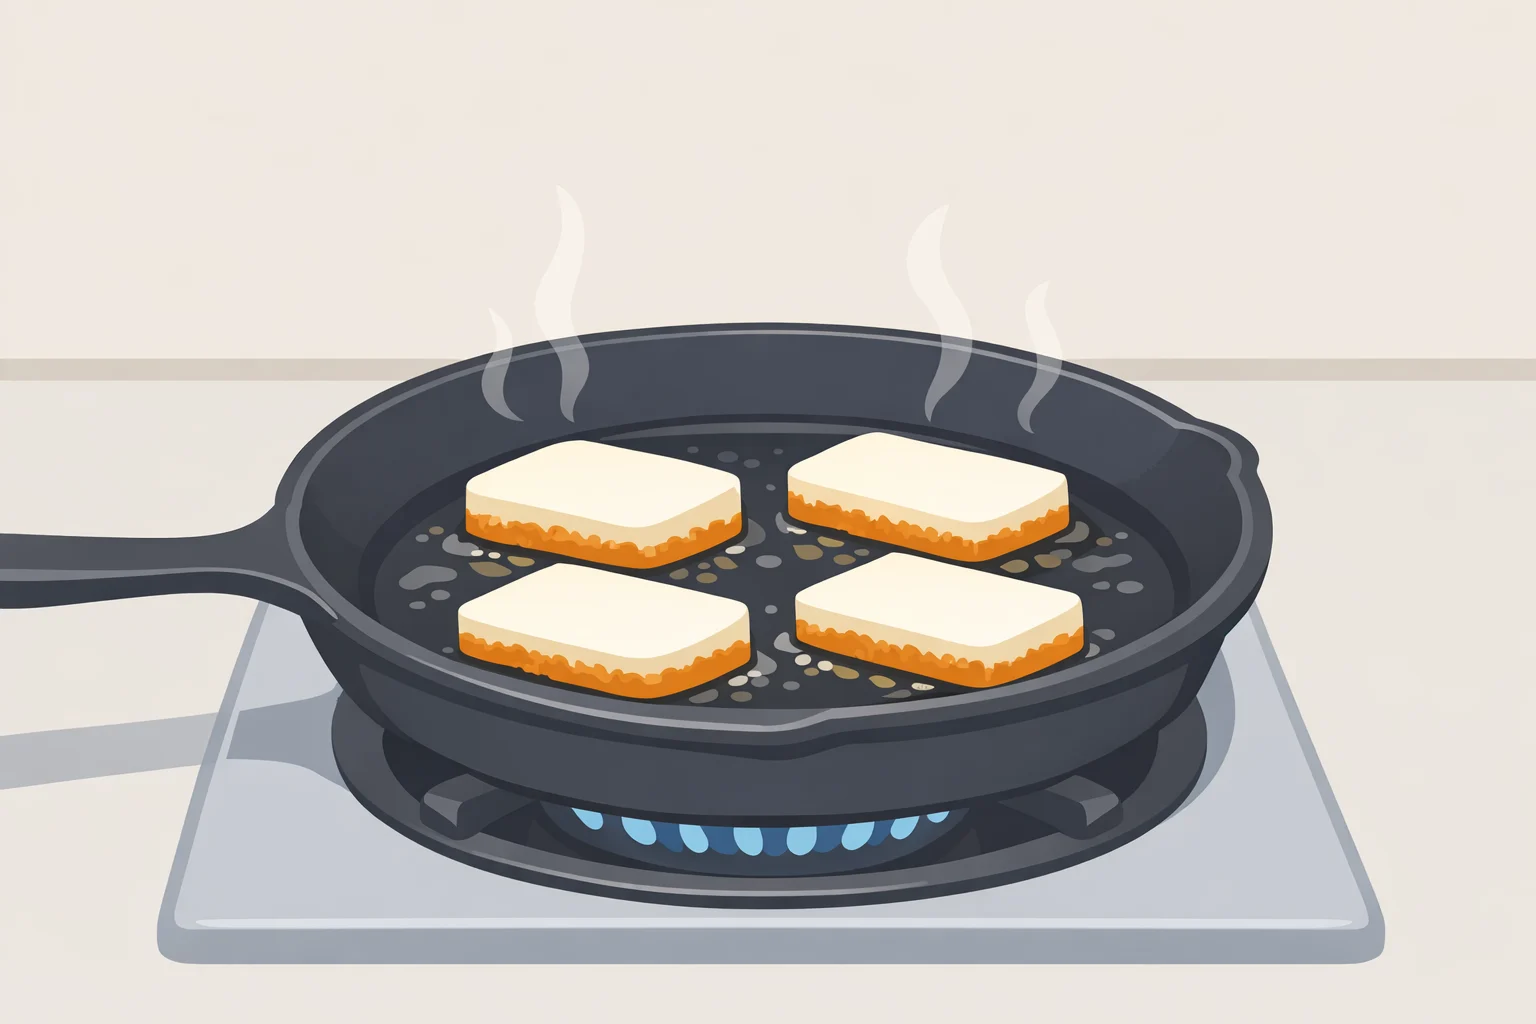
Bare sear (default):
- Heat one tablespoon of neutral oil in a cast-iron pan over medium heat until shimmering.
- Add two halloumi planks. Leave them completely undisturbed for 2–3 minutes until the underside is deeply browned you'll see the color creep up the sides. The halloumi will stick briefly and release on its own once a crust forms. Force it early and the crust stays in the pan.
- Flip using a fish spatula, which slides cleanly under the seared crust without tearing it. Cook 1–2 minutes more. Transfer to a plate.
- Repeat with the remaining pieces and a fresh tablespoon of oil, per Delish.
Coated fry (crunchiest result):
- Set up three stations: dry flour in one dish, a thin slurry of flour and water in a second, breadcrumb mixture in a third. The Global Vegetarian mixes breadcrumbs with crushed kettle chips, nigella seeds, and paprika. Panko mixed with sesame seeds as Bites by Luna uses is a simpler alternative.
- Dredge each dried slab: flour, then slurry, then breadcrumb mixture. For a thicker crust, repeat the slurry and breadcrumb step once more. The Global Vegetarian recommends this double-coat for maximum crunch.
- Let the coated slabs rest for two minutes before frying the crust needs to set before it hits the oil. If it isn't adhering, the halloumi wasn't dry enough, or the slurry is too thick.
- Fry 2–3 minutes per side in neutral high-smoke-point oil over medium heat until deeply golden. Bites by Luna uses sunflower oil for this. Drain on paper towels.
Grilling: Oil the grates and rub the halloumi with oil. Cook 2–3 minutes per side until grill marks form and the center is soft. No coating.
Step 3: make the hot honey
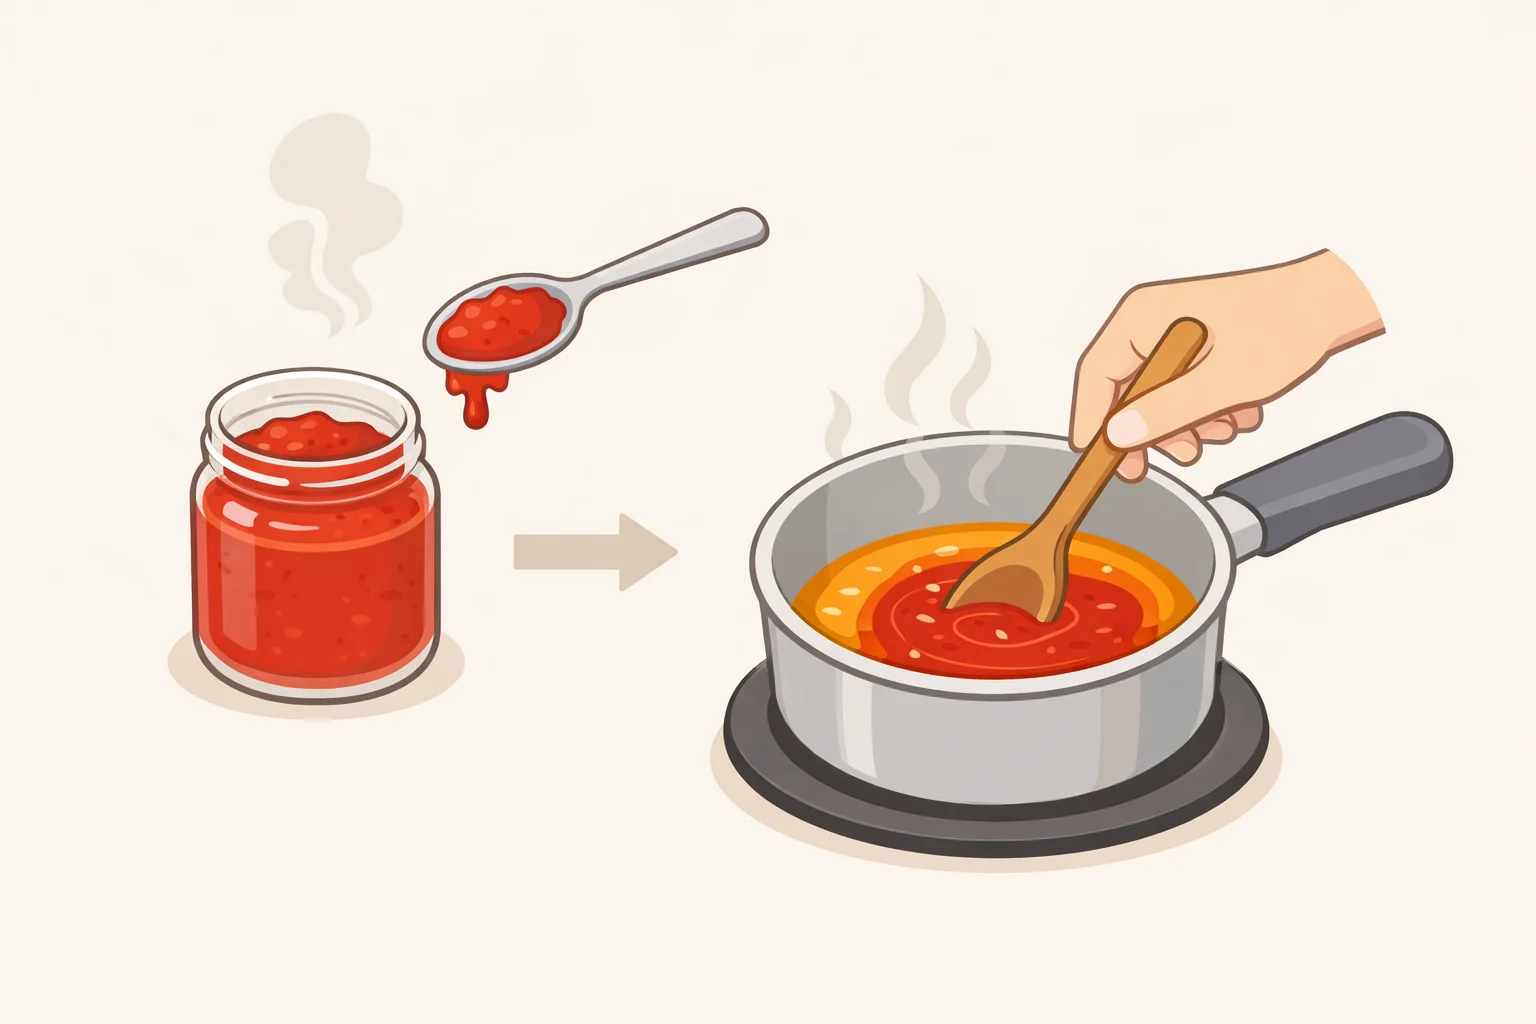
The hot honey goes on twice during assembly once on the bun base, once directly on the cooked halloumi. Drizzle while the cheese is still hot from the pan so the glaze sets against the crust rather than sliding off, per The Global Vegetarian.
Simplest approach: Bottled hot honey, used as-is. That's the Delish baseline, and it works fine.
Harissa upgrade: Warm honey in a small pan over low heat until loosened, stir in 1–2 tablespoons of harissa paste, remove from heat, and mix until smooth. The Global Vegetarian uses roughly this ratio. The harissa adds smoky depth without changing the texture. Make it ahead it keeps in a sealed jar and can be warmed gently if it solidifies, per Bites by Luna.
Jalapeño upgrade: Combine honey and one finely chopped jalapeño in a small pan over medium heat. Cook 3–4 minutes, stirring occasionally, until the honey thins and takes on the jalapeño flavor. Stir in half a teaspoon of apple cider vinegar and a quarter teaspoon of smoked paprika, then remove from heat, per Bites by Luna. For less heat, remove the seeds before cooking.
Step 4: make the slaw and spread
Slaw:
- Combine shredded red cabbage, fresh lime juice, a small amount of neutral oil, and salt. Keep the dressing light overdressed slaw goes limp within minutes and loses the crunch you need.
- Add thinly sliced Fresno chile and scallion for heat threaded through the slaw itself, as Delish does. Dress just before assembling.
Spread:
- Basic: Plain mayonnaise, one tablespoon per bun.
- Two-minute upgrade: Mix mayo with lime juice, finely chopped cilantro, and garlic paste, per The Gluten Free Blogger. The lime and herb cut through the richness of the cheese and honey.
Don't skip the spread. It creates a moisture barrier between the bread and the slaw, keeping the bun from going soggy while you eat. Drizzling hot honey on bare bread is not the same job.
Step 5: assemble in this sequence
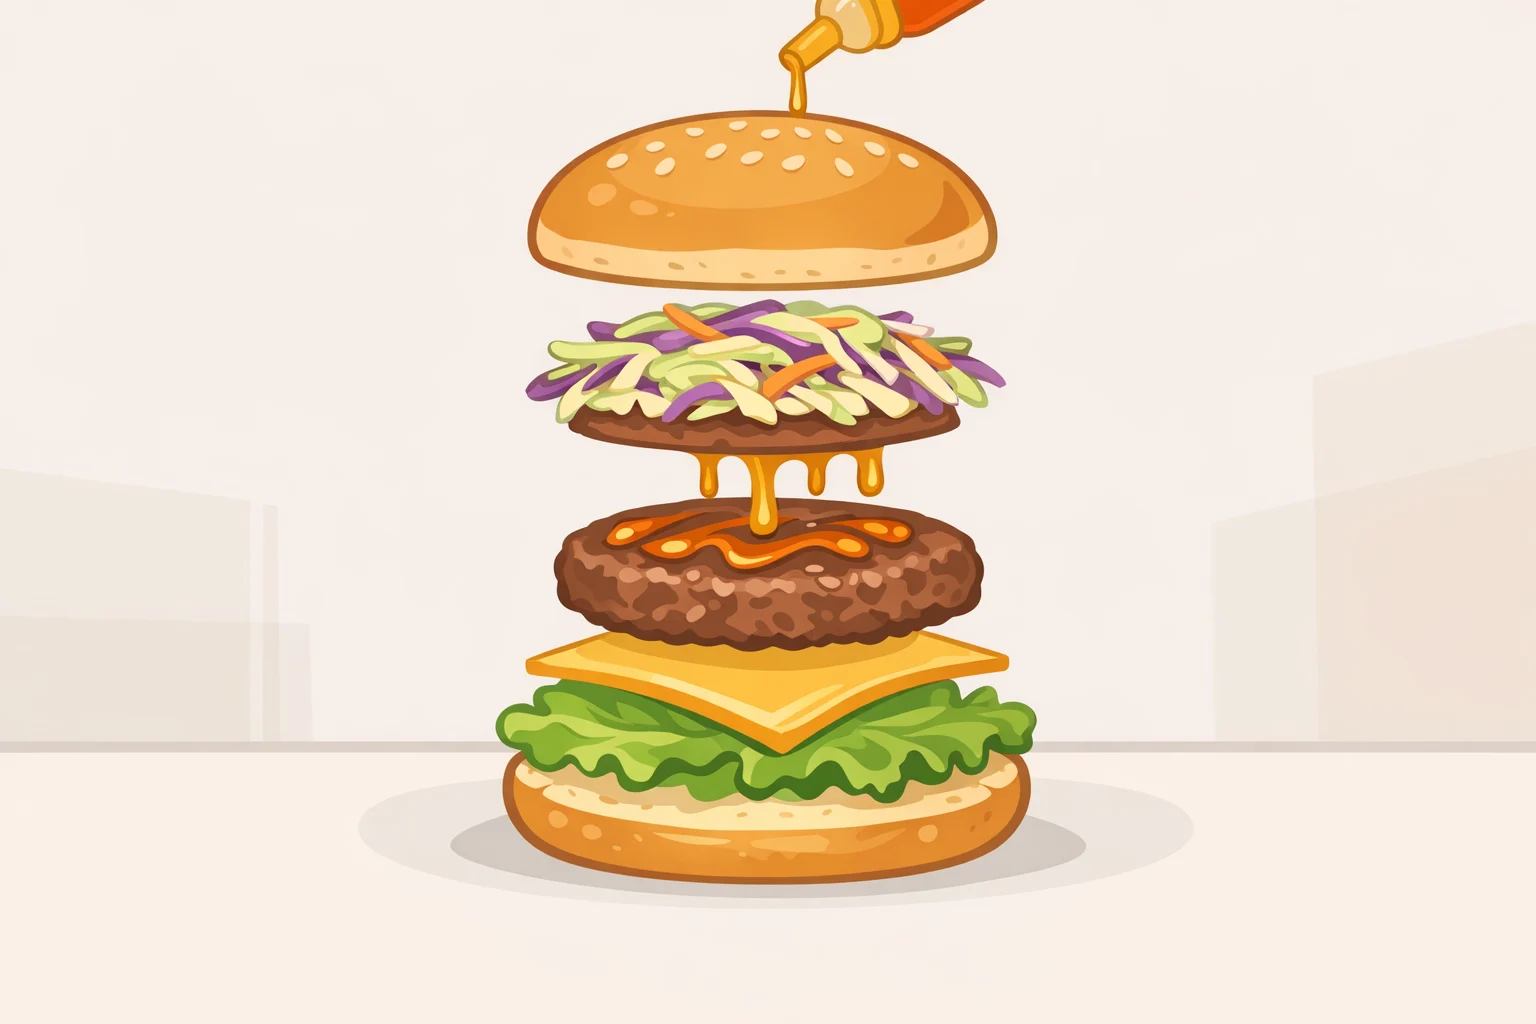
Order matters here for practical reasons, not aesthetic ones.
- Toast the buns cut-side down in the same pan used for the halloumi, 2–3 minutes until golden. The residual oil does the work no fresh pour needed.
- Spread 1 tablespoon of mayo on the bottom bun.
- Drizzle 1 tablespoon of hot honey directly over the mayo. Delish applies hot honey at this stage on the base, then again on the halloumi two applications, two jobs.
- Add the slaw on top. The mayo-honey layer stops it sliding around.
- Place the hot halloumi on the slaw.
- Drizzle the remaining hot honey directly onto the halloumi while it's still hot.
- Layer thin-sliced tomatoes on top. Thin slices only The Global Vegetarian specifically calls for very thin slices to prevent sogginess. Thick slabs add too much liquid and destabilize the stack.
- Close and serve immediately. Halloumi firms up as it cools. This burger doesn't hold.
Don't assemble ahead of time. The slaw softens, the crust goes limp, and the bun absorbs moisture within minutes. Build to order.
Make-ahead and storage
- Hot honey (any version): Make up to a day ahead. Store in a sealed jar at room temperature. Warm gently if it solidifies, per Bites by Luna.
- Slaw: Best made fresh. If prepping ahead, keep cabbage and dressing separate and combine just before serving.
- Cooked halloumi: Store in an airtight container in the fridge for up to 2 days, per Delish. For the seared version, Delish recommends reheating in 10-second microwave bursts until warm. For the coated version, a hot pan is better the microwave softens the crust. Bites by Luna and BBC Good Food both recommend storing all components separately and assembling fresh.
- Spread: Keeps well for 2–3 days in a sealed container in the fridge.
The assembled burger doesn't store. Everything else does. If you're making this for a group, split the work: honey and spread one day, everything else the day of.
The bare sear is the right call for a weeknight 25 minutes, minimal fuss, genuinely good results. The coated fry is worth the extra time when you want something more substantial. Either way, the mistake most people make is rushing the drying step, then wondering why the crust never developed. Give the halloumi time on the paper towels, let it release naturally in the pan, and drizzle the honey while everything is still hot. The rest is assembly.