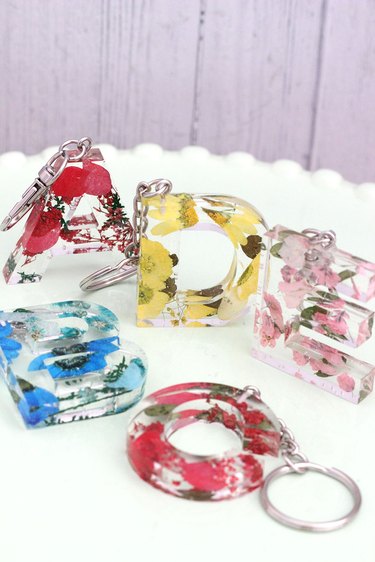
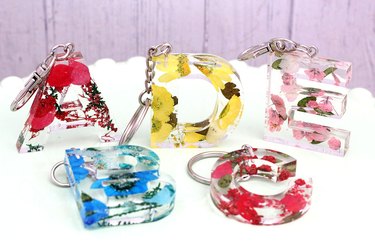
You may have seen them on TikTok – those adorable alphabet keychains with flowers encased in clear resin. If you've been wondering how to make them yourself, you've come to the right place. Even if you've never had any experience working with resin, you can master the art of making these keychains. They're a breeze to make, and the supplies are easy to find. Who knows – maybe you and your keychains could be the next TikTok sensation!
Video of the Day
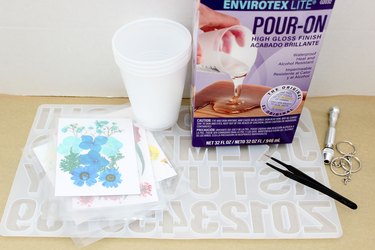
Things You'll Need
Alphabet resin mold
Dried flowers
Scissors
Resin and hardener kit
Plastic cups
Black marker
Popsicle sticks
Tweezers
Lighter
Sandpaper
Hand drill
Eye screws
Keychain hardware
Pliers
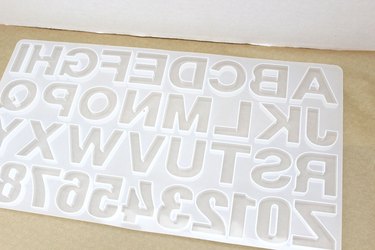
Step 1: Start With the Right Mold
For this project, you'll need a silicone alphabet mold. You can purchase these from online retailers. Look for a mold with letters that are backward. This way, the front of the resin letters, which were at the bottom of the mold, will be smooth. When I bought my alphabet mold, it came with a hand drill and keychain hardware, so no additional shopping for those items was necessary.
Video of the Day
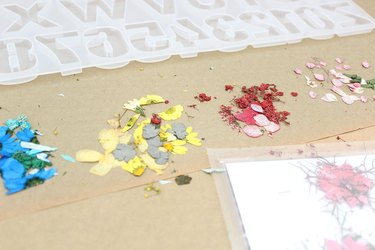
Step 2: Cut Up Flowers
You can buy sheets of dried flowers from online retailers or at craft stores. The flowers need to be small enough to fit within the alphabet mold, so cut them into smaller pieces with scissors. I like to keep them in distinct color families, but you can mix them if you prefer.
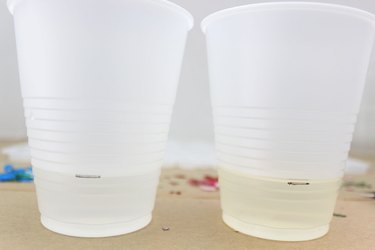
Step 3: Mix the Resin
If you've never worked with resin before, it can seem intimidating, but resin companies target the casual crafter, making it easy even for beginners. You can find resin kits at your local craft store. They consist of two parts: the resin and the hardener. Gather some clear plastic cups (preferably the kind with ridges on the sides) and make a mark in the same place on both cups using the ridges as a guide. Then, pour some resin in one cup and an equal amount of hardener in the other. These were the proportions for the resin kit I bought. Different brands may require different proportions, so follow the directions in the package.
Pour the contents of both cups into a third cup and mix for two minutes with a popsicle stick. Again, these were the directions for the brand of resin I used. Check the directions for the specific brand you use.
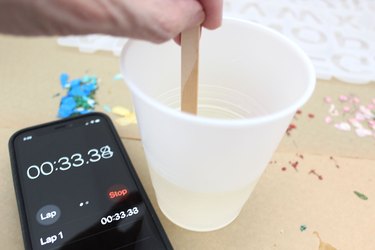
After two minutes, pour this mixture into a fourth clean cup and stir for another minute with a clean popsicle stick.

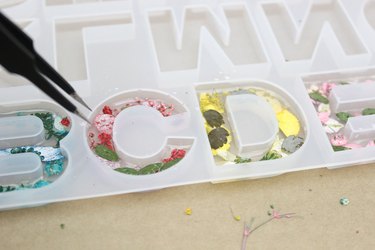
Step 4: Pour the Resin Into the Mold
Pour a small amount of resin into the alphabet mold using a popsicle stick to spread the resin into the different nooks and crannies. Don't fill the molds at this point; only go about halfway with the resin.


With tweezers, position the dried flowers inside the alphabet mold. Press down on them with the tweezers to secure them to the resin. Think of them as prehistoric animals getting stuck in tar.
Step 5: Cover the Flowers With Resin
Pour more resin into the molds to cover the flowers, going up to the rim. If the resin in your cup has already hardened by the time you've added the flowers, just mix a new batch of resin. If you were quick and the resin is still in liquid form, then you're good to go.
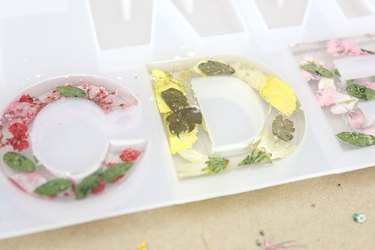
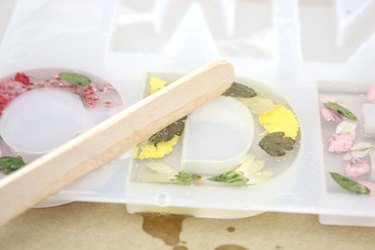
It does not take much resin to fill the molds, and it's possible to overfill them so resin oozes over the edges. Don't worry – your work is not ruined. Just take a clean popsicle stick and slide it over the mold to level any excess resin. Push the resin to the side or to an unused part of the mold.
Step 6: Remove the Air Bubbles
Air bubbles will form as you're mixing the resin, and these bubbles will remain in the molds after you pour the resin. You may want to keep the bubbles, as they do offer an interesting design element. However, if you want to remove the bubbles so the resin is completely clear, you can remove them by moving the flame of a lighter across the resin.

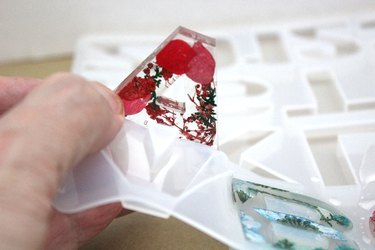
Step 7: Remove the Letters From the Mold
Allow the resin to harden in the mold for a full 24 hours. Then, remove the letters from the mold. They will pop right out.
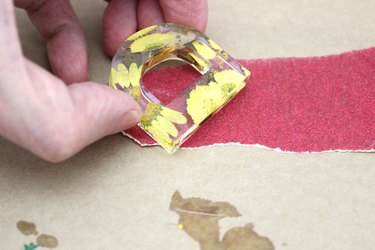
Step 8: Sand the Edges
The way the resin settles in the mold as it hardens can cause the edges of the letters to be sharp. If this is the case with your resin letters, lightly sand the edges with sandpaper. I used a 120-grit fine sandpaper.
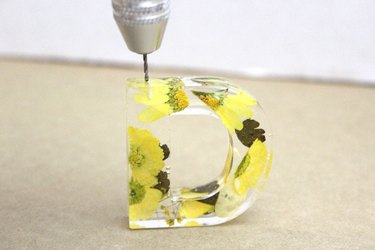
Step 9: Drill a Small Hole
Drill a small hole at the top of the resin letter with a hand drill. Nonelectrical hand drills are handy for small projects like this, giving you more control without fear of the drill bit going rogue and causing harm to the resin letter, not to mention your fingers. Only drill about an eighth of an inch.
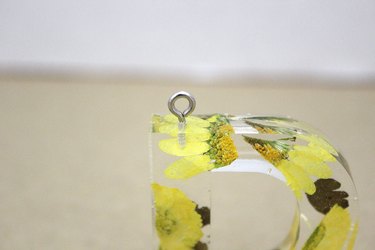
Step 10: Attach the Keychain Hardware
Screw an eye screw into the hole you drilled.
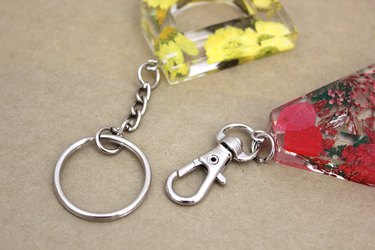
Attach keychain hardware to the eye screw, securing them with pliers.
These can be your go-to gifts for everyone. So, even if you don't become a viral sensation after making them, you'll still be a sensation with friends and family.