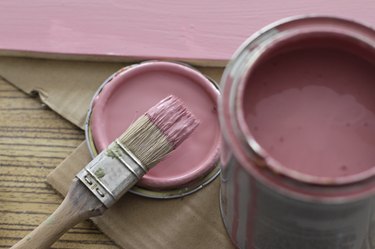
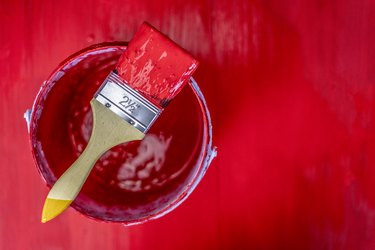
There's a point that comes about halfway through the painting process when you start to convince yourself that you should have left well enough alone. Those chips and scrapes in the old paint job added character, didn't they? Don't let that inner voice fool you — a fresh coat of paint can transform a space, and it doesn't have to be a painful process. These simple hacks take a lot of the mess and hassle out of painting projects.
Video of the Day
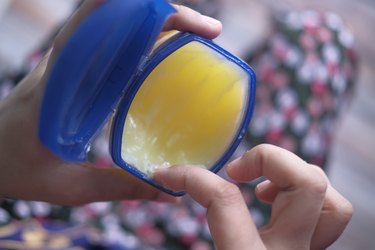
1. Protect Unpainted Areas With Vaseline
In every painting job, there are those areas that you don't want to paint but can't easily cover with painter's tape. Smear a little petroleum jelly over those areas before painting around them. When the paint dries, wipe away the jelly along with any errant paint that ended up there. Petroleum jelly-based lip gloss will even work in a pinch.
Video of the Day
2. Stretch Plastic Wrap Under Can Lid
When you're done with your painting job, don't just tap the can top back into place. The paint that dries around the top will make it difficult to pry open the next time you need to use that paint. Instead, simply cover the open can with a layer of plastic wrap before putting the top on. Your future self thanks you.
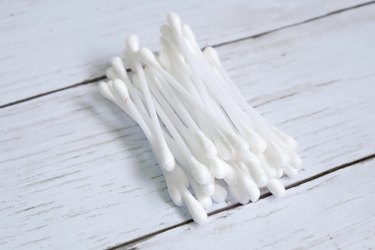
3. Keep Q-Tips Within Reach
The best time to fix a painting mistake is immediately. Cotton swabs are perfect for making precision corrections. Keep a handful within reach, especially while painting tough areas like windowsills and baseboards. Use them to wipe away any minor mistakes or smudges before they dry.
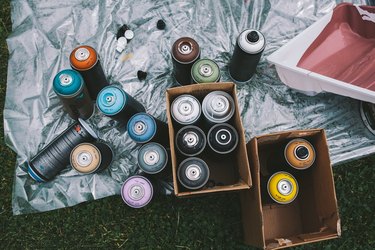
4. Spray Paint Small Items in a Box
There's an easier way to paint fixtures, door knockers, shelves and other small items. Instead of trying to maneuver a paintbrush tip around these hard-to-reach areas, take small items off the wall and place them in a cardboard box. Find a spray paint that matches the room's paint color and spray the items right in the box. Cleanup is as easy as throwing away the cardboard.
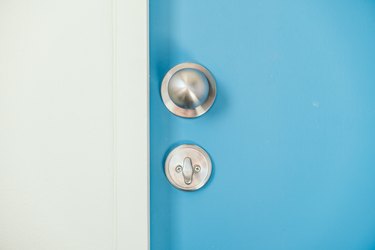
5. Protect Fixtures With Foil
For fixtures that you don't want painted, like doorknobs, wrapping them in painter's tape is a fussy process that often leaves gaps behind. An easier way to prep these areas, protecting them from unwanted paint? Wrap them in foil, which perfectly molds to the shape of the item you're covering.
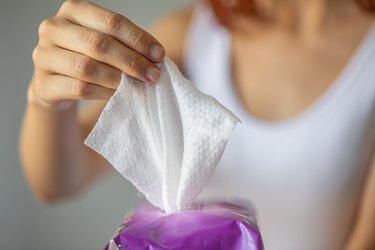
6. Use Alcohol Face Wipes for Cleanup
It doesn't matter how careful you are. Mistakes happen, and paint spots will end up on floors and other hard surfaces. If you have any face or acne wipes that contain alcohol, you already have an easy solution handy. These wipes will cleanly remove errant paint, as long as you work quickly.
7. Wrap and Refrigerate Used Brushes
Rome wasn't built in a day, and you don't have to finish your entire painting project in one day either. If you're going to come back another day and use the same brushes and paint, put off the brush cleaning process. Instead, completely wrap a brush in plastic wrap and tuck it into a second sealable plastic bag. Stash brushes in the fridge overnight to keep the paint from drying out and they should be good to go in the morning.
8. Make a Rubber Band Scraper
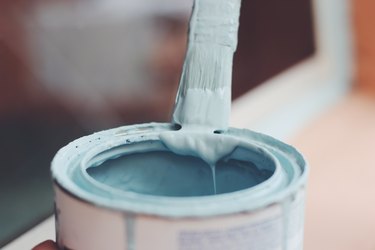
A gloppy, dripping brush leaves gloppy, dripping paint spots on surfaces. To get a clean look, you need just the right amount of paint on the brush. Grab a heavy-duty rubber band and wrap it around the entire open paint can so the band is stretched across the can's opening. Dip the brush into the paint and scrape off any excess on the taut rubber band.
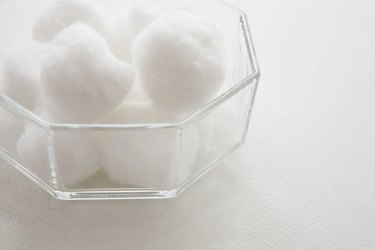
9. Test Paint Type With a Cotton Ball
Do you know if you're painting over latex or oil-based paint? They require different primers, so it's important to get this right. Find out by soaking a cotton ball in rubbing alcohol and rubbing it against a portion of the painted area. Oil-based paints won't show up on the cotton ball, while latex paints usually will.
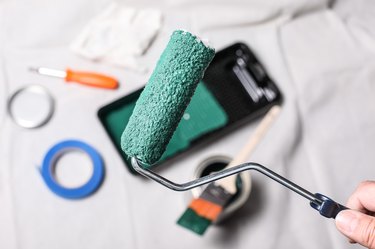
10. Clean Brushes With Fabric Softener
Solvents are harsh on the skin and can be expensive. Luckily, your laundry room probably already houses an effective paintbrush cleaning solution: fabric softener. Scrape excess paint out of brushes and swirl them in a solution of warm water and fabric softener. With this trick, it takes less than a minute for water-based paints to release from the brush's bristles, leaving clean bristles behind. The same technique works for rollers, too.
