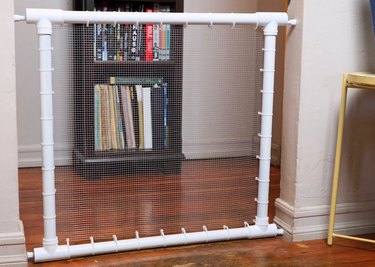
If you need to put up a pet barrier fast but don't want to spend a ton of money on a readymade gate, we've got the perfect DIY solution for you. With a few inexpensive hardware store items, you can have a designated pet free zone in no time. This DIY pet gate is made from PVC pipe and galvanized steel hardware cloth. Plus, it stays securely in place with the help of shower curtain or closet tension rods.
Video of the Day
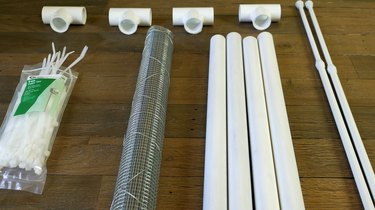
Things You'll Need
4 pieces of 1-inch PVC pipe (see Step 1 for required lengths)
PVC pipe cutter or saw
4 1-inch PVC tee connectors
Hardware cloth (a pliable steel wire mesh) with height equal or more than your desired gate height)
Cable ties
2 strong tension rods (long enough for entryway — see Tip in Step 5)
Metal snips or wire cutters
Protective gloves (recommended)
PVC cement (optional)
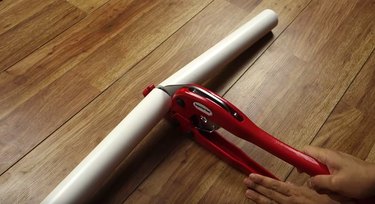
Step 1: Cut PVC to Size
First, measure the width of the entryway you'd like to block, as well as the desired height of your finished gate. Using a PVC cutter or saw, cut 2 lengths of pipe 2 inches SHORTER than the width of the entryway. In other words, the entryway width minus 2 inches. Then, cut 2 lengths of pipe 1 inch SHORTER than the desired height of your gate. You now have 4 pieces of pipe which will make up the frame of the gate.
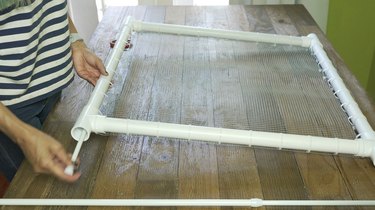
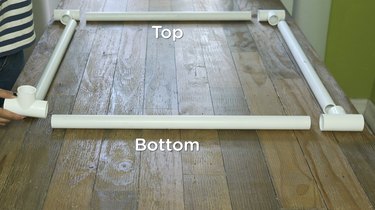
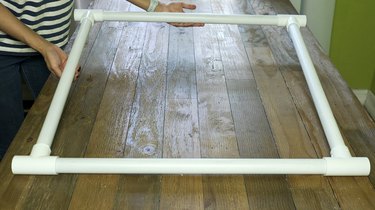
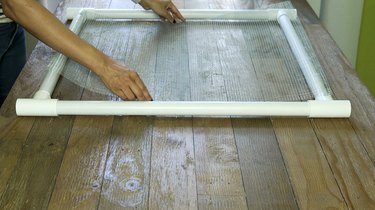
Step 2: Assemble PVC Frame
Using the tee connectors as corner joints, assemble the pieces of PVC as shown in the photo below to build a frame, with the open ends of the tee joints in line with the open ends of the top and bottom pipes of the gate. These create an open channel for your tension rods to pass through. Take the frame over to the entryway to make sure it fits properly. There should be some gap on the sides allowing you to access and tighten the tension bars once they're pulled through the top and bottom of the gate.
Once done, you can choose to add PVC glue to joints to further strengthen the frame if this will be a permanent gate. Otherwise, fasten the joints as tightly as you can, and the mesh plus cable ties will hold it together.
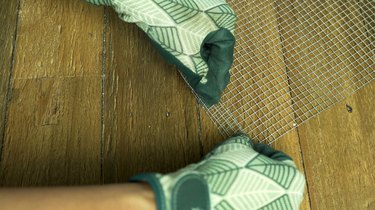
Step 3: Prepare Hardware Cloth
Using metal snips or wire cutters, cut a piece of hardware cloth 2 inches longer than the width. If the height of your cloth is the same as your gate, you won't need to make any additional cuts. If the height is over two inches longer, cut it to two inches over the height. You'll notice that the mesh will have sharp wires at the edges that you've cut by hand. Using your gloves, fold over any the sharp edges an inch as if hemming fabric. These edges will then be tucked under once you attach it to the frame with the cable ties.
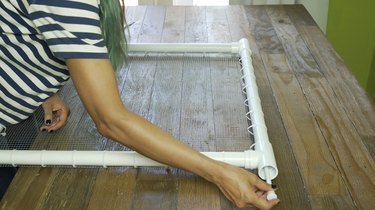
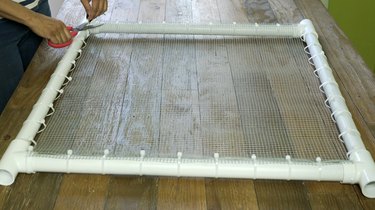
Step 4: Attach Hardware Cloth to PVC Frame
Place the hardware cloth on the frame with the folded edges facing down towards the PVC pipe. Fasten the wire mesh to the PVC frame using the cable ties.
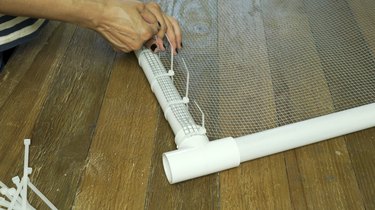
Place ties about 2.5 - 3 inches apart, all the way around the frame. When finished, snip off the excess from the cable ties.
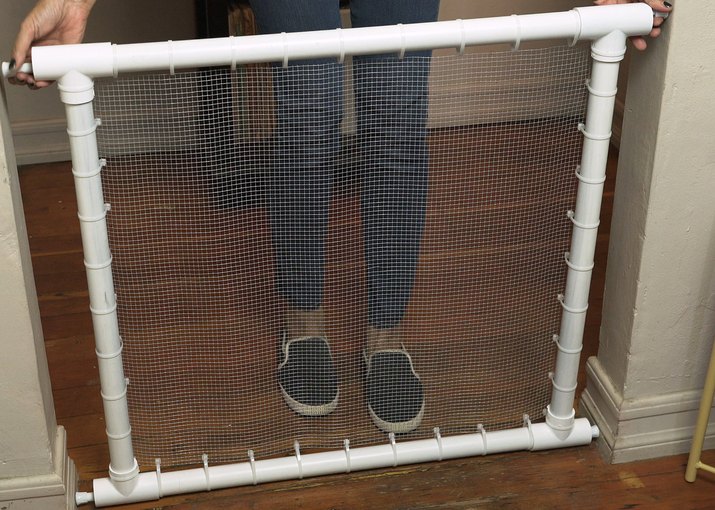
Step 5: Insert Tension Rods
Insert a tension rod through the bottom and top channels of the gate. Mid-weight bearing tension rods will work for this project, but only if your pet isn't inclined to climbing or pushing on the gate and/or this will only serve as a temporary barrier on occasions when you will still be home to supervise. Some pets are easily deterred by any type of barrier (like mine!) and if your pet is the same, lucky you! For larger pets or for a permanent solution, make sure to use a very sturdy set of heavy weight bearing tension rods.