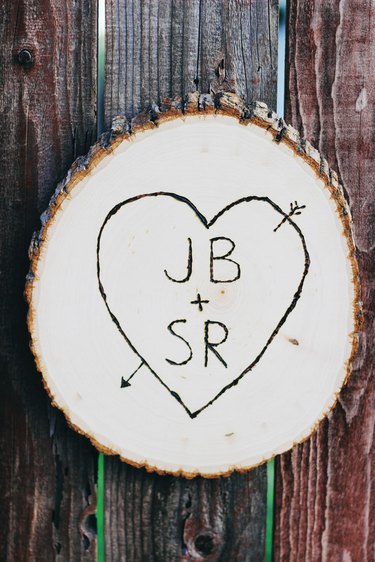
When romance is in full bloom, a couple in love might be tempted to carve their initials on a tree, surrounded by a heart. But instead of defacing a tree, here's a DIY idea that's just as much of a romantic gesture and is a lot easier than carving on bark. Grab a rustic piece of wood and etch your initials on it with a wood burning tool. This testament of your love can be displayed on a door, inside on a mantel or wall, or even on an actual tree, if you'd like. What a sweet gift and decoration for Valentine's Day, an engagement party or a wedding shower.

Video of the Day
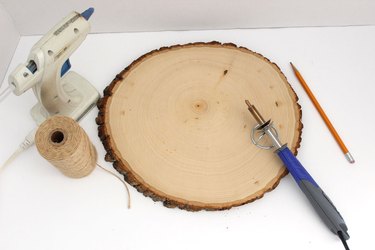
Things You'll Need
Basswood round
Pencil
Wood burning tool
Duct tape
Scrap wood
Eraser
String
Hot glue
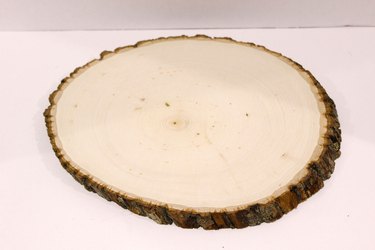
Step 1: Select Your Wood
The ideal type of wood for this project is a basswood round with bark. It is a cross-cut piece of tree with natural bark around the edge. Because of the popularity of rustic crafts, these wood rounds are available in arts and crafts stores in a variety of sizes and thicknesses. The one I used in this example is about 11 inches in diameter and a half inch thick.
Video of the Day
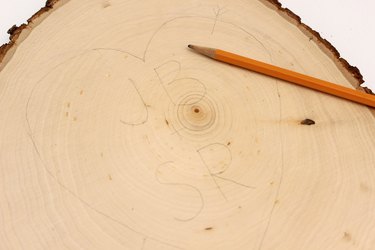
Step 2: Draw Your Initials in Pencil
With a pencil, lightly trace the initials you want to etch on the wood round, along with a heart around the initials.
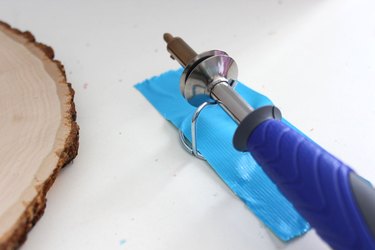
Step 3: Prepare the Wood Burning Tool
To etch the wood, you will need a wood burning tool, which you can find at the crafts store in the same aisle as the basswood rounds. If you have never used a wood burning tool before, do not worry. The ones sold at crafts stores are made for beginners, and they are very easy to use, especially for a project like this in which precision and perfection are NOT what we're going for. The tool comes with various tips. I chose a rounded tip that resembled the tip of a Sharpie. The tool also comes with a stand. Duct tape the stand to your work surface so it doesn't move around.
Warning
The wood burning tool is not a toy and should never be handled by children. It is extremely hot. Be aware of its presence at all times, and never leave it unattended when it is plugged into an outlet. Follow the directions on the packaging for full safety instructions.
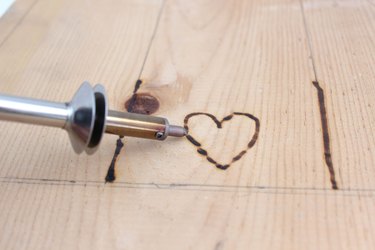
Step 4: Practice on Scrap Wood
Allow the wood burning tool to heat up for about five minutes. Using a piece of scrap wood, practice writing and drawing with the tool. Start with straight lines, and then draw a heart or letters. Get a feel of how the tip works against the grain of the wood. Practice moving fast and slow with the tip at different angles. You'll see that a slow pace with gentle pressure works best. Even experts at wood burning should practice before each project—it gets you in the groove.
Step 5: Etch Over the Pencil Markings
Retrace the pencil markings with the tip of the wood burning tool. As you go around, rotate the wood so it's at a comfortable angle for you rather than trying to move your hand in awkward positions. Also, use your opposite hand to help support your drawing hand. For the first pass, just etch lightly over the pencil. The etching may skip around due to the grain of the wood, but we can smooth it out in the next step.

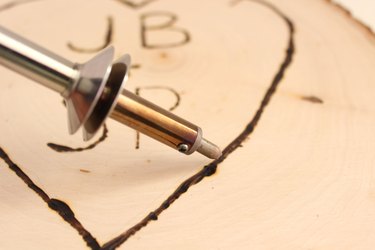
Step 6: Etch Deeper Into the Wood
Go over what you've already etched with the wood burning tool to make the lines thicker and deeper. Here is where you must remember that roughness and imperfection are your friends. When someone carves initials in a tree, they are not Michelangelo. So if your etching is uneven and jagged, that's a good thing. The rougher it is, the more it looks like it was carved with a pocket knife under the influence of love.
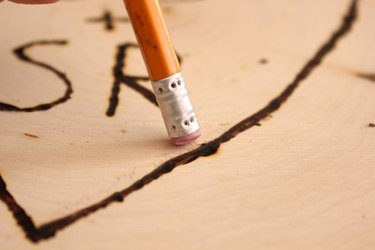
Step 7: Erase Pencil Marks
When you're done etching, erase any remaining pencil marks with an eraser. Oh, and remember to unplug the wood burning tool.
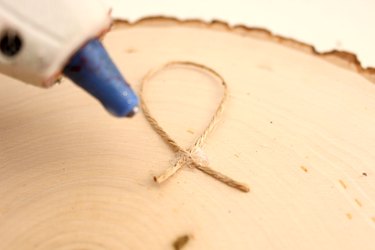
Step 8: Attach a Loop for Hanging
Create a loop with some string, and hot glue it to the back of the heart plaque. Now it's ready to hang for all the world to see.
And since true love is forever, you can keep your carved initials displayed all year long.