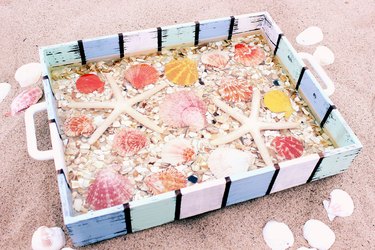
If you've collected seashells through the years and have been looking for a unique way to display them, here's an idea that's both decorative and functional. This serving tray features seashells and starfish encased in resin, which give the tray a smooth, glass-like finish. Best of all, because the resin is completely clear, it looks like the seashells are sitting in a shallow pool of water. While the serving tray would be ideal for summer parties or everyday entertaining, it also makes a beautiful art piece for your home.
Video of the Day
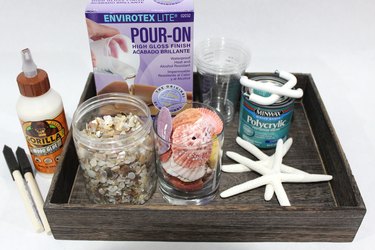
Things You'll Need
Wood tray
Wood glue
Brushes
Chalk paint
Acrylic polyurethane
Cabinet handles
Broken shell filler
Pour-on resin
Plastic cups
Wood stir sticks
Seashells
Step 1: Seal the Wood Tray
Wood trays are available both finished and unfinished in crafts stores and home organizing retailers, and either type will work for this project. Even if the tray is finished, it is a good idea to seal the edges so that the resin does not leak out when it is poured into the tray. To seal the tray, start by squeezing some wood glue into the edges.
Video of the Day
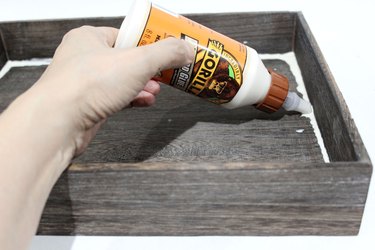
Then spread the glue evenly along the crevices with a paint brush. Let the glue dry overnight.

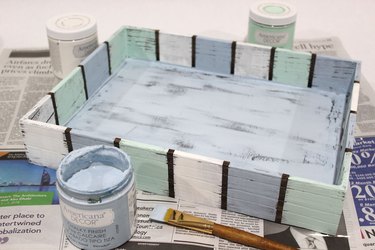
Step 2: Paint the Tray
Paint the wood tray as you wish. You can paint the entire tray one color or use a combination of colors, as I did. To fit the ocean theme, I painted some nautical stripes, allowing some of the wood underneath to show through to give the paint a weathered appearance. I recommend chalk finish acrylic paint, which has an ultra-matte finish and goes on practically any surface without any priming or other prep work.
Step 3: Protect the Finish
Seal the finish of the painted wood from moisture by applying two coats of acrylic polyurethane to both the interior and exterior of the tray. You can also use a decoupage medium like Mod Podge.

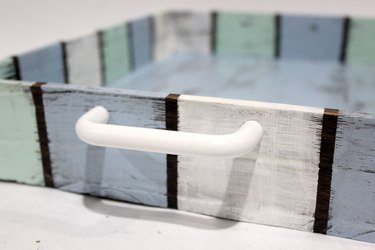
Step 4: Attach Handles
Some wood trays already have openings carved out for handles. If your tray does not have these openings, screw cabinet handles to opposite ends so it's easier to carry.
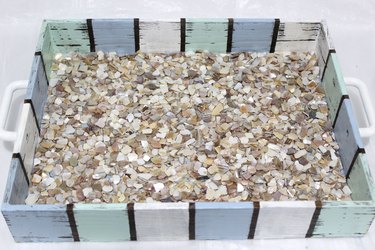
Step 5: Cover the Bottom with Broken Shells
This step is optional, but covering the the bottom of the tray with broken shells creates a beautiful foundation for the larger seashells. The broken fragments also add a lot of sparkle. You can purchase broken shell filler in jars at the crafts store.
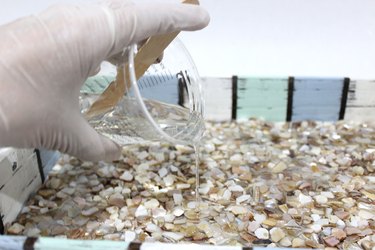
Step 6: Lock in the Bottom Layer with Resin
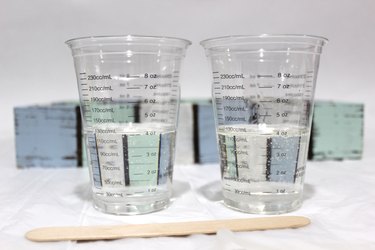
If you've never used resin before, you won't believe how easy it is to achieve professional-looking results with it. Pour-on resin comes in two parts—the resin itself and the hardener. Directions can vary by manufacturer, but the basic concept is the same. Start by measuring equal amounts of the resin and hardener in two separate plastic cups (I started with four ounces of each).
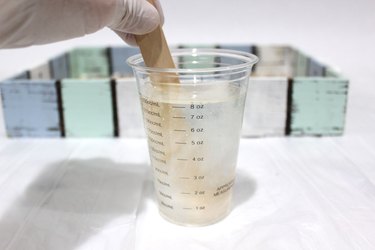
Pour the contents of both cups into a third one, and mix for two minutes with a wood stir stick. Then pour the mixed resin into another clean plastic cup, and stir for another minute with a new stir stick.
Pour the resin into the tray. The resin will spread throughout the bottom, covering the layer of broken shells. When the resin hardens, it will lock the shells in place. Refer to the manufacturer's instructions for drying time, which will typically be between six to nine hours.
Warning
Wear protective eyewear and gloves when working with the resin.
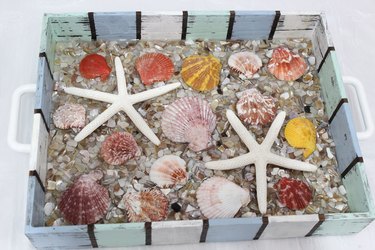
Step 7: Position the Seashells
Mix another batch of resin following the same instructions and pour it on top of the bottom layer. Then position the seashells you wish to display on top of the poured resin and leave to dry. The seashells will not be submerged in the resin at this point. However, as long as the shells are touching the resin, they will be locked in place when this layer of resin hardens.
Step 8: Cover Shells with Resin
Mix another batch of resin, and pour it on top of the seashells. Depending on how thick your shells are, you may need several layers of resin to completely cover them (I ultimately used four layers). Allow the resin to harden between layers. Bubbles will undoubtedly appear in the resin after it is poured. To remove the bubbles, blow on them with a straw or quickly run the flame of a lighter over the resin.
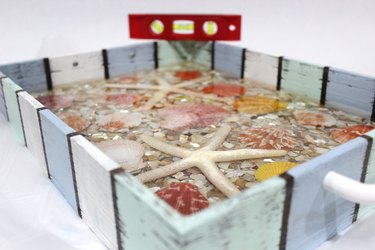
Tip
Use a level to make sure your work surface is even and your resin is level across the tray.
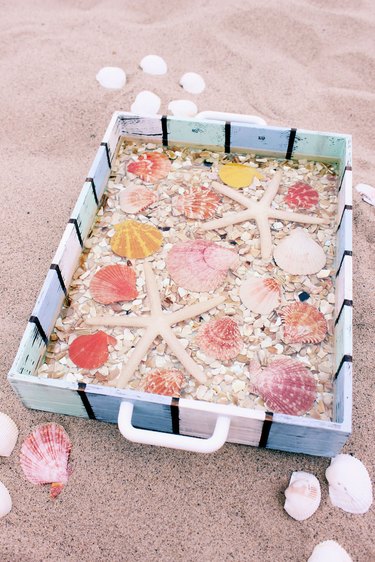
Once the seashells are completely encased in resin, and the resin has cured for 24 hours, the surface will be water and heat resistant.
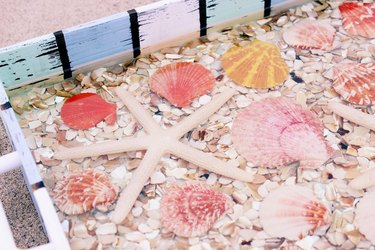
What a gorgeous way to showcase your shell collection.
Warning
Check your local and state laws, as taking shells from public beaches may be illegal in your area. If it is, purchase shells from the crafts store.