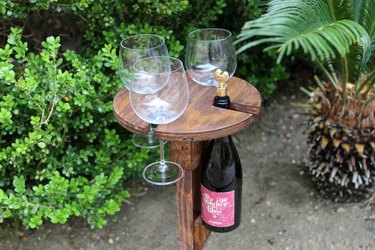
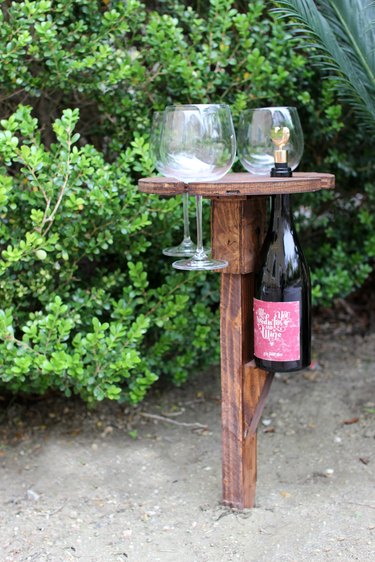
With warm weather approaching, outdoor entertaining is a must. However, not all of us have the space for all the outdoor furniture we'd like. This DIY wine caddy is a simple, space-saving solution for wine lovers! You can stick it into the ground anywhere you need it, and it also easily breaks down and stores away when you are not using it.
Video of the Day
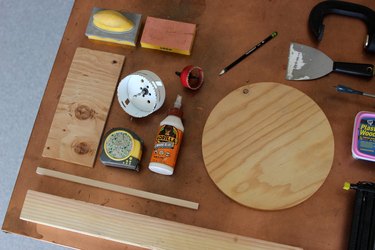
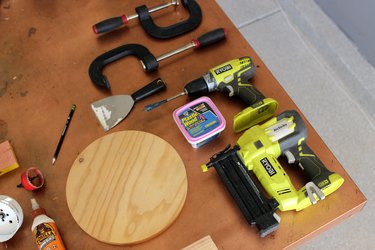
Things You'll Need
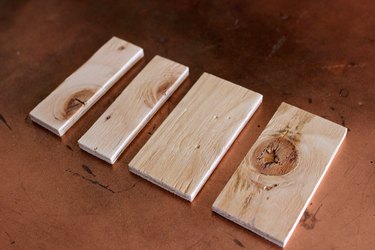
24" long piece of wood
12" wood round
Wood glue
Thin plywood
Square dowel
1 1/4" hole saw drill bit
2" hole saw drill bit
Nail gun
Jigsaw
Drill
Stain or paint
Wood filler, optional for cracks and nicks
Clamps
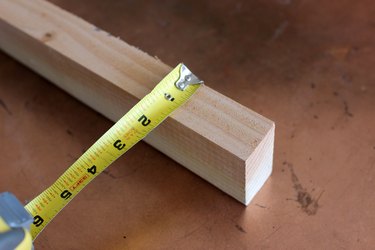
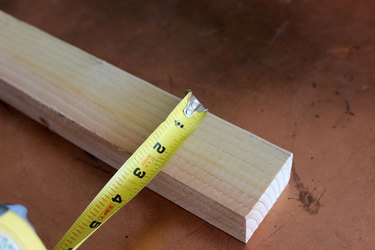
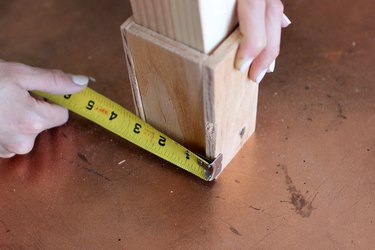
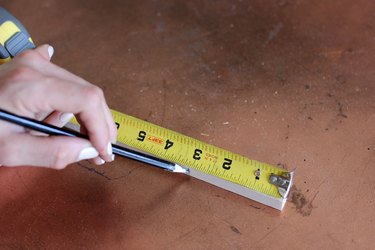
Step 1: Measure Size of Stud
Measure the width of your wood stud (this will be the stake going into the ground). These measurements will determine the cuts for the scrap wood.
Video of the Day
Step 2: Cut Down Wood for Sleeve
To create the sleeve, you want to use a thinner plywood and a smaller square dowel. Cut down the pieces to be able to fit around the stud.
Cut plywood to two 1 1/2-inch pieces, and two 2 1/2-inch pieces.
You can see the sleeve starting to form!
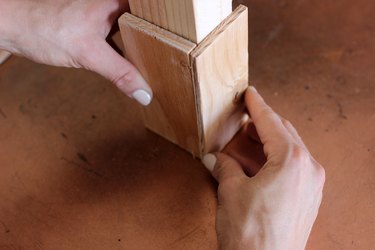
The square dowel will be the support system for the plywood sleeve pieces. With the plywood assembled around the stud, measure and cut the square dowel to fit around snuggly.
Cut the square dowel down to two 3-inch pieces, and two 3 1/4-inch pieces.
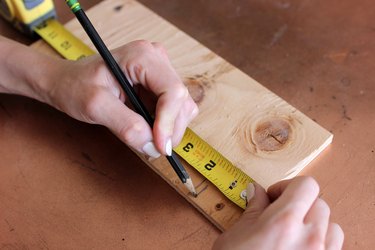
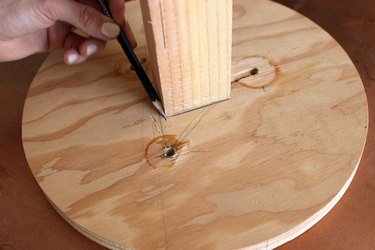
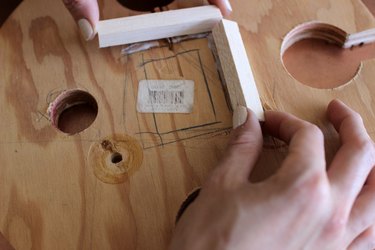
Step 3: Mark Location of Sleeve
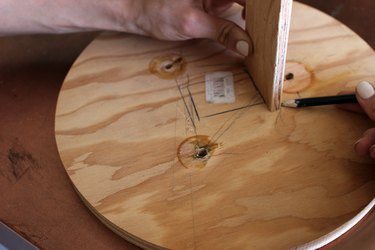
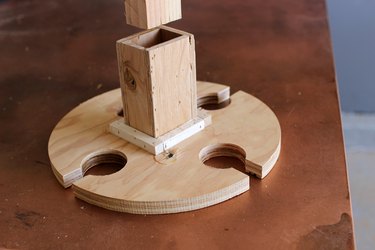
Place the stud in the middle of your wooden round and trace. This will be a guideline to nail the sleeve pieces right outside of the lines, ensuring it can slide in with ease.
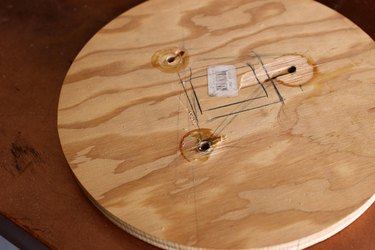
Place the plywood pieces right outside the line and trace the outer edge. This will be your guideline to know where to place the square dowel pieces for support.
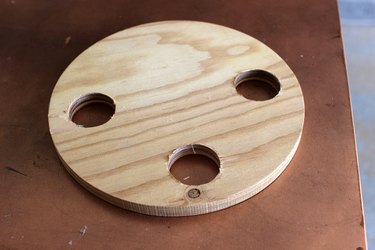
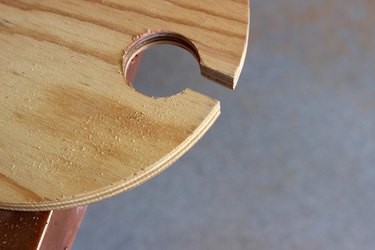
Step 4: Drill Holes
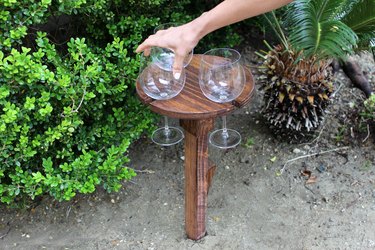
Measure and mark where the wine glass holder holes will go.
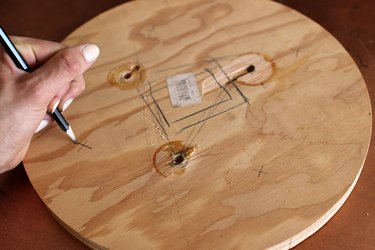
Then use a 2 inch drill bit for the wine glass holes.
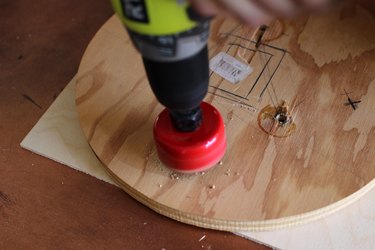
Tip
Use clamps if you are new to using a hole saw bit! It will kick back if you are not familiar, so be sure you are safe.
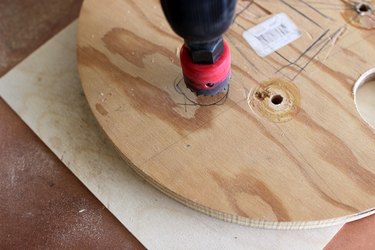
Use a 1 1/4 inch drill bit for the wine bottle storage hole.
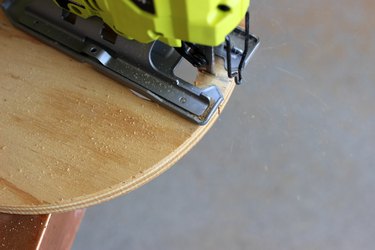
Step 5: Cut Slots
Using a jigsaw or small hand saw, cut outwards from the holes to the edge of the wooden round to create pathways for your wine glass stems and bottle top to be able to slide into.
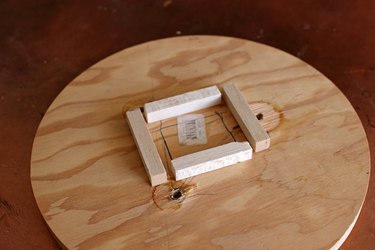
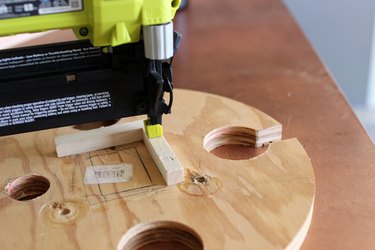
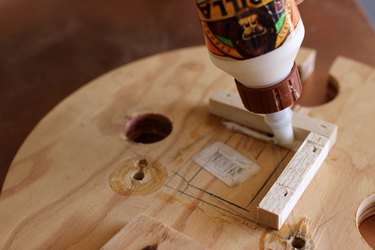
Step 6: Assemble the Sleeve
Place square dowels on the outer edge of the outline.
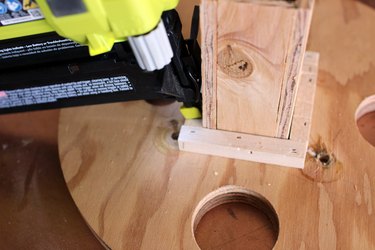
Use a nail gun to secure them into place.
You can work wall by wall if you are new to woodworking, or assemble the plywood sleeve then add it as a whole to the center of the square dowels.
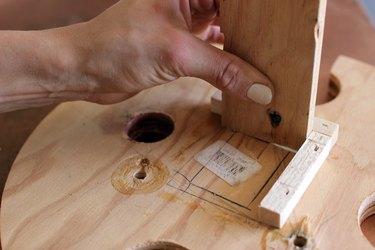
Continue to glue and nail, piece by piece. When the sleeve is completed, tack in the side with the nail gun.
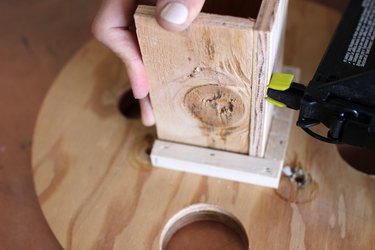
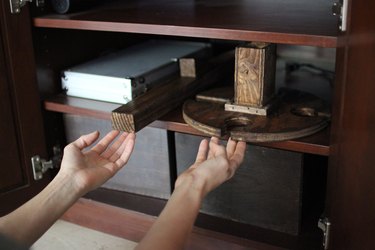
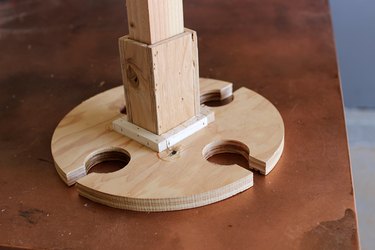
Test to ensure the stud fits into the sleeve properly!
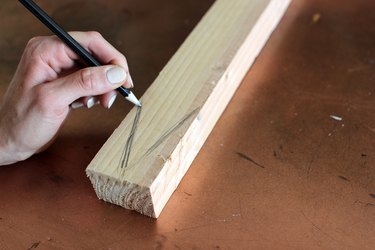
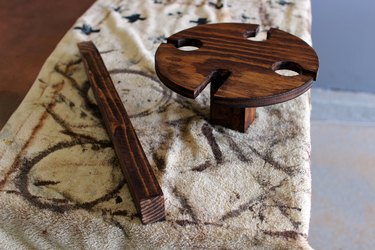
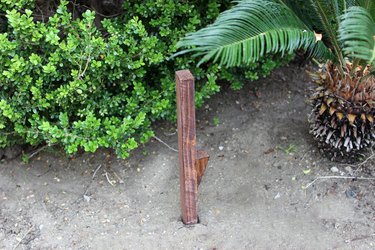
Step 7: Cut Pointed Tip on Stud
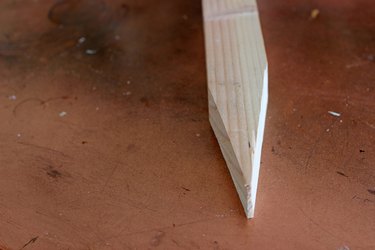
Use a miter or table saw to cut the stud down at a 30 degree angle to create a pointed tip you can push into the ground.
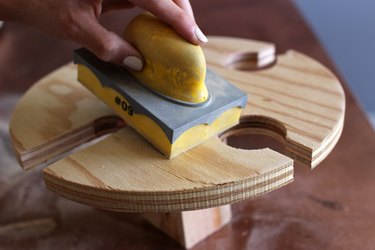
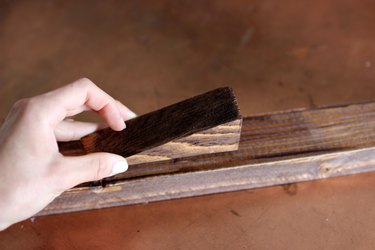
Step 8: Sand Down
Sand until smooth.
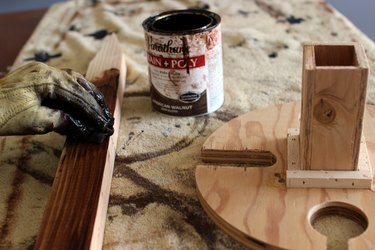
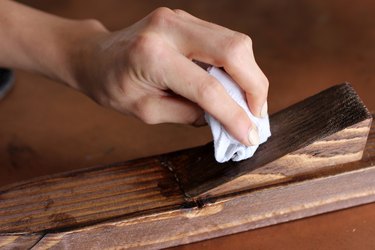
Step 9: Stain or Paint
Add your choice of stain or paint color.
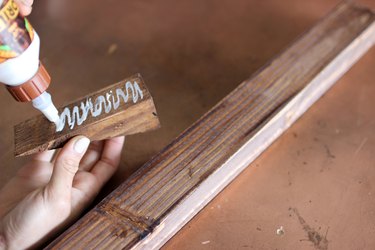
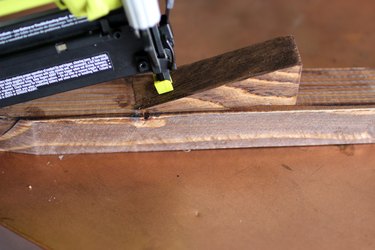
Step 10: Glue Notch for Wine Bottle Storage
When you cut down the tip on your stud, the scrap wood creates the perfect piece for this step. Place your bottle in the holder and make a mark where the bottom of the bottle rests.


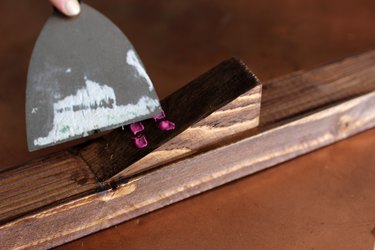
Stain or paint the notch the same color as the rest of the wood. Add wood glue to the back.
Use longer nails to secure it on with a nail gun.
Fill with wood filler and stain over marks.
Step 11: Enjoy!
Stake the stud into the ground, then add your top. Easy as that!
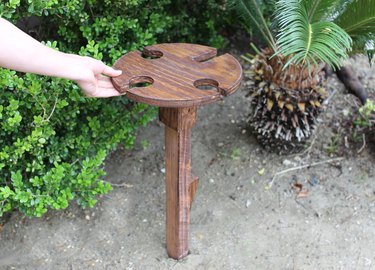
When you're done, it's so easy to take apart and store.