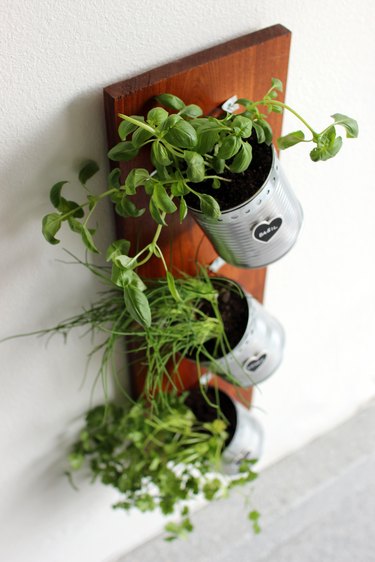
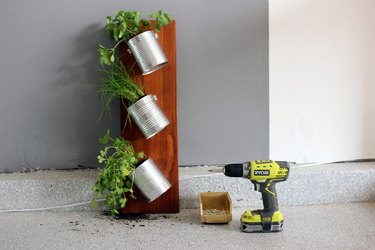
Learn how to create your own indoor hanging herb garden with this beginner level woodworking DIY. Never done woodworking? Beginners, this will be an easy project to start with and will leave you feeling like an expert. Let's get started!
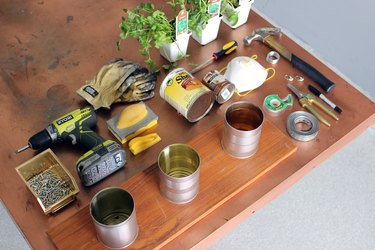
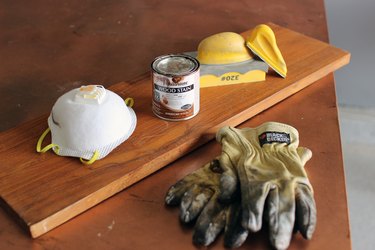
Things You'll Need
3 tin cans
3 herbs of choice
26" x 8"x 3/4" piece of wood (feel free to adjust measurements for your space)
Stain or paint of your color choice
Sandpaper
Spray wood finish sealant
Screws, a bit thinner than the thickness of your wood
Sharpie
Gloves
Mask
Pliers
Power drill
Video of the Day
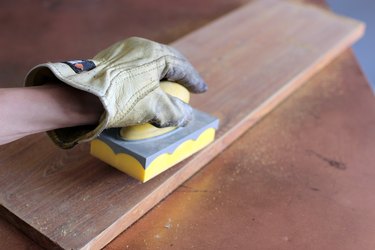
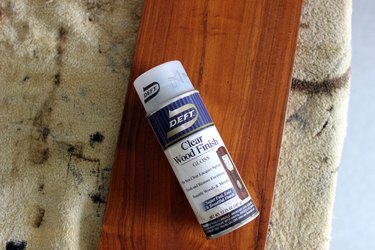
1. Stain your wood
Start by painting or staining your wood the color that best matches your space.
Video of the Day
First, sand down the piece of wood (here we used a 320 grit) and stain or paint.
Next, wipe the dust away with a wet cloth and apply the stain once dry.
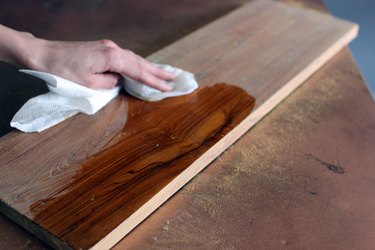
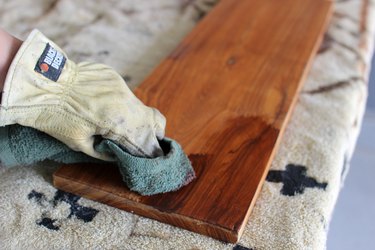
Finally, treat your wood with a wood finish.
2. Make holes on can bottoms
Use a hammer to push your screwdriver through the bottom of each can, creating four holes on the bottom of each. Twist the screw driver to make the holes a little bit bigger.
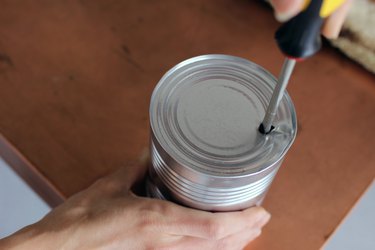
Repeat as much or as little as you'd like for drainage!
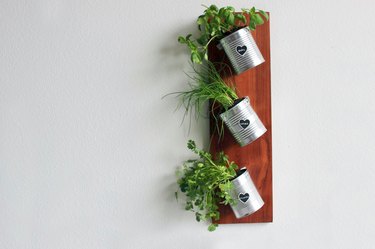
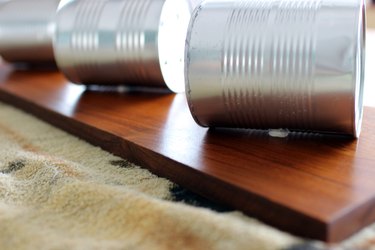
3. Arrange cans on wood
Place your cans on the piece of wood and space them out evenly to match your length of wood.
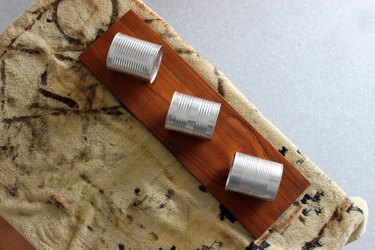
Tip
If you add a piece of paper towel underneath each can, it will help hold them in place so you can easily adjust positioning.
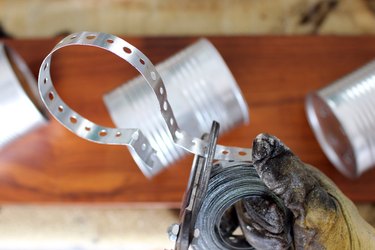
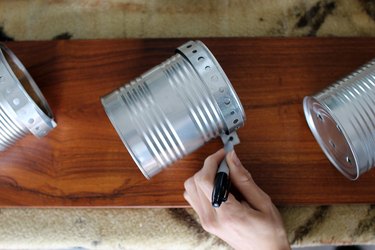
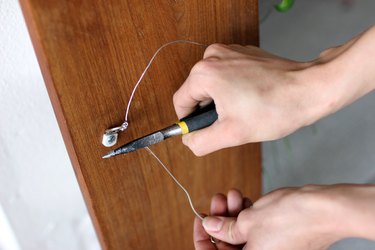
4. Cut the steel brackets
Roll out your steel bracket strips and bend them around the front of your cans, leaving at least one hole space on each side for screws. Be sure to wear gloves since the edges are sharp.
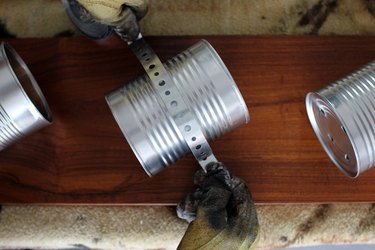
You want to be gentle and patient. Cut your steel down and repeat for each can.
Make a mark in one hole space on each side of each can for the screws.
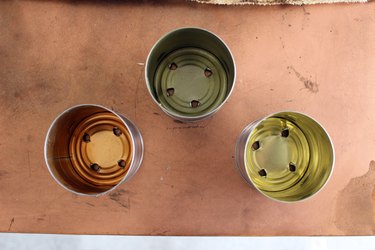
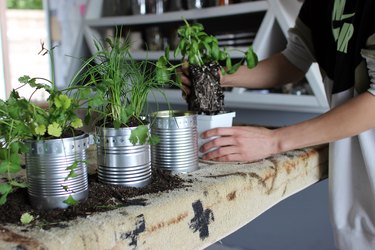
5. Plant your herbs
Select your choice of herbs to insert into the cans.

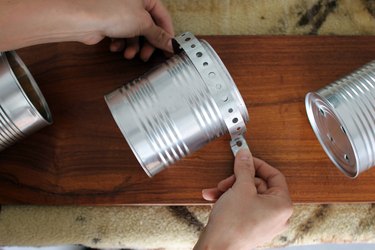
6. Screw in the brackets
Place one end of a bracket on your first screw mark you made, then screw it in.
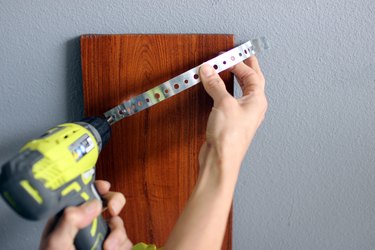
Ensure the can fits nice and snug before screwing in the other side.
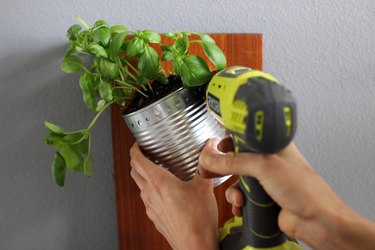
Repeat with the remaining cans.
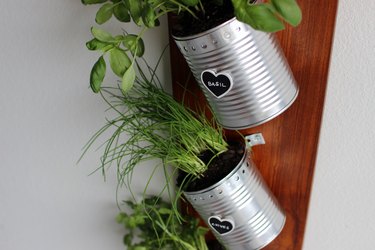
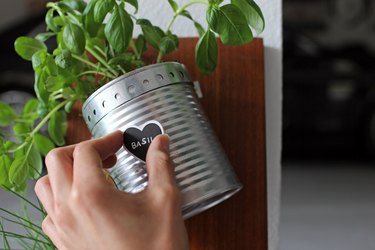
7. Detail your cans
Add labels for each herb!

Add a dab of hot glue and stick to the middle of the can.
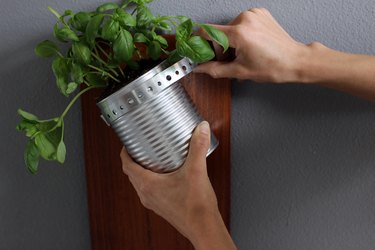
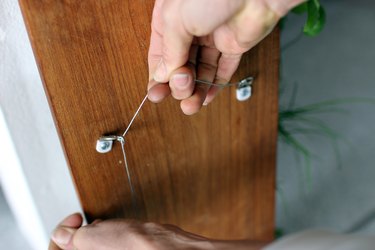
8. Add a picture frame holder
Attach a picture frame holder to the back of the wood. Be sure to have the proper hanger on the back for the weight of the project.
Hang and enjoy!