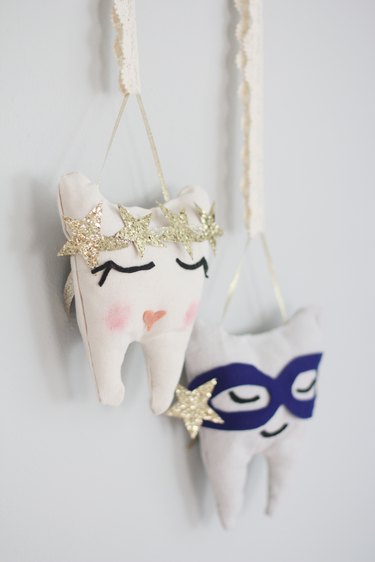
Turn the milestone of losing one's baby tooth into an enchanting experience with a whimsical tooth fairy pillow. It'll make the occasion much less scary when you add a dusting of tooth fairy magic to it. And you'll create heartwarming memories for you and your children to look upon fondly down the road.
Video of the Day
Things You'll Need
Free template
Canvas fabric
Scissors
Sewing pins
Felt sheets (black, pink and navy blue)
Hot glue gun with fabric hot glue sticks
Pink acrylic craft paint
Sponge
Polyester fiber fill
Gold ribbon
Gold glitter paper
Step 1
Download and print the free template. Cut out all of the components.

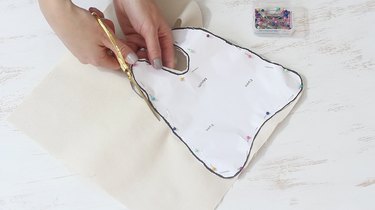
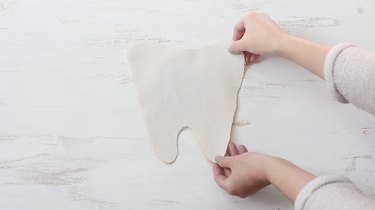
Step 2
Pin the tooth-shaped template to the canvas fabric and cut out two tooth-shaped fabric pieces to form the front and back of the pillow.
Step 3
Cut two eye shapes out of black felt (lashes are optional; cut four) and either the heart-shaped lips out of pink felt or the smiling lips out of black felt.

Tip
Since the eyes/mouth are so small, I found it easier to hold the template pieces in place on top of the felt while cutting around them versus pinning them to the felt.
Step 4
Use the template as a guide to place the eyes and mouth on the front tooth piece and then glue them in place using fabric hot glue.
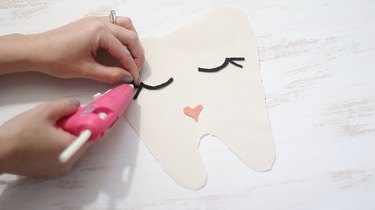
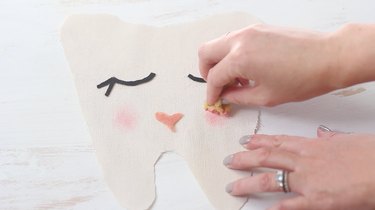
Step 5
Dip a damp sponge in a tiny bit of pink craft paint and blot it on scrap paper to remove excess paint. Then lightly dab some paint onto the fabric to form flushed cheeks on the tooth fairy's face.
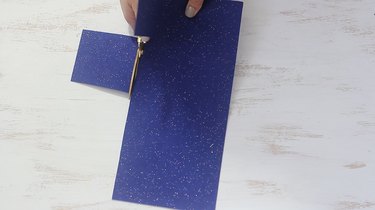
Step 6
Use the template to cut out the money pouch. I found navy blue felt with a bit of glitter in it, which I think kind of resembles fairy dust and adds another sweet layer of charm.
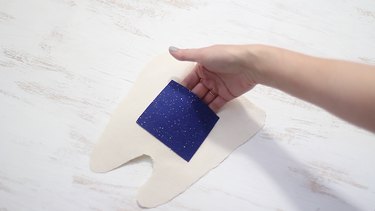
Step 7
Glue the sides and bottom of the money pouch to the back tooth piece, leaving the top of the pouch open.
Step 8
Place the right sides of the front tooth piece and back tooth piece together (money pouch face down on the tooth fairy's face).
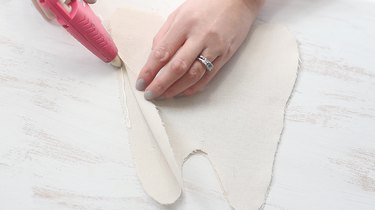
Step 9
Hot glue along the entire seam of the tooth shape, but leave an opening at the top to use for stuffing the pillow.
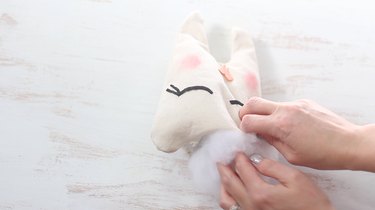
Step 10
Turn the pillow right side out and stuff it with polyester fiber fill. If needed, use the back of a pencil to work the filling down into the "legs" of the tooth fairy.
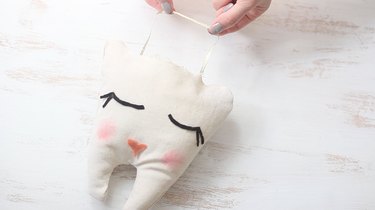
Step 11
Cut a 12-inch piece of gold ribbon and insert both ends inside the top opening of the pillow to form a loop for hanging. Glue down both ends centered inside the pillow.
Step 12
Fold in the raw edges along the top opening and glue the top closed.
Step 13
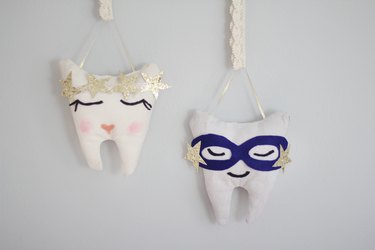
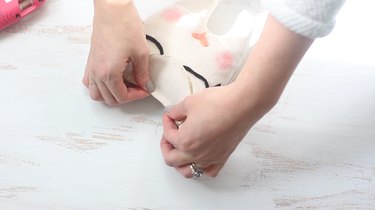
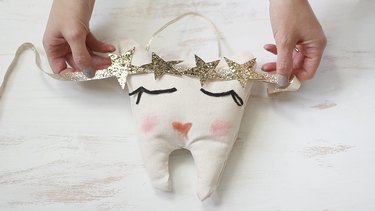
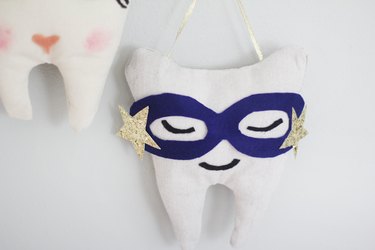
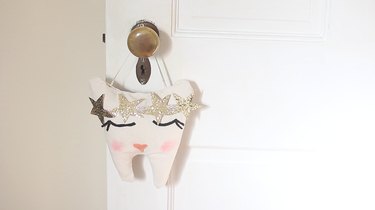
Use the template to either make a gold star headband or a superhero mask.
To make the headband, cut four stars out of gold glitter paper and glue them to a strip of gold ribbon that's long enough to tie around the pillow.
To make the superhero mask, cut the mask shape out of navy blue felt and cut two stars out of gold glitter paper. Glue a star on each side of the mask and then glue a strip of gold ribbon on each side of the mask, making sure both ribbon strips are long enough to tie around the pillow.
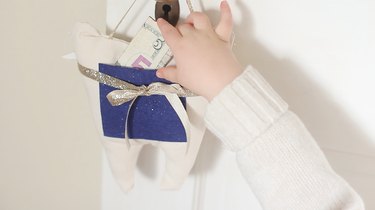
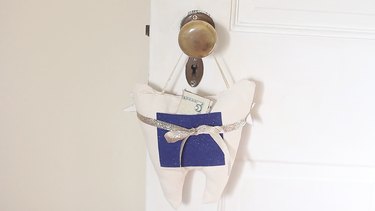
When your little ones lose a tooth, simply place the tooth in the pouch and hang the pillow from their bed post or door knob.
Be sure to remember (wink, wink) the tooth fairy must pay them a magical visit while they slumber–and watch them awake in awe and wonder when they discover the little gift she left for them!