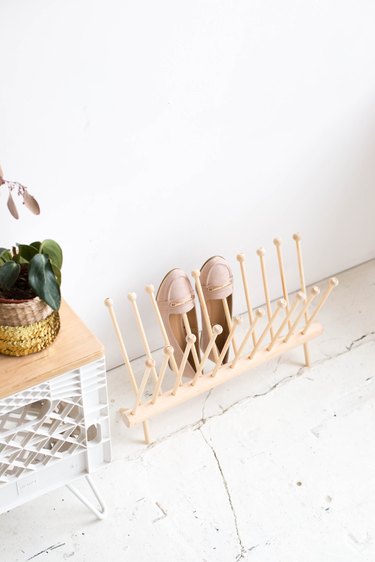
As our shoe collections grow, so does the amount of space we need to store them! If you're not one of the lucky few who have a closet large enough for a Clueless style organization system, it can be a difficult task to find a place for every pair–especially without misplacing a few! So why don't we get creative with our shoe storage systems? This way, rather than hiding them away, we can celebrate (and be able to find) them whenever we like.
This shoe rack can be made to fit any space you have in your home and will look great out on display, with all your favourite pairs lined up and ready to go!
Video of the Day
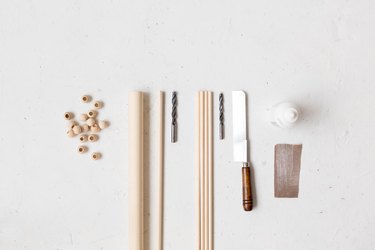
Things You'll Need
25mm Dowel
10mm Dowel
8mm Dowel
10mm Drill Bit
8mm Drill Bit
Saw
Wooden Beads with 8mm Hole
Sand Paper
Wood Glue
Step 1: Measure & Prepare the Large Dowel
Measure the space for your shoe rack. Round this down to the nearest inch measurement and cut a piece of 1" x 1" circular dowel to size.
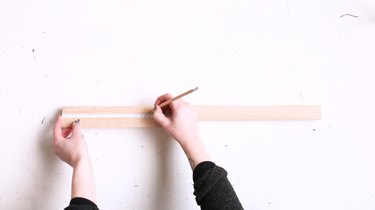
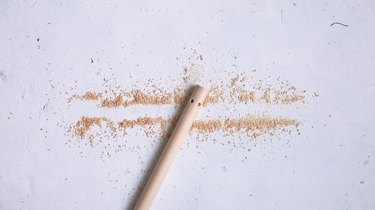
Draw a straight line along the length of the dowel. Make sure this is straight by looking straight down the length of the dowel, keeping the line in the center. It should start and end in the same place.
Starting 1" from the edge of the dowel, measure and mark every two inches down this line.
Draw a second line ¼" away from the first in either direction.
Starting from the same end of the dowel as you did last time, measure three inches in from the edge. Starting at this point, mark every two inches stopping one inch away from the other end. This should give you points marked in a zigzag pattern.
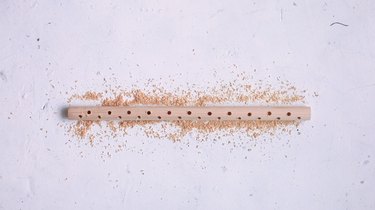
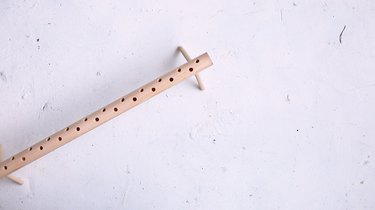
Step 2: Drill Holes
Drill a hole at each of these points. Measure ½" along your drill bit and mark with masking tape. Use this as a guide to know how far to drill each time. Make sure you are drilling straight down into the centre of the dowel at the same angle every time. You can use a drill angle guide and vice to get this perfect.
Make a mark in the center of these two lines on both ends of the dowel. Then draw a line along the diameter (do this by measuring the longest point) to the other side. Turn the dowel so your existing holes are facing down and measure and mark ½" away from the line and 2" down the length of the dowel. These will be your holes for the feet. Repeat at both ends.
Repeat step 6 at these four points.
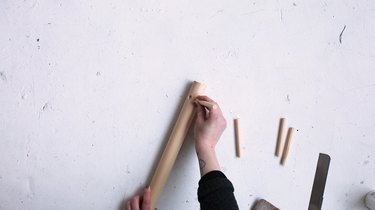
Step 3: Create Legs
Cut four pieces of dowel, 3" long. Sand the ends and use a little wood adhesive to secure the pieces into each of the four holes along the bottom of the dowel. You might need to use a hammer to push them in place.

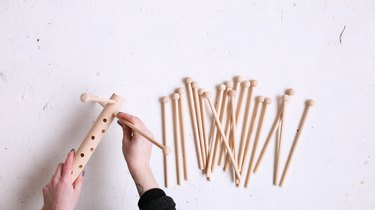
Step 4: Create Shoe-Holding Dowels
Cut your dowels to 10" long. You'll need to calculate how much dowel you will need based on the amount of holes you have. Place a bead on top of each dowel using the wood glue to secure in position, if needed.


Squeeze a drop of wood glue into each hole on the top of the dowel (the side with more holes) and push the end of the small dowels into each one. You might need to sand them slightly or use a hammer to push them in securely.
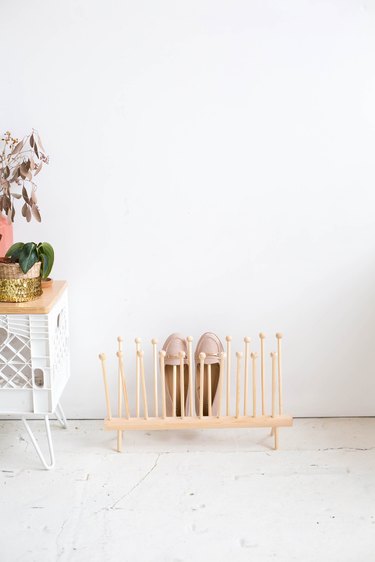
You now have a beautiful shoe rack to display and organize your favorite pairs!