Being able to hem on your sewing machine saves time and money. You can make your own curtains, hem a skirt or shorten a dress – all without leaving your house!
Things You'll Need
[Sewing machine](http://www.craftsy.com/class/Sewing-Machine-911/77)
Project to be hemmed
Matching thread
[Sewing pins](http://www.craftsy.com/blog/2015/09/types-of-sewing-pins/)
Iron and ironing surface
Removable [fabric markers](http://www.craftsy.com/supplies/tools-notions?fopts=marking-tools_markers)
Seam gauge or ruler
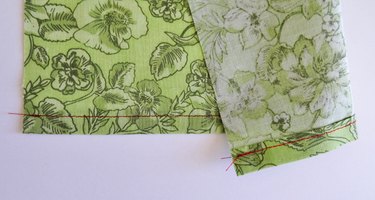
Note: For the purposes of this tutorial, all stitching is done in red so it is visible. Your stitching should match the project you are hemming.
Video of the Day
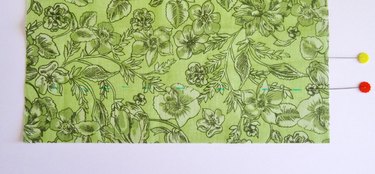
Step 1
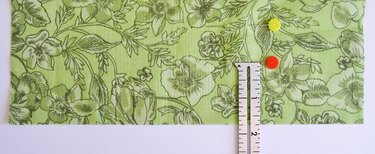
Mark the final length of the item you are hemming with a pin. (Mine is yellow in the photos.)
Then mark 1" under this pin. This allows 1" of fabric to fold up for the hem. (Mine is orange in the photos.)
Step 2
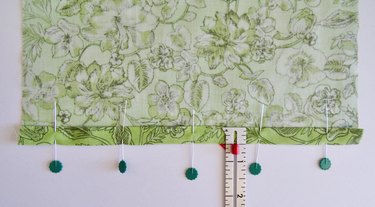
Using the seam gauge or ruler, measure distance from the bottom of your project to the lower (red) pin. Mark the entire width of your hem with this measurement using a removable fabric marker or pencil.
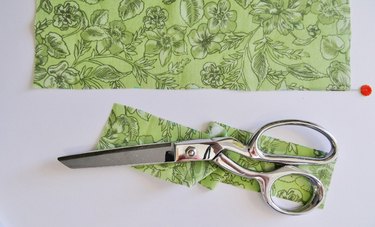
Step 3
Cut along the marked line to remove any excess fabric.
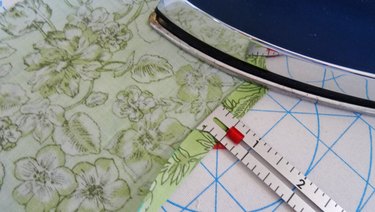
Step 4
Turn your project so the wrong side of the fabric is facing up. Fold the bottom edge of your project up ½-inch and press well along entire hem.
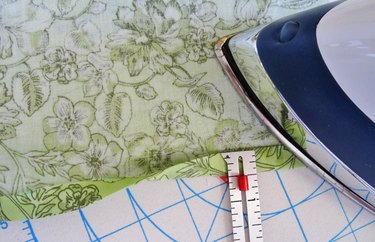
Step 5
Fold the fabric up ½-inch again enclosing the raw bottom edge. Press well.
Step 6
Pin the hem about every 2 inches with the pins sticking out of bottom edge.
Step 7
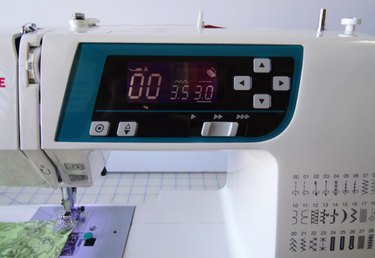
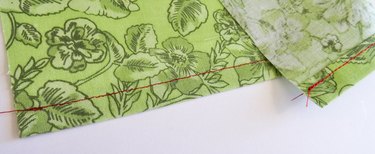
Set the machine to a medium length straight stitch. (I used setting 3 out of 5 on my machine.)
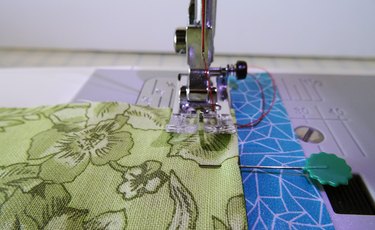
Place the fabric underneath the machine's presser foot with the right side of the fabric facing up.
Align the bottom of the hem so it is 3/8" from the needle using your sewing machine markings. (I have used washi tape in the photo to make this more visible.)
Step 8
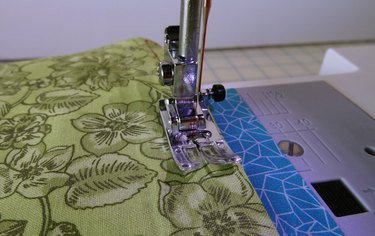
Begin stitching your seam with about four stitches, then backstitch four stitches to lock the thread in place.
Step 9
Stitch forward again, removing pins as you go, until you reach the end of your hem. Backstitch again to lock the threads.
Step 10
Press your stitches to finish your project neatly.
A Few Tips
1. The tidier you are the more professional your hem will look.
2. Take time to press your seams carefully, and measure your hem amounts evenly for the best finish.
3. Making sure your stitching is as straight as possible will help as well. See also these tips on how to sew a straight line.
Elevate your sewing skills with FREE online classes!
Video of the Day
Enjoy step-by-step expert instruction as you create standout garments, accessories and home decor with FREE online sewing classes from Craftsy.
You Might Also Like