Things You'll Need
Tarp, or other item that needs D-rings
Reinforcement fabric
Polyester webbing, width to match D-ring
Scissors
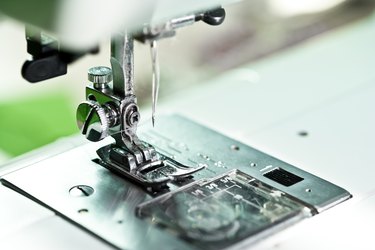
Sewing machine
D-rings are usually made from a thin metal rod fashioned in the shape of a capital "D," with a straight side and a curved side. D-rings can be used as a non-functional accessory on clothing or belts, or as a functional piece of hardware on an item that needs to be tied down, tensioned or secured in place. Non-functional D-rings can be attached in a variety of ways, but functional D-rings require specific attachment and sewing techniques in order to maintain the integrity of their holding power.
Step 1
Reinforce the area of fabric where the D-ring will be attached so that the fabric will not tear when the D-ring is pulled. Reinforce the area by sewing a square of fabric on the attachment area. The square of fabric should be 1-inch larger than the D-ring, so that if you have a 1-inch D-ring, the fabric square should be 2 inches by 2 inches.
Video of the Day
Step 2
Measure the flat side of the D-ring, on the inside of the "D." The most common D-rings measure 1 inch, 1 ½ inches or 2 inches. This measurement will be the width of your holding strap.
Step 3
Cut a 3-inch long holding strap. Polyester webbing makes a strong holding strap material and is available at fabric stores, boat supply stores and marinas.
Step 4
Insert the holding strap through the D-ring and fold the holding strap in half, bringing the cut ends of the strap together. Pull the D-ring to the fold of the strap, so that the flat side of the D-ring rests in the fold.
Step 5
Position the holding strap/D-ring where you want it attached. Sew a stitch line on the holding strap, parallel to the straight bar of the D-ring, ½ inch from the fold.
Step 6
Continue sewing, alternating your sewing machine from forward to reverse, in an up-and-down pattern until you get to the cut edges of the holding strap. Your stitch pattern will end up as a 1-inch wide, sideways zigzag.
Step 7
Stop sewing where the holding strap ends. You can increase the holding power of the D-ring by continuing sewing back across your sideways zigzag, in an opposite pattern, ending up on the stitch line parallel to the D-ring.
Step 8
Repeat the attachment process for as many D-rings as you will be using. The more D-rings you use, the less tension there will be on each individual D-ring.
Tip
Choose a fabric for the reinforcement square that will not rip easily. Heavy vinyl fabric is a good choice for the reinforcement fabric.
Video of the Day