Things You'll Need
Fabric
Fabric stiffener
Scissors
Gloves
Piece of cardboard
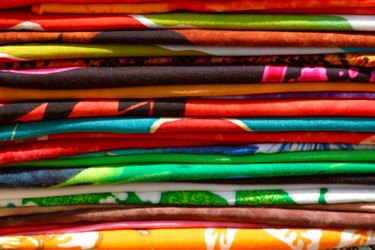
Fabric is a versatile material that can be used to create a variety of homemade projects. Choosing a fabric that you like and making it hard is one way to make creative postcards, labels, jewelry, beads and more. The process is relatively simple and can result in unique gifts and decorations. One of the simplest methods to harden material is to use fabric stiffener, which works best on cotton fabrics and can be found at most local craft stores.
Step 1
Choose a fabric for your project. Decide on a pattern and thickness that suits the craft and cut the fabric to the appropriate size. For example, if you are making a fabric postcard, cut the fabric into 4-by-6-inch pieces.
Video of the Day
Step 2
Lay the pieces of fabric flat on a hard surface such as a piece of cardboard. Adjust the fabric so that it is in the desired shape for the craft project and pour the fabric stiffener solution over the fabric pieces so that the fabric is entirely soaked in the stiffener. Wipe away additional solution using a paper towel or cotton balls.
Step 3
Rearrange the wet fabric pieces on the surface to the desired shapes. Use gloves if you plan to rearrange the fabric with your fingers. Allow to dry for approximately 12 hours. Design the fabric to your liking using markers, gel or stick-on jewels.
Video of the Day