Things You'll Need
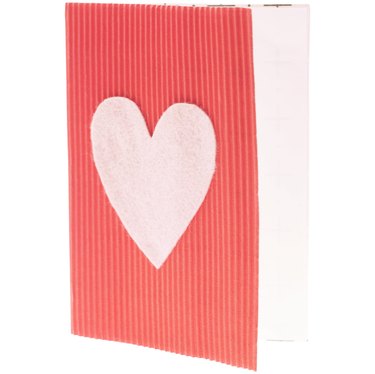
Greeting cards
Paper punch with small holes
Scissors
Newspaper
Embroidery thread or yarn
Needle
Not only is making boxes out of cards a fun craft that will help you clear out some of the old greeting cards you have lying around, the end result will be a special box perfect for gift-giving. Whether you use modern greeting cards, create handmade greeting cards or track down vintage cards for this project, when complete, your creation will be one to be treasured.
Step 1
Fold the cards you want to use shut then open them the opposite way several times. Cut along the fold with scissors.
Video of the Day
Step 2
Decide what you want your box to look like. The variety of boxes out of cards is limitless. Play around with the greeting cards to get an idea of which ones will look good next to each other.
Use contrasting colors beside each other. For example, use a card with a white background next to a card with a darker background. Place cards with complementary images next to each. Move the cards around to see what appeals to you.
Step 3
Decide what shape and size you want your box to be. Use newspaper or another scrap paper to make a rough pattern first before cutting out the greeting cards. Allow enough extra room around the edge to punch holes and still have your box come out the right size.
Step 4
Tape them together to see how they fit. The edges should butt up against each other; they will be top-stitched together, so the edges should not overlap. Make any adjustments to the rough pattern before cutting out the greeting cards to the right size.
Step 5
Use another layer of paper for the inside of box to make it sturdier. An option is to use two greeting cards (one for the outside and one for the inside) for the two layers.
Step 6
Punch the holes evenly around the edges that you'll need to stitch together. .
Step 7
Sew the pieces together. When all of the side pieces are stitched together, sew the bottom piece in place, taking care to adjust as you go for any gaps to make it fit snug
Step 8
If you're going to add a lid to your greeting card box, stitch around the three sides that will not get stitched down before affixing the one edge to the box. It will be easier to work with not attached to the box. When the three sides are complete, stitch the lid's fourth edge to the box. Again, make sure the lid sits straight on the box by adjusting as you go.
Tip
Save old birthday cards to make a special box to keep mementos in.
Search for vintage greeting cards to use to make a box out of cards.
Video of the Day