Things You'll Need
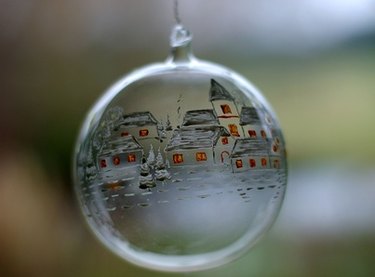
Glass ball ornament
Soft cloth
Rubbing alcohol
Towel
Holiday-themed rub-on transfer decals
Scissors
Wood craft stick
White glue
Glitter
Ribbon
Turn plain glass ball ornaments into customized decorations for your holiday tree with embellishments sold at scrapbooking, craft and dollar stores. Apply dimensional and flat accents to create patterns, monograms and seasonal motifs that complement your decorating style or the existing adornments on your tree. Use the simple techniques to design holiday ornaments to give as gifts to teachers, neighbors and family members or to present as hostess gifts when you attend Christmas dinner parties.
Step 1: Clean the Plain Glass Ornament
Clean the glass ornament by wiping it with a soft cloth dampened with rubbing alcohol. Let the ornament dry. This will help embellishments adhere to the surface
Video of the Day
Step 2: Prepare Your Work Area
Prepare the work surface by placing a towel on the table to keep the ornament from rolling away. The towel also will protect the table from adhesive residue and simplify clean-up.
Step 3: Cut Out the Transfer Decal
Cut out the holiday-themed rub-on transfer decal you want to affix to the ornament if the decal came packaged as part of a sheet with assorted designs. This will prevent the other rub-on transfers from accidentally sticking to the plain glass ornament.
Step 4: Transfer the Image
Place the rub-on image face down on top of the ornament in the desired spot. Use a blunt stick such as a wood craft stick to rub over the design until it transfers from the paper to the ornament. Peel away from the ornament the paper that the rub-on transfer used to "sit" on.
Step 5: Add Glue and Glitter
Create a sparkling border around the rub-on transfer design or around the top or bottom of the ornament by "drawing" the design onto the glass with white glue. On top of the glue, sprinkle glitter in a shade that coordinates with the rub-on design and tap the ornament to remove the excess glitter.
Step 6: Dry the Ornament
Let the embellished ornament dry overnight. Rest the decoration atop a cup to keep it from rolling as the glue dries.
Step 7: Cut and Add the Ribbon
Cut a 6-inch piece of ribbon with scissors. Push one end of the ribbon through the metal loop at the top of the ornament and pull the ribbon halfway through. Tie the ends of the ribbon in a knot to make a loop to hang the decoration on the tree.
Tip
If you’d rather not use glitter and glue, you also can create a decorative border for the DIY glass Christmas ornament with a paintbrush and glass paints sold at craft or art supply stores.
When the glass ornaments you have on hand have dust inside the ball, remove the metal piece at the top of the ornament, pour two tablespoons of rubbing alcohol inside, swirl it around and pour it out. Let the ornament dry overnight before reattaching the metal top.
If your toddler wants to help decorate ornaments, reduce the mess by letting her use stickers or self-adhesive foam shapes sold at scrapbooking and craft stores instead of decorative rub-ons or glitter glue.
Warning
Do not let young children work with glass ball ornaments since the glass shatters easily. If your kids want to design Christmas decorations, allow them to work with the clear ball ornaments made of plastic instead of glass.
Video of the Day