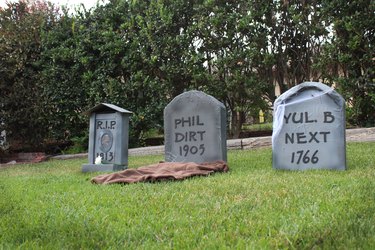
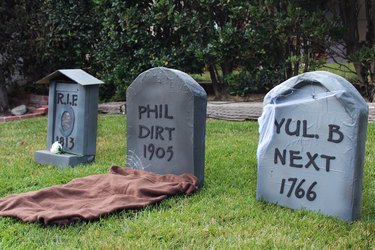
A staple of any Halloween yard decor is the classic tombstone, generally featuring some fun or spooky names of the "deceased." Make your front yard the talk of the town this season by creating these hauntingly realistic 3D cardboard tombstones.
Things You'll Need
Cardboard boxes
Measuring tape
Scissors
Packing tape
Sand or bricks
3-inch stencils
Newspaper
Decoupage glue
Spray paint (gray, rustic umber and flat black)
Hot glue gun
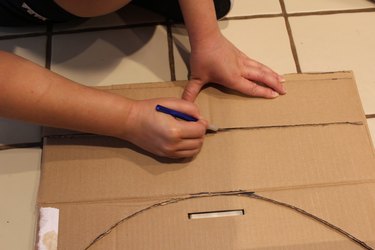
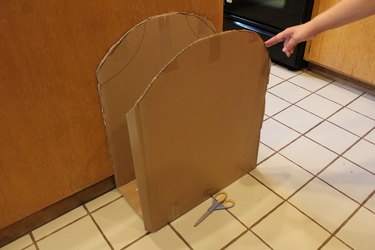
Step 1: Draw & Cut Your Tombstone Shapes
Start off by figuring out how big you want your tombstones to be. This one is 27 inches by 20 inches. Use your desired measurements to draw a tombstone shape on the cardboard. If you'd like to create a curve at the top, you can use a large bowl as an outline. Be sure to leave 3 inches of extra space at the bottom of the tombstone to fold under it later. Cut out the tombstone shape and then use it as a pattern to trace an identical tombstone on another piece of cardboard. Cut out the second tombstone -- you will use both to create a 3D effect.

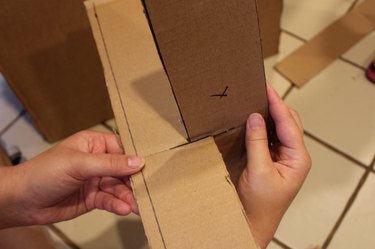
Step 2: Build a Support Piece
Cut two pieces of cardboard at 20 inches by 3 inches. Cut down the center of each piece by 1 1/2 inches. Now take these pieces and slide the cut parts together, inserting them into each other to make an "X" or a cross. This piece will go between the two tombstone pieces you cut in the previous step to give the tombstone support and help it not fold into itself.
Step 3: Tape the Tombstones Pieces Together
Stand up the two tombstone pieces side by side with the extra 3 inches folding underneath each another to create the bottom of the tombstone. Tape the bottom pieces together with packing tape.
Video of the Day
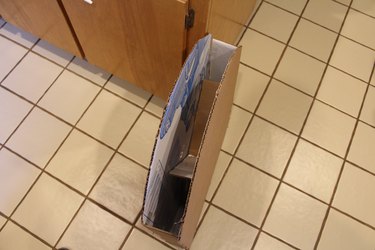
Step 4: Create the Sides of the Tombstone
Create the side pieces of the tombstone by cutting two strips of cardboard measuring from the bottom of the tombstone pieces to just before the curve starts at the top by 3 inches wide. Tape the X-shaped support piece of the tombstone to one of the interior sides of the two tombstone pieces. Now place the side pieces in the gap between the two tombstone pieces to create a complete 3D tombstone and tape them to both of the tombstone pieces.
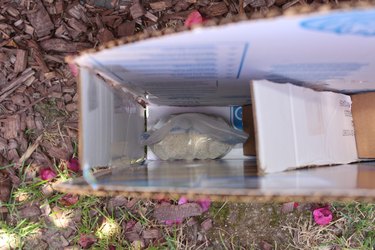
Step 5: Place Weights Inside the Tombstone
Fill two plastic sandwich bags with sand and place them on the inside of the tombstone. Alternatively, you can use bricks. This will help keep the tombstone standing tall when it's outside. Now, cut out one strip of cardboard measuring 3 inches by 24 inches. This will serve as the curved top of the tombstone. Tape this in place at the top of the tombstone, in between the two tombstone pieces.
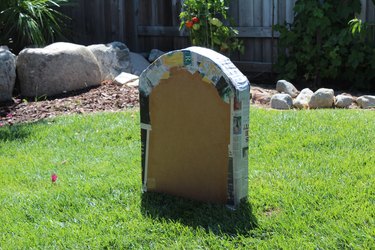
Step 6: Paper Mache the Tombstone
Use newspaper and decoupage glue to create a paper mache over the top of the tombstone and give it that final rounded effect. Apply about three layers of newspaper to give it a solid feel. Let it dry completely, which may take several hours.

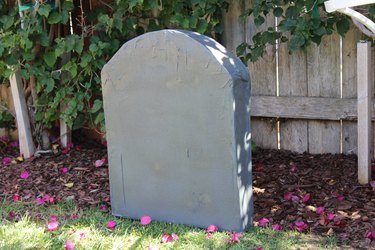
Step 7: Paint the Tombstone
Use spray paint to paint the tombstone, and make sure you are spraying in a well-ventilated area or outside. Either a gray or dark gray color works well for the first layer. Next, spray a rustic umber textured spray paint for the second layer. This will give it a more realistic concrete look. You could also sponge some flat black paint around the edges of the tombstone for a weathered effect.
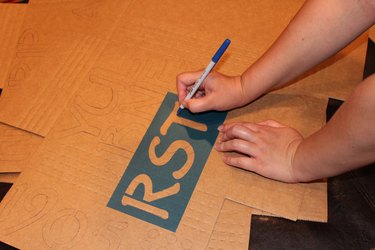
Step 8: Cut Letters From Stencils
Use 3-inch stencils to outline the letters you will use for the names/words on the tombstone. Cut out the letters with scissors and spray paint them with a flat black paint.
Tip
The easiest way to paint the letters is to place them in a box and spray paint them so you don't get your hands covered in paint or have the letters blow away.
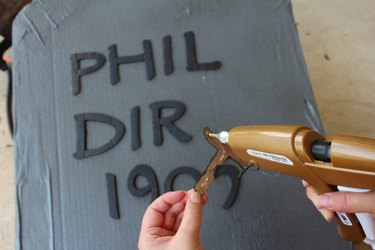
Step 9: Glue Letters on the Tombstone
Use the glue gun to glue the letters onto the tombstone. Lay the tombstone down flat and place the letters where you want them before gluing them down.
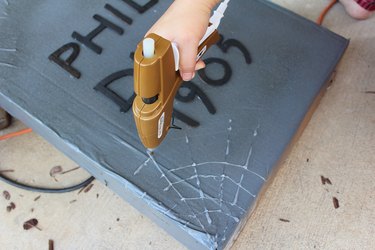
Step 10: Apply Finishing Touches
Create any finishing touches on your tombstone, such as a spiderweb effect (drawing it on with hot glue). You can also decorate your tombstone with some cotton spider webs and some fake spiders, too. You could even go a step further by placing a fake rose in front of the tombstone or placing a brown towel in front of the tombstone with bunched up newspaper underneath to give it a "freshly dug-up" feel.