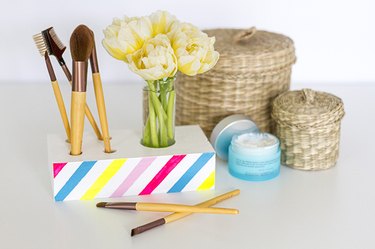
When your bathroom or vanity drawer space is limited, try adopting a countertop organization system for your makeup brushes and eyebrow grooming tools. Create an easy and attractive way to enhance this new routine by crafting a DIY makeup brush stand out of a block of wood. As an added bonus, you also can add a place for a small vase of flowers. Here's how to make your own.
Things You'll Need
Video of the Day
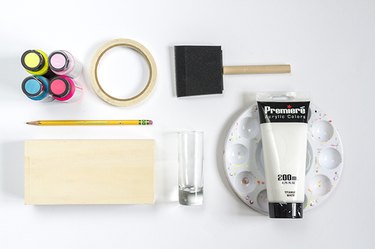
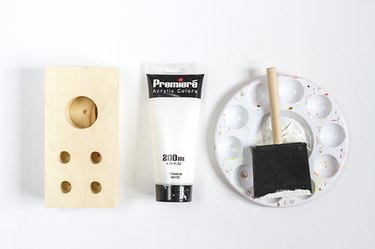
- Wooden block, 7-inch-by-3 1/2-inch-by-2 1/2-inch
- Drill press
- 1-inch forstner bit
- 1/2-inch forstner bit
- Safety glasses and mask
- 120-grit sandpaper
- White acrylic craft paint
- Plastic painter's tray
- 2-inch foam paintbrush
- Small detail paint brush
- Craft acrylic paint in a variety of colors
- Masking tape
- 3/4-inch diameter glass votive vase
Video of the Day
Step 1: Choose Your Bit
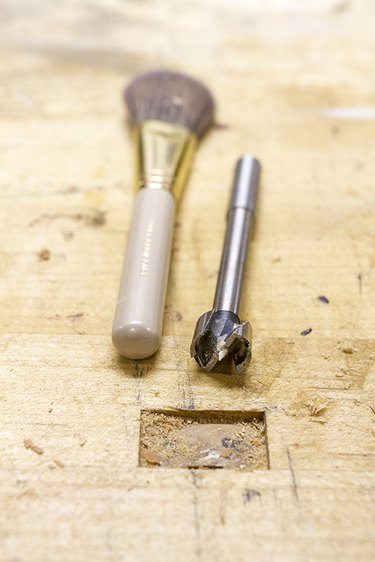
Choose a forstner bit to match the diameter of your largest makeup brush and attach it to the drill press.
Step 2: Measure and Mark Holes
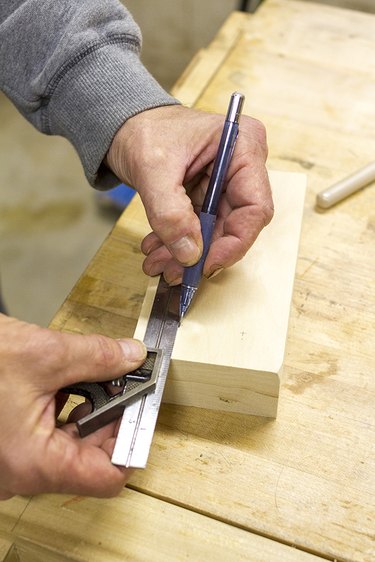
Use a ruler and pencil to measure and mark the holes for each makeup brush on the top plane of the wood block. Mark four holes an equal distance from each other and the edge of the block. Then make a single mark for a larger hole to the other end of the block. This will be for the glass vase.
Step 3: Drill Holes for Brushes

While wearing proper safety attire, drill the small makeup brush holes into the top of the block.
Step 4: Drill Hole for Vase

Outfit the drill press with a 1-inch forstner bit and drill the larger hole for the vase. Sand down any rough edges on the block surface and holes with 120-grit sandpaper.
Step 5: Paint the Block White
Add white acrylic craft paint to a plastic painter's tray and coat the block with a layer of paint using a 2-inch foam paintbrush. Allow the paint to dry to the touch for 30 minutes, and then add a second coat. Allow the final coat to dry for at least three hours.
Step 6: Create a Design With Tape
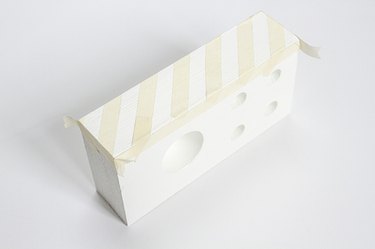
Tear off small pieces of masking tape and add them to the front side of the block in your desired pattern. Be sure to press the tape down firmly on all edges with your fingertips to avoid paint seepage.
Step 7: Paint Your Design
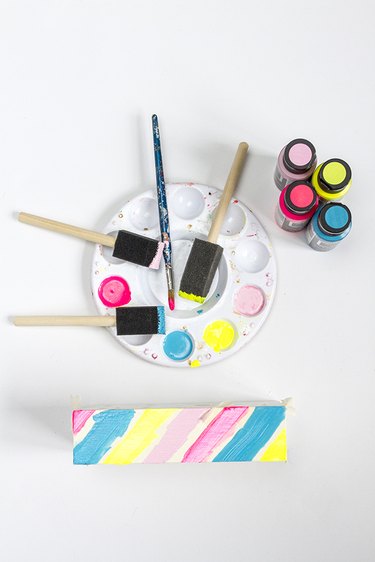
Use a small detail paint brush or 1-inch foam paintbrushes to add color to the block with craft acrylic paint. Allow each coat to dry for 30 minutes and continue adding coats of paint until you can no longer see the white finish beneath the color.
Step 8: Allow the Block to Dry
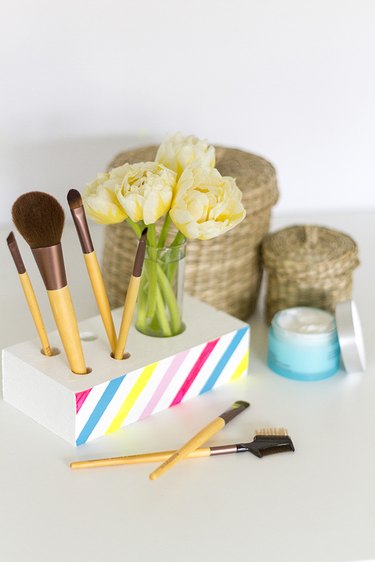
Remove and discard the masking tape immediately before the paint dries, and allow the painted block to dry for at least three hours before handling. Finish by adding makeup brushes and a glass votive vase filled with water and flowers to the respective drilled holes.