Things You'll Need
Scraper
Wire brush
Insect guard
Framing square
Pencil
Tape measure
Adjustable wrench
Miter saw
Top plate sheet metal tie down
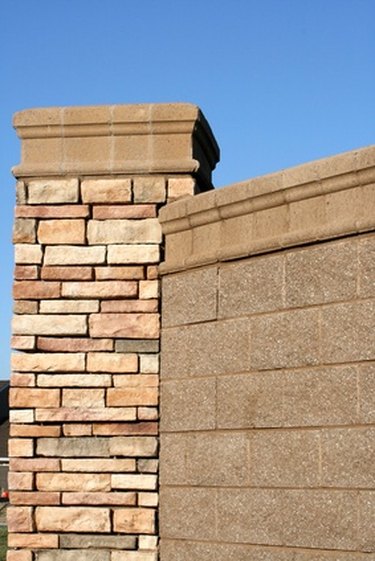
CMU (concrete masonry unit) block is an extremely strong form of construction. There are some requirements that must be taken into account when connecting to wood members. Wind loads are one example of the requirements. The connection between the CMU block and the roof system has to be strong enough to withstand storms with high winds. With the proper installation methods the do it yourself handyman can properly secure a roof to a CMU block wall.
Step 1
Clean off any debris from the top of the CMU block wall. You need a clean flat surface to work from. You may need a scraper to scrape off any concrete that is above the top edge of the CMU block.
Video of the Day
Step 2
Brush off any concrete that may have gotten on the anchor bolts that were placed in the top of the CMU block. A wire brush works great for this step. Remove any nuts as you work your way around the exterior walls.
Step 3
Place a piece of foam insect guard over the top of the CMU block. Roll out the foam so that the edge is even with the out side edge of the CMU block. The insect guard is a thin layer of bubble insulation that goes between the CMU block and the 2-by-6 feet lumber. It fills any small voids between the two keeping insects from being able to enter the house from that point. It also acts as a vapor barrier between the CMU block and the wood that will keep the wood from rotting over time due to the contact. Carefully push it over the anchor bolts as you work your way around the perimeter.
Step 4
Place a 2-by-6 foot piece of lumber on the top of the CMU block with one end flush with the corner. Use a framing square against one side of the first anchor bolt, set the square against the lumber and draw a line against the square locating the one side of the bolt.
Step 5
Measure from the outside edge of the CMU block to the center of the anchor bolt. Mark this dimension on the 2-by-6 top plate on the same side as the bolt. This shows the exact location where you will drill a 5/8-inch hole for the lumber to slip over the anchor bolts. Repeat this step for the remaining anchor bolts for this piece of lumber.
Step 6
Drill a 5/8-inch hole for each mark placed on the top plate. After drilling the holes slip the top plate over the anchor bolts. Add washers and nuts to all the anchor bolts used and tighten with an adjustable wrench. The 5/8-inch hole is slightly larger than the 1/2-inch bolt to allow for slight adjustments of the top plate. The top plate should now be securely attached to the CMU block and even with the outside edge of the CMU block.
Step 7
Repeat step 3 through 6 for the remaining exterior wall top plates. Cut any to length using a miter saw as needed.
Step 8
Place the roof truss in place and attach it to the wood top plate with top plate tie downs. The top plate tie down is a piece of sheet metal that has been twisted so that it can attach to the top plate and the roof framing member. The plate has been pre-drilled so it is easily attached with framing nails. Refer to the architectural plans for specific nailing requirements for your region of the country that are based on your building codes.
Step 9
Repeat for each roof truss and framing member. Refer to the architectural drawings for the spacing and specifications of the roof layout.
Warning
Wear safety equipment when working with power tools.
Video of the Day