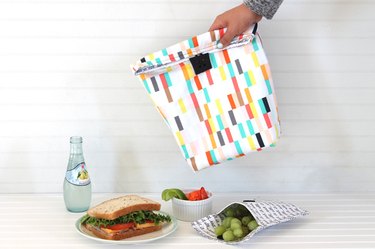
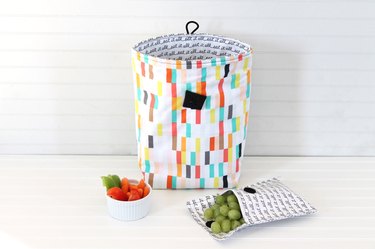
Who doesn't look forward to a lunch break? You get to relax, visit with friends and recharge with great food: it's exactly what we all need in the middle of the day. But, sometimes a crumpled brown paper bag or a sorry canvas sack can put a damper on our slice of afternoon freedom. Ditch those boring excuses for containers and bring some cheer to your noon-time meal with a colorful, insulated lunch bag that you made yourself. Fill it with equally adorable snack bags — which you also created, of course — and totally on-trend eats, and you'll be the talk of the break room.
Video of the Day
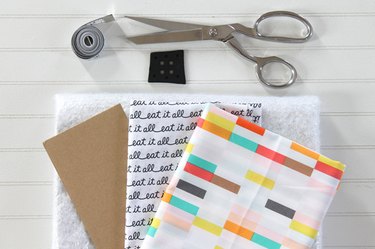
Things You'll Need
[object Object]
[object Object]
[object Object]
[object Object]
[object Object]
[object Object]
[object Object]
[object Object]
[object Object]
Step 1: Cut Your Fabric
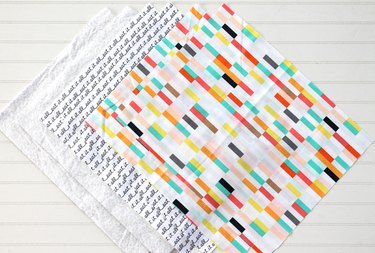
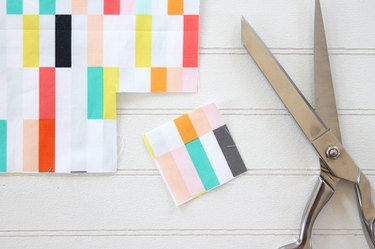
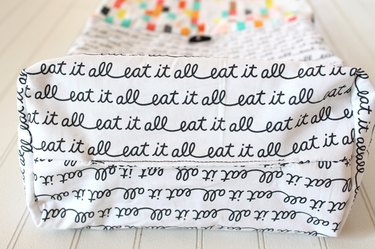
Cut two pieces of the following 12 inch x 15 inch fabrics: a pair for the outer fabric, another pair for the lining fabric and one more pair for the insulated fabric. You should have six pieces in all.
Video of the Day
Step 2: Cut Squares Out of the Bottom Corners
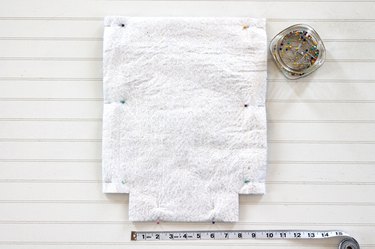
Cut 2-inch squares out of the bottom corners of each piece of fabric.
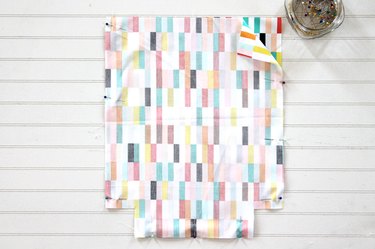
Step 3: Pin the Outer Fabric Together
Place the outer pieces of fabric with their right-sides together. Pin along the sides and the bottom. Leave the top open.
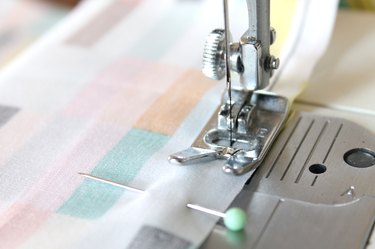
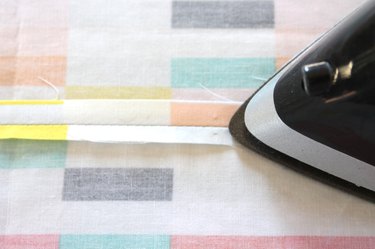
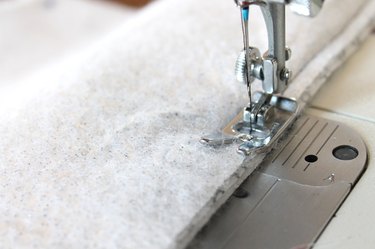
Step 4: Sew a 1/4-Inch Seam and Press
Sew a 1/4-inch seam along the sides and the bottom edge. Be sure to remove the pins as you sew.
Press the seams open with an iron.
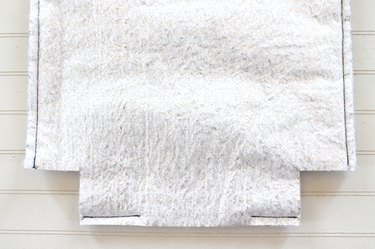
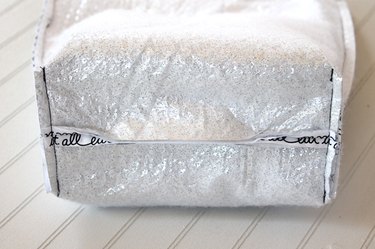
Step 5: Create the Bottom Corners
To make the bottom corners, match the side-seam with the bottom-seam. Pin in place, then stitch across the pin line with a 1/4-inch seam. Be sure to remove the pins as you sew.

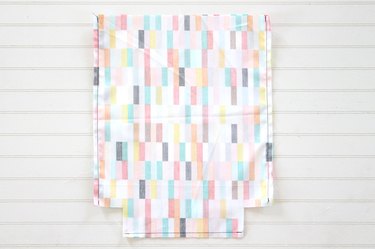
Step 6: Turn the Bag Right-Side Out
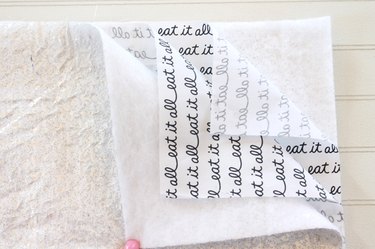
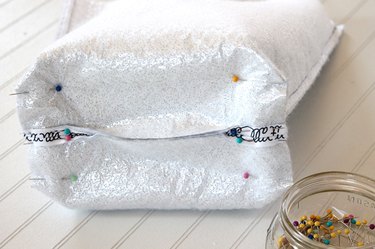
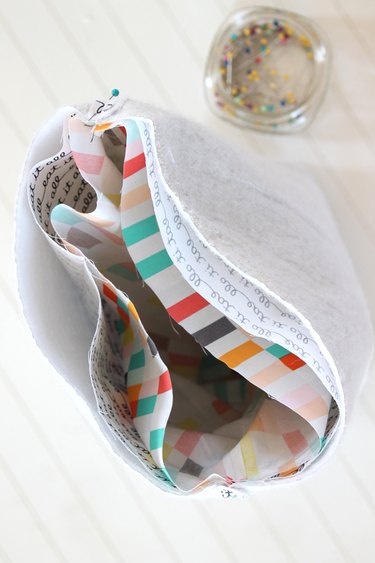
Step 7: Place the Lining and the Insulated Fabric Together
Place the insulated lining on the wrong sides of the lining fabric. The right-sides of the lining fabric will be facing together — there should be four pieces of fabric in all.
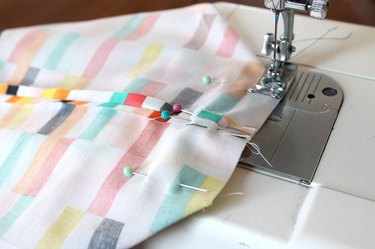
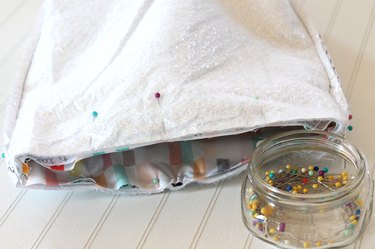
Step 8: Pin and Sew in Place
Pin along the sides and the bottom edges, but leave a 4-inch opening in the bottom of the bag. Sew along the sides and the bottom of the bag, leaving a 4-inch opening in the bottom.
Step 9: Create the Bottom Corners
To make the bottom corners in the lining, match the side seams with the bottom seams and pin in place. Sew a 1/4-inch seam. Be sure to remove the pins as you sew, and then leave this piece inside-out.
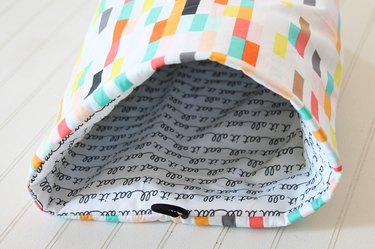
Step 10: Insert the Outer Piece Into the Lining
Insert the outer piece into the lining piece, so the right-sides are together and the insulated fabric is on the outside.
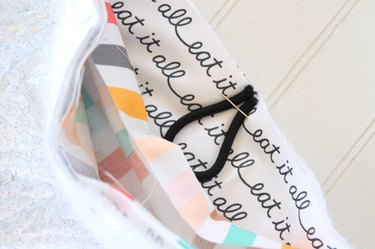
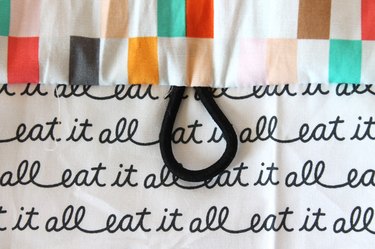
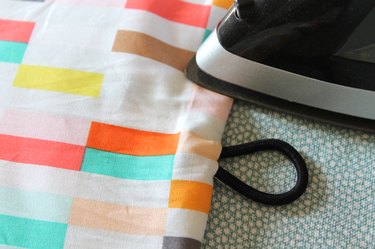
Step 11: Cut an Elastic Hair Band
Cut an elastic hair band down to a 4-inch piece.

Step 12: Fold the Hair Band in Half
Fold the hair band in half and pin it to the top center of the bag, between the lining fabric and the outer fabric. Line up the cut edges of the elastic with the raw edges of the fabric.
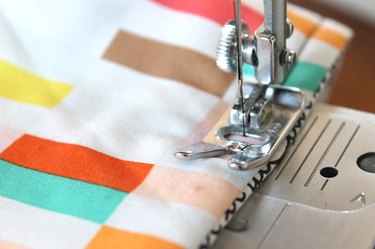
Step 13: Pin and Sew the Top of the Bag
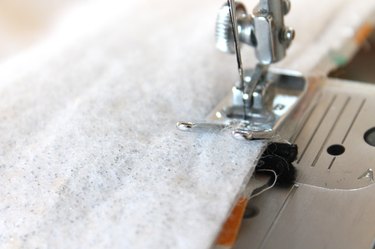
Line up all the raw edges at the top of the bag and pin them in place. Sew around the top edge with a 1/4-inch seam. You'll be sewing right over the ends of the elastic hair band so it's secured in the seam. Be sure to remove the pins as you sew.
Step 14: Turn the Bag Right-Side Out
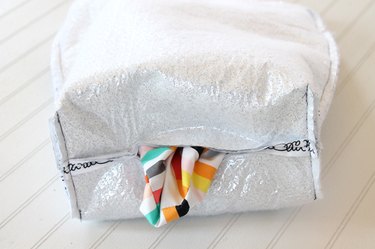
Turn the bag right-side out by pulling the lining fabric through the bottom opening.
Step 15: Sew the Opening Closed
Tuck the raw edges into the opening in the bottom of the bag and sew along the edge to close it.
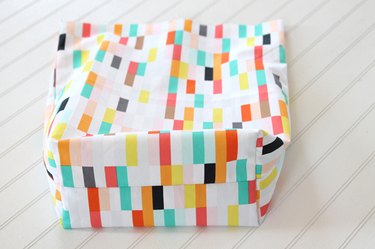
Step 16: Tuck the Lining Into the Bag
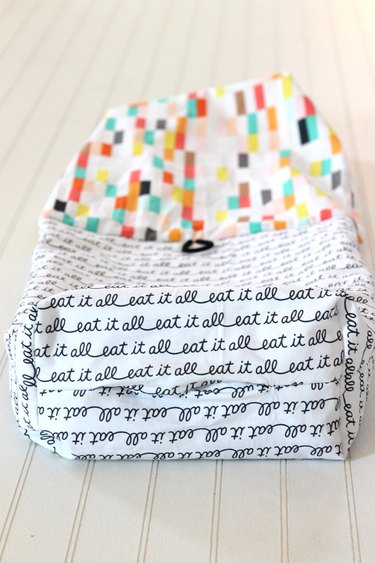
Tuck the lining into the bag and adjust the corners so that they match.
Step 17: Press and Topstitch the Top Edge
Press the top edge with an iron. Then, topstitch 1/4-inch around the top edge to hold the lining in place.
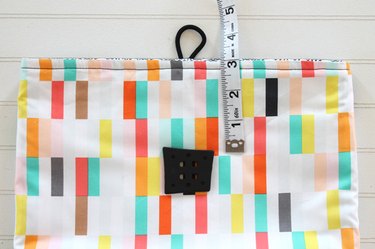
Step 18: Attach the Button
Measure 3 inches from the top of the bag and attach the button in the center.
Step 19: Cut Cardboard Bottom
Cut a 3 3/4-inch piece of heavy cardboard. Then, cut a 5-inch x 9-inch piece of lining fabric. Wrap the fabric around the cardboard and place it into the bottom of the bag to give it structure. This should be removed when you wash the bag.
Step 20: Pack Your Lunch
Fill your bag with a healthy lunch and get ready for loads of compliments from your friends and coworkers!