Things You'll Need
Sewing machine
Walking foot
Thread
Scrap fabric
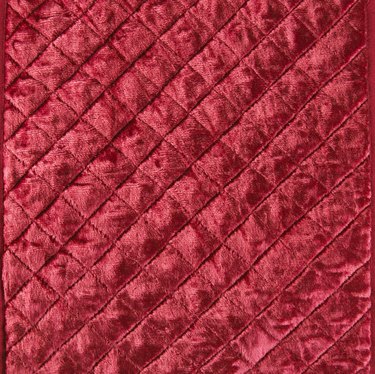
A walking foot is an optional presser foot on many sewing machines. It has "feed dogs" on the foot itself to guide all layers of fabric evenly, keeping the top and bottom in alignment. The walking foot is used to sew plaids and stripes to match the patterns, and to sew through the multiple layers of quilts. When things go awry with these projects and the foot is no longer doing its job, there are ways to check on the walking foot and fix the problem.
Step 1
Check your walking foot and sewing machine to make sure they are compatible. The part number of the matching foot can often be found in your machine's manual. If you do not have your manual, you can find out your machine's shank -- the part the foot is attached to -- by measuring it. Put your normal presser foot on your machine and put it in the down position. Measure from the bed of the machine -- the flat part the fabric goes on -- to the screw hole that holds the presser foot on. If this measurement is one and 1/8 inches, you have a slant shank machine. A low shank machine will measure 3/4 of an inch, and a high shank, 1 and 1/4 inches. Your walking foot must match the appropriate shank or it will not work.
Video of the Day
Step 2
Check the installation of your walking foot. Most walking feet are installed on the screw, rather than the snap-in assembly. Remove the foot that is on your machine. Unscrew the screw on the left side of the foot mount. If your walking foot has a forked piece, this goes around the needle screw on the right. If your walking foot has a bar instead, this goes on top of the needle screw. Once the fork or bar is in place, screw the walking foot in place on the left. When the foot is lowered, it should be flush against the needle plate below it.
Step 3
Choose the straight stitch on your stitch selector. Walking feet cannot be used with zigzag or other sideways or reverse moving stitches. You must use the straight stitch.
Step 4
Use the right speed. Thread your machine and practice on scrap fabric. Walking feet require you to use a slow or medium speed while you work. You cannot sew fast, so press lightly on your foot pedal to moderate the speed, like you are "toeing the gas" in a car. The exception is Bernina; this company makes a walking foot that can be used at faster speeds. Make sure you have this foot and a compatible machine before you start to sew quickly with your walking foot.
Step 5
Sew forward. With the straight stitch selected, you can still sew backwards by holding the backwards lever or turning the needle manually. This is a common way to start and stop stitches to anchor them in the fabric, but do not do this with the walking foot installed, because it will not function correctly.
Video of the Day