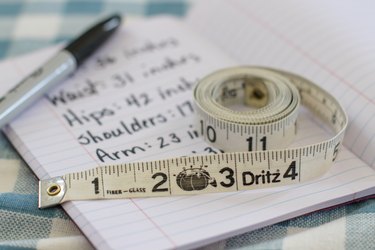
In addition to being a creative hobby, one of the best reasons to sew your own clothing is getting the perfect fit. There's no question that when your clothes fit correctly, they can make you feel and look great. The first step in getting that perfect fit is knowing how to take your measurements, and the good news is that all you need is a tape measure, a piece of paper and a pen.
Video of the Day
It's important to know that just because you wear a size 10 in ready-to-wear clothing, that doesn't mean you'll be able to just go out and buy a size 10 pattern. On the back of a sewing pattern, you'll see a measurement chart to help you find the right size. Be sure to be honest with your body measurements so your garments will fit properly after all of your hard work. If you've never used a sewing pattern before, the articles "Learn to Sew: How to Read a Sewing Pattern" and "Learn to Sew: Choosing Patterns & Fabrics" will give you all the information you'll need to get started.
Video of the Day
To determine which size pattern to choose, most patterns only require that you know your bust, waist and hip measurements. When taking your body measurements, wear tight-fitting clothing, like leggings and a thin T-shirt. Better yet, wear a bra and underwear to get the most accurate measurements.
Knowing how tight to pull the tape measure can be a challenge. Make sure the tape is snug but not digging in. You should barely be able to put a finger behind the tape.
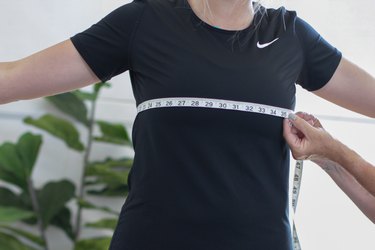
Step 1: Bust Measurement
To measure your bust, place the tape around the fullest part and measure around the entire circumference. Be sure the tape isn't sagging in the back. The tape should be parallel with the floor.
Step 2: Waist Measurement
Measure your waist where your body bends. This will be your natural waistline. Try to stand relaxed and don't try to pull in your belly. You want to get the most accurate measurement so your clothes will fit comfortably.

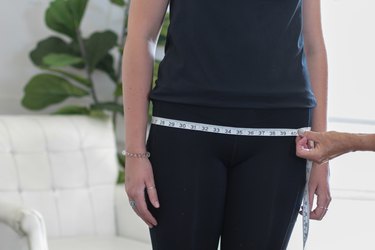
Step 3: Hip Measurement
The hip measurement should be taken at the widest part around your bottom. This will be different for everyone, so you'll have to determine where that is on your body.
Some patterns will require a few other measurements in addition to the bust, waist and hip measurements. If you're drafting your own patterns, you'll want some additional measurements.
Step 4: Arm Length Measurement
The arm length measurement is important if you're sewing something with long sleeves. Be sure to measure from the shoulder to your wrist with your arm bent. This will allow for movement when you sew the sleeve.
Step 5: Bicep Measurement
The bicep measurement is important when sewing a sleeve. Just measure the circumference of your arm directly above your elbow.
Step 6: Wrist Measurement
You'll need the wrist measurement to properly adjust the cuffs. Simply measure the circumference of your wrist where a sleeve would end.
Step 7: Inseam Measurement
If you're sewing trousers, you'll want the measurement of the inside of your leg. You'll basically be measuring from the crotch to the floor. If you plan on wearing heels with your trousers, be sure to add the height of the heel to this measurement.
Armed with these simple measurements, you'll be able to determine the proper pattern size to buy so you can create the garments of your dreams.