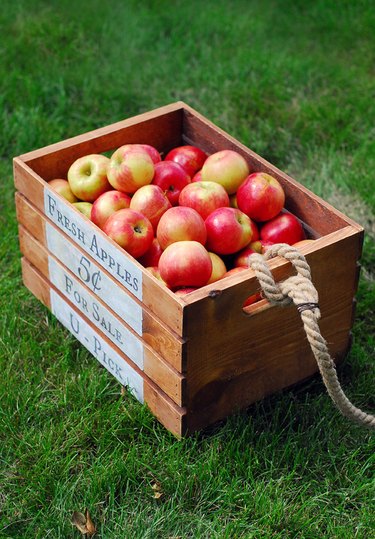
My favorite season is autumn! In Minnesota, we wait for it all year. So far, we have had gorgeous weather and have been spending as much time as we can outdoors. One of the things we always do in the fall is visit an apple orchard. I thought it would be fun to take a plain wooden crate from the craft store and turn it into an apple cart with wheels and a rope handle.

Video of the Day
Things You'll Need
Sandpaper
Tack cloth
Wood stain
Cloth rag
Rubber gloves
Paper trimmer
Decoupage glue
Paintbrush
Caster wheels
Screws, nuts and washers
Drill
Rope
Super glue
Thin, flexible wire
Wire cutter
Tip
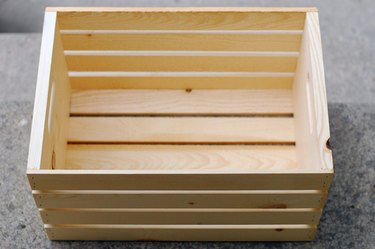
These plain wood crates are sold at craft stores and even some of the “big box” stores.
Step 1
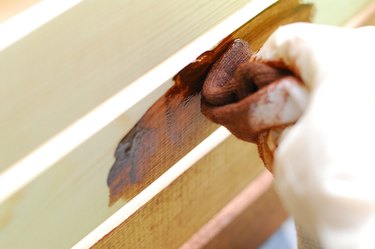
Start by sanding and wiping down the box, if necessary. With the rubber gloves on for protection, use the cloth rag to apply stain. I used a dark stain called teak natural. Follow all of the instructions on the stain container, especially the safety instructions.
Video of the Day
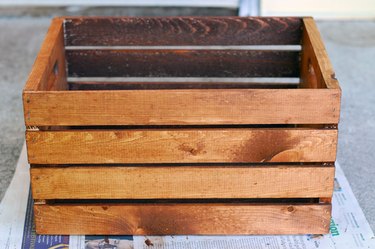
Allow the stain to dry.
Step 2
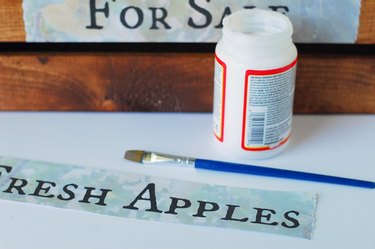
You can leave the crate as-is, or you can add some words or decoration. I made a printable with words that I cut into strips. You can download the printables here: Fresh Apples Printable and U-Pick Printable.
Measure the width of the crate's slats. Cut the paper into strips of the same width, with the words centered vertically. I tore the ends of each strip to give them a worn look.
Step 3
Use decoupage glue to adhere them to the box. Allow the glue to dry completely, and then sand the paper to make it look worn.
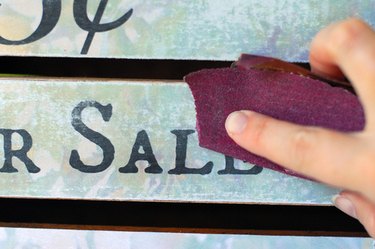
Here is how it looks before and after sanding. The "for sale" paper in the middle has been sanded, and the "u-pick" paper at the bottom has not. Apply a top layer of decoupage glue for durability, if desired.

Step 4
Attach caster wheels with screws, nuts and washers. Start by marking where you need the holes to be, and then drill holes before attaching the caster wheels. I put swivel casters on the front of the crate and straight casters on the back.

Step 5
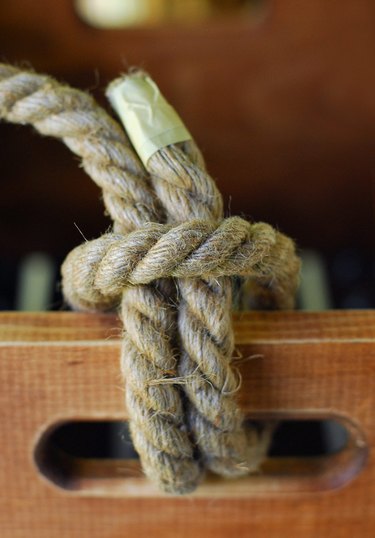
Make a loop in one end of the rope, put it through the handle and pull the rope ends back through the loop. You should have one short end and one long end.
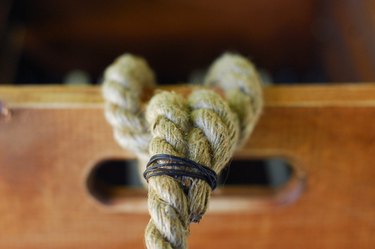
Glue the short rope end to the long rope end. Secure with a piece of thin, flexible wire for added security. Apply additional glue to the other end of the rope handle to keep it from fraying, or tie it in a knot.
Step 6
Fill the crate with apples, or use it as a decorative storage bin in your house. We have a crate that is similar to this by our front door. It's used for hats, mittens and scarves in the winter, and during the summer months, it holds ball caps and gardening gloves.