Things You'll Need
Construction paper
Colored pencils
Craft glue
Lid of plastic container
Craft feathers
Acrylic or finger paint
Foil gift wrap
Tissue paper
Black beads or craft eye beads
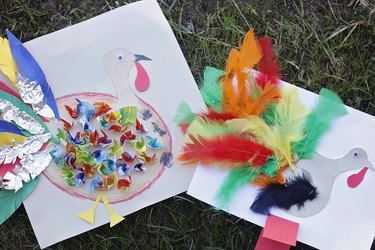
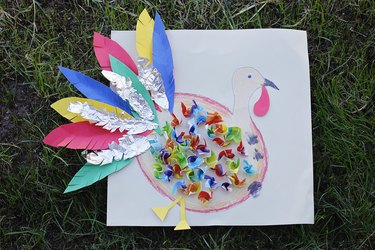
Turkeys are a favorite decoration for Thanksgiving crafts. Children love to decorate construction paper turkeys and then proudly display them on walls, doors, windows or the holiday table. A colorful display of paper turkeys can be whimsical or more realistic. You can also make paper turkeys to put on the fronts of greeting cards and mail the cards -- and your colorful turkeys -- to friends and family.
Paper Turkey
Step 1
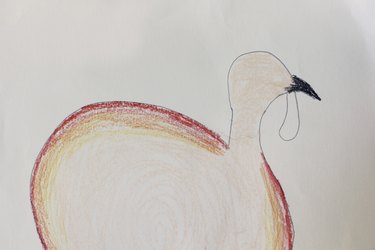
Color a detailed line drawing of a turkey with colored pencils.
Video of the Day
Step 2
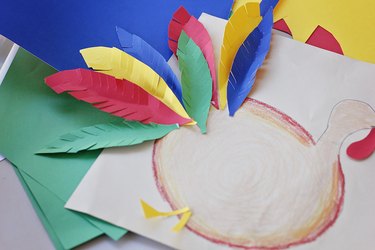
Cut feathers out of colored construction paper and glue them to the line drawing of a turkey. Cut the legs and feet out of a yellow piece of paper. Cut out a wattle from red construction paper. Glue everything to the construction paper turkey.
Step 3
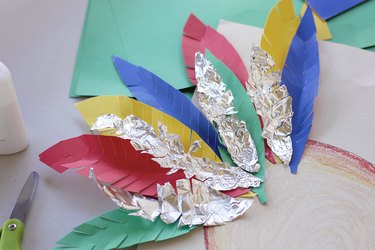
Cut more feathers out of colored foil wrapping paper that has been saved for recycling. Layer these all over the turkey's tail.
Step 4
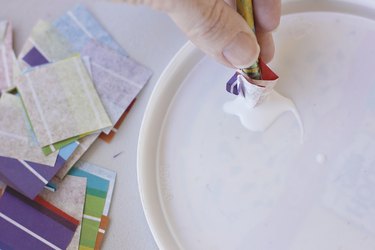
Cut out dozens of 1-inch squares of colored tissue paper. Squirt on to the plastic container lid. Place a pencil eraser end on the center of one of the squares. Wrap the square up around the eraser and dip the tissue wrapped eraser in to the glue. Place the glued tissue against the construction paper turkey, then twist the pencil and pull it up, leaving the tissue glued in place. Continue to fill the turkey body with fluffs of tissue.
Step 5
Squirt acrylic or finger paint onto a paper plate. Have your children press their thumbs into the paint and then place their thumbs on the the construction paper turkey to leave a colored thumbprint. Continue until the turkey is filled in.
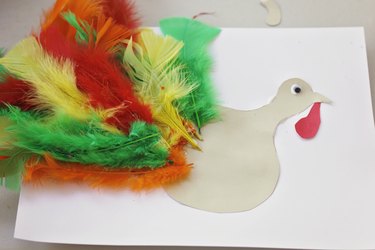
Feathered Turkey
Step 1
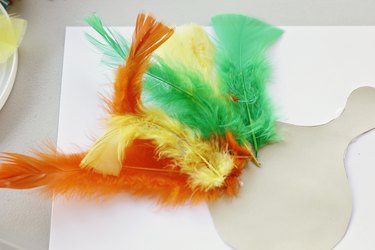
Glue a layer of either brown, yellow, orange or green craft feathers on to the end of the tail. Make sure to keep the glue on the quill and center of the craft feather.
Step 2
Add a second layer of feathers. The top of the second layer should cover the bottom and quill ends of the first layer.
Step 3
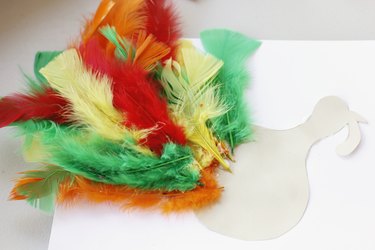
Continue gluing layers of feathers until the entire tail is covered with a rainbow of color.
Step 4
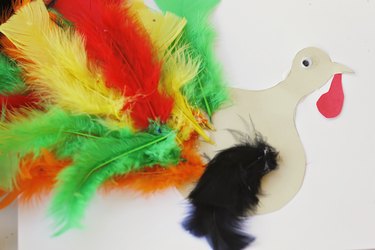
Glue brown feathers from the shoulder to the ground for the turkey's wings. Glue beads to the turkey for his eyes.
Step 5
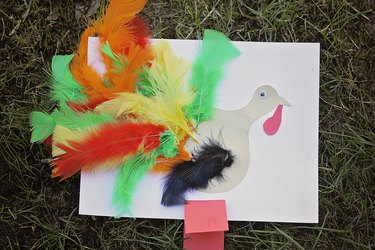
Cut two 1- to 2-inch vertical slits in the bottom of the turkey. Cut out a 5-inch long, 1- to 2-inch wide piece of construction paper. Fold it in half to make a V. Slide the ends of the V shaped paper into the slits to make a stand for the turkey.
Video of the Day