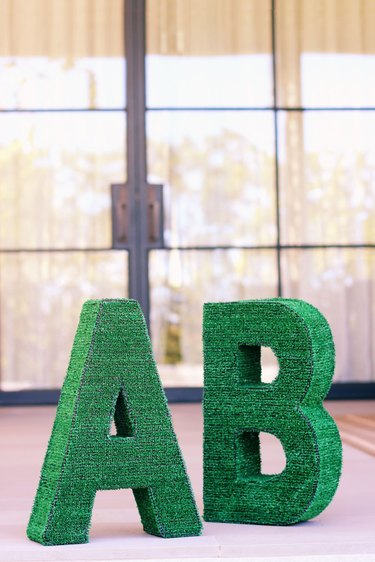
Monograms are one of the hottest trends in home décor. It's personalization with a twist, as the monogram can be made with a variety of materials to reflect your personality. For a spring vibe, these monograms covered in artificial grass are both stylish and cheerful. And they're constructed with upcycled cardboard boxes—for a truly out of the box decoration.

Video of the Day
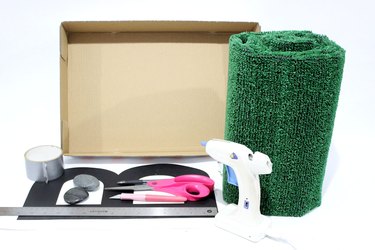
Things You'll Need
Initial letter printed on paper
Scissors
Cardboard
Pen
Hobby knife
Ruler or straight edge
Hot glue gun
Large rock
Duct tape
Artificial grass
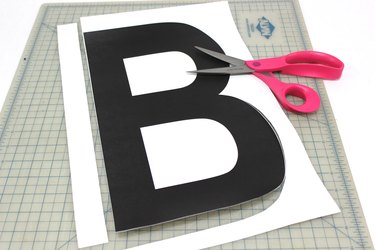
Step 1: Make a Template
With a word processing or graphics program, create an initial letter of your desired size. The one in this example is made to fit an 11-inch by 17-inch piece of paper. Choose a bold font that is sans serif so it it will be easier to work with. Print out the letter, and cut it out with scissors.
Video of the Day
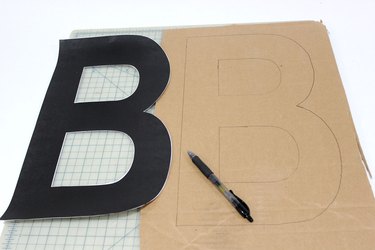
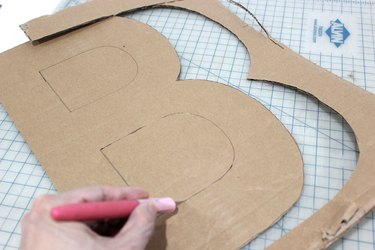
Step 2: Trace on Cardboard
Place the template on a piece of cardboard, and trace the letter with a pen. This is a great use for old boxes, instead of throwing them out or tossing them in the recycling bin.
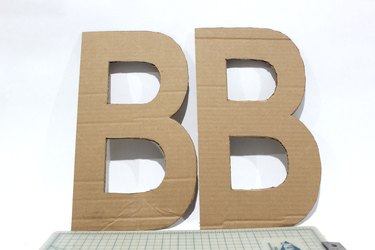
Step 3: Cut Out the Letter
Cut out the letter with a hobby knife, and be sure to have a cutting mat underneath to protect your workspace. Depending on how dexterous you are with a hobby knife, you may prefer to use scissors, especially around curves.
Repeat, and cut out a second letter. You'll need one for the front and one for the back.
Step 4: Cut the Side Pieces
Cut strips of cardboard that will fit around all the inner and outer edges of the letter. How high you make these side pieces will depend on how thick you want your finished monogram. I decided on three inches.
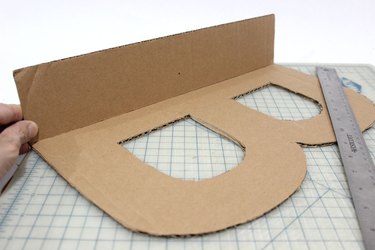
For curved letters, bend the cardboard at the corrugation. Make sure your side pieces are cut with the grooves of the cardboard going crosswise to make these sides flexible. Of course, if your letters have only straight lines, such as As, Es and Xs, this won't be a factor.
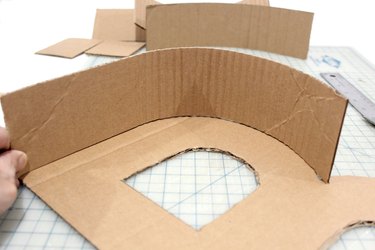
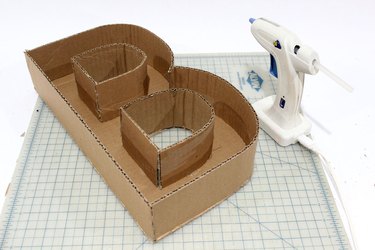
Step 5: Glue the Side Pieces
With a hot glue gun, attach the side pieces to the edges of the monogram letter. They should be attached perpendicularly to the surface of the letter rather than against the side edge, so that the front monogram will fit right on it later. For structural stability, apply hot glue to the corners where the side pieces meet.
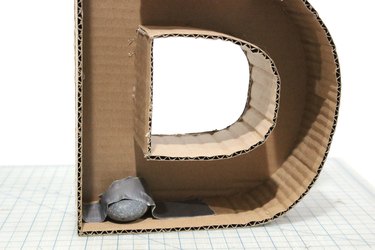
Step 6: Insert a Weight
To help the monogram stay upright, hot glue a rock to the bottom, and secure it with duct tape. Weighting the bottom is particularly useful for top-heavy letters like Y or T.
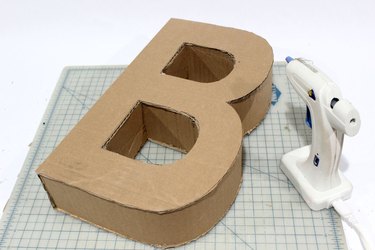
Step 7: Attach the Front
Hot glue the front piece onto the rest of the monogram, applying the hot glue to the edges of the cardboard. The side pieces are still flexible at this point, so adjust them if necessary to line up with the front piece.
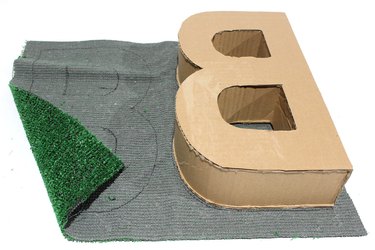
Step 8: Trace on Artificial Grass
Turn a piece of artificial grass over onto its plain side. Pace the monogram on top of the grass, and trace the letter. Flip the monogram over and trace the other side. These will be for the front and back.
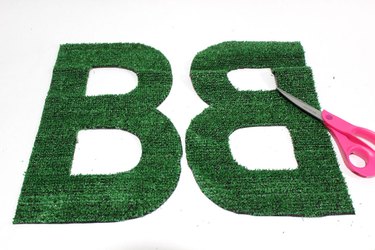
Step 9: Cut Out the Grass Letters
Following where you traced, cut out the letters with scissors. You will have one grass letter that is the correct orientation and one that is backwards. (Symmetrical letters like A and X will look the same either way.)
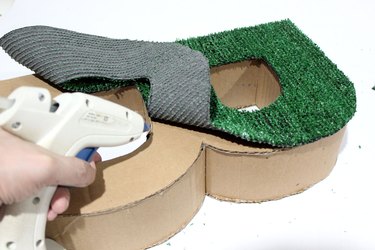
Step 10: Glue the Grass Letters
Attach the grass letters to the cardboard base with a hot glue gun. Hot glue can dry very quickly, so it's best to glue a section at a time rather than attempting to apply hot glue the entire letter all at once. Then glue the "reverse" grass letter on the back.
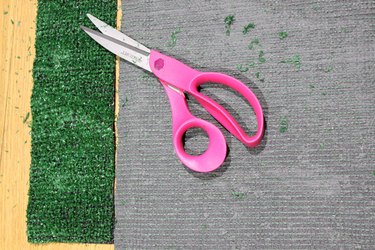
Step 11: Cut Strips of Grass for Sides
Measure how thick your sides are now. They will actually be thicker than the cardboard side pieces you cut because of the addition of the front and back letters. Then cut strips of grass that correspond to this thickness. Mine were about three and a half inches.
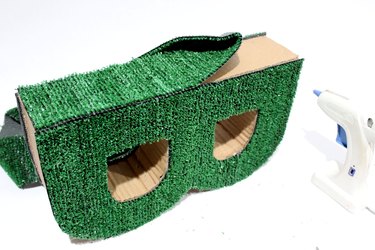
Step 12: Glue the Side Pieces of Grass
Hot glue the strips of grass to the sides of the monogram. Work one side at a time. The artificial grass is very forgiving, so your measurements do not have to be precise to get good coverage over the cardboard. If you come up short, you can always cut a small piece of grass and glue it on.
Display your artificial grass monograms indoors or on a covered porch. They also make great gifts, or even party decor, spelling out names or initials of guests of honor. Everyone will agree, creativity is your turf.