Things You'll Need
Hawthorn tree
Stepladder
Gloves
Branch saw
Sharp knife
Sandpaper
Stain
Paintbrushes
Varnish
Shillelaghs, from the Gaelic meaning "oak club," traditionally come from England, according to the website Irish Culture and Customs. These hardwood battle clubs-cum-walking sticks made their way over to Ireland when England invaded. According to Mother Earth News, England banned weapons from Ireland. In revolt, the Irish adopted the shillelagh as a walking stick and secret resistance weapon. Create your own shillelagh to show your Irish pride or simply as a handy hiking stick.
Step 1
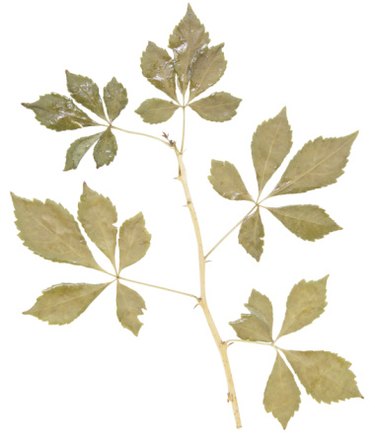
Find a hawthorn tree with many thick branches. Examine the tree until you see a branch that looks heavy and dense with the traditional gnarled straightness of a shillelagh. The branch should be tapered but strong-looking. If you can't find a hawthorn tree, look for oak, ash or holly. All of these woods are traditional.
Video of the Day
Step 2
Put up a stepladder and put on some gloves. You must handle hawthorn trees with care. All American species have thorns on them, as do many European species. Find a space between the thorns and grip it firmly.
Step 3
Saw through the branch with a branch saw, cutting at a particularly knobby section. Shillelaghs traditionally have a very bumpy, clubbed look.
Step 4
Saw away all of the thorns on your shillelagh branch. If necessary, saw it to length, as well. Your shillelagh should come up to your bellybutton.
Step 5
Hold your shillelagh down on a sturdy surface and slice through the bark with a sharp knife. Put the tip of the blade into the slice and peel away the bark.
Step 6
Set your shillelagh in a cool, dry place to dry for about three weeks. This strengthens the shillelagh by letting it become dry and very dense.
Step 7
Sand the shillelagh so the stumps from the thorns and the places you cut are rounded and smooth.
Step 8
Stain your shillelagh if desired. Dark cherry, black hawthorn and walnut are all appropriate choices. Let the stain dry overnight.
Step 9
Varnish your shillelagh with water-based weather sealer. Add about two coats with 2 hours of drying time between them.
Video of the Day