Things You'll Need
Scissors
Drinking straws
Craft glue
Toothpicks
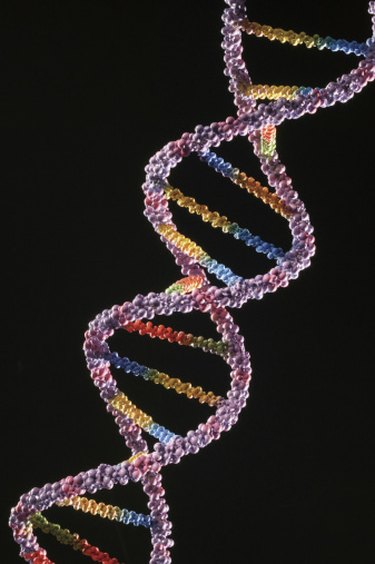
When you are looking for a DNA model to show your students as you teach them about cellular biology, you may feel dismayed by the high cost of scientific models. Instead of spending all of your supply money on a DNA model, you can save money by making a 3D DNA model yourself out of basic craft supplies, such as construction paper. This will allow you to provide your students with a visual display, without breaking the bank to do so.
Step 1
Cut out eight circles from construction paper that each measure 2 inches wide. Cut out two circles from red construction paper, two from green, two from yellow and two from orange.
Video of the Day
Step 2
Apply craft glue onto the end of a drinking straw, and press one of the circles onto the glued end. Hold it in place for two minutes to allow the glue to dry slightly. Repeat with the other side of the drinking straw.
Step 3
Repeat this process until you have four straws with a circle glued onto one end of each straw.
Step 4
Insert a toothpick into the center of one of the drinking straws, then insert the toothpick into the center of one of the other drinking straws. This will connect the two together. Repeat to connect all of the straws together.
Step 5
Twist the straws slightly so that they are spiraling upward like a DNA strand.
Video of the Day