Things You'll Need
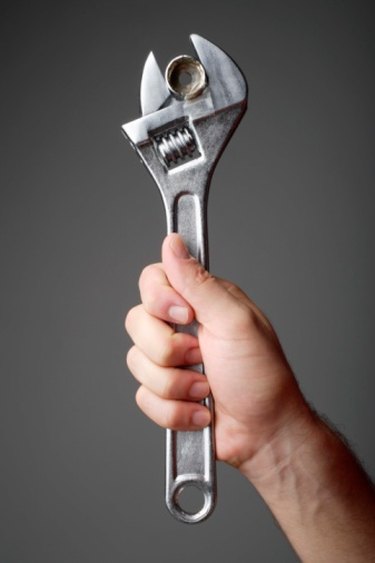
Wrench
Replacement valve
Teflon tape

The safety relief, or pressure release, valve is the one safety feature that every air compressor built in the past few decades has in common. This small, typically 1/2-inch valve is a spring-loaded stopper designed to ensure that the pressure in the compressor can not build up beyond safe levels, which can cause dangerous tank, tool or hose ruptures that can cause serious injuries. The valve is set at a specific pressure setting from the factory and is a closed system with no means for adjustment. The valve springs open at the preset threshold and closes when the pressure falls back below the predetermined safe level. A malfunctioning valve that either opens at a pressure that is not usable or refuses to close must be replaced.
Step 1
Turn off power to the compressor or unplug it. Locate the safety relief valve. They are typically located on the side of the compressor tank or near the top situated to one side of the air outlet. The valve is approximately 1/2 inch across and stands out from the compressor approximately 3/4 of an inch. It will be brass or brass and plastic and typically has a metal ring through it, which is pulled to release pressure. Pull the ring to release any remaining pressure from the tank.
Video of the Day
Step 2
Fit a wrench to the nut on the bottom of the valve and turn it counterclockwise to loosen and remove it. Pull the valve open with the pull ring and examine it for wedged debris. If a stone or sand has caught in the valve, wash it out, replace it and test it for proper operation. If not, move on to replacement.
Step 3
Take the old valve, along with the make, model and capacity of both the compressor motor and the tank, with you to a tool repair shop. Many lawn mower repair shops, rental shops and hardware stores offer tool repair services. Select a valve designed to release at the same pressure as the original to maintain safety.
Step 4
Wrap two turns of Teflon plumber's tape around the threads of the new safety relief valve and insert it into the hole where the original valve was installed. Tighten the valve by hand and snug it down firmly with the wrench, turning it clockwise.
Step 5
Restore power to the compressor. Allow the pressure to build until the compressor stops. If the valve holds, return the compressor to normal use. If the problem persists, consult a tool repair professional or contact the manufacturer for recommendations.
Video of the Day