Things You'll Need
Rubber gloves
Safety goggles
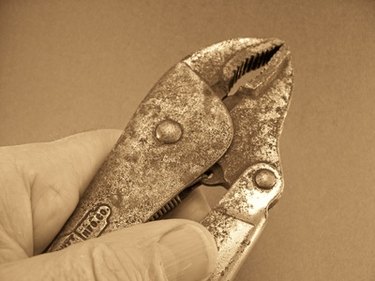
Locking pliers

An air compressor is an extremely utilitarian tool. Through either a gas or electric cylinder, the compressor takes in and pressurizes air. Once the air is captured in the tank at the desired pressure, its release can be controlled, allowing the air pressure to be used to run tools and spray paint. It is best to release the pressure from compressors that will not be used for an extended period. Compressed air causes condensation, which, if allowed to build up, can cause the tank to rust.
Step 1
Turn the compressor off and unplug the power cord. Locate the bleeder valve, typically positioned in the center of the underside of the air tank's belly. This is a small, round valve, with a textured ring around it. This valve is located at the lowest point on the tank so that any built-up condensation can be released, with the air, to dry the compressor out.
Video of the Day
Step 2
Put on rubber gloves and safety goggles to prevent the condensation from blasting your hands and face. It is not dangerous, but it is typically mixed with oil and dirt.
Step 3
Grip the ring on the valve with a pair of locking pliers. Turn the valve counterclockwise with the pliers. Open the valve only a little at first until the pressure lessens. Continue to open the valve more, allowing both air and condensation to release from the tank.
Step 4
Leave the valve open until the condensation stops dripping from the bottom of the tank. Rock the tank, if possible, to determine if there is any remaining condensation. If so, close the valve, recharge the compressor, and open it again, forcing the condensation from the tank.
Video of the Day