Things You'll Need
Drill
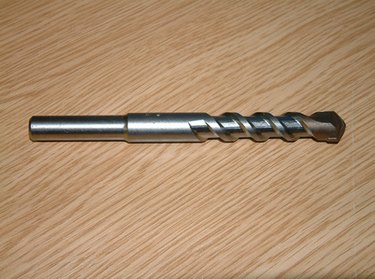
Concrete drill bit
U-bolt, 4 inches by 2.125 inches
2-inch washer
Permanent marker
Some of the larger septic tank lids have handles to assist in removing and installing the lid. If your septic tank lid does not have handles, you can install them to assist when removing the lid. Handles allow give you the ability to grab the lid by hand or the capability to hook a chain to the handles and lift the lid out with a backhoe.
Step 1
Draw a line in the center of the lid from end to end.
Video of the Day
Step 2
Measure 6 inches from one of the edges of the lid straight down the center line.
Step 3
Align the U-bolt so that it straddles the center line with equal distance on each side of the line.
Step 4
Mark the location of the holes by circling the end of the U-bolt on the lid.
Step 5
Drill the holes at the marked area.
Step 6
Measure the thickness of the lid and add 1 inch.
Step 7
Apply a nut to the U-bolt until the length of the threads is the distance measured in the previous step.
Step 8
Add a 2-inch washer to each side of the U-bolt.
Step 9
Insert the U-bolt into the drilled holes on the lid.
Step 10
Add a 2-inch washer and a nut to each side of the U-bolt on the bottom of the lid.
Step 11
Tighten the nut with a wrench and socket.
Step 12
Apply another U-bolt to the opposite side of the lid following the above steps.
Tip
Back out the drill periodically while drilling to remove excess concrete debris from the hole.
Warning
Do not tilt the drill bit while drilling to avoid breaking the bit. Only use stainless steel bolts to avoid corrosion.
Video of the Day