Things You'll Need
Hammer
Utility knife
Screwdriver
WD-40 or silicone spray (optional)

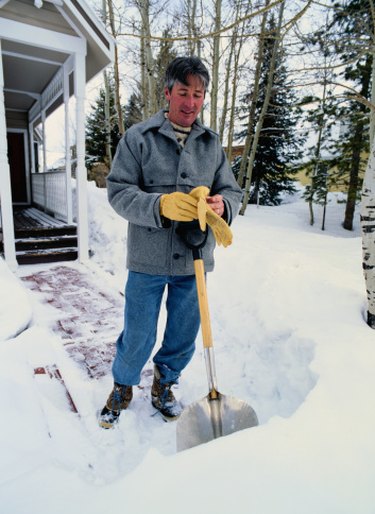
Whether you begrudgingly lament snow removal as a chore or treat it as fun winter activity, you need a functional shovel to get the job done. If last year wore out the head, handle or grip on your shovel, try to repair it before the snow comes on heavy. If you cannot repair it yourself, ask for help or purchase a new shovel: you do not want to risk hurting your spine working with an unfit snow shovel.
Scoop Repair
Step 1
Identify the problem area. Inspect the front edge of the shovel's scoop, which receives the majority of wear and tear, especially in icy conditions.
Video of the Day
Step 2
Smooth the scoop. If you have a bent metal scoop, hammer it straight. Tap at the area gently so that the metal evens out and "pops" into place.
Step 3
For severely bent or indented metal, purchase a new piece of sheet metal. Look for sheet metal about the same thickness from a hardware or garden store. Use a soldering iron to heat and bend the metal. Use another shovel as a model for how the shovel should look when complete.
Step 4
File the plastic scoop. If you have a shovel with a bent plastic scoop, use a utility knife for repairs. File off the rough edge of the shovel.
Step 5
Spray with WD-40 or a silicone spray. To prevent rusting, lightly coat the metal part of scoop and with a oily mist. This will also keep debris such as sticks and rocks from sticking on the shovel.
Handle Repair
Step 1
Inspect the loose handle. Check to see if any screws or bolts connecting the working end of the tool to the handle are loose. If so, fasten them securely with a screwdriver.
Step 2
Tighten a loose handle. Locate the hex head sheet metal screw that connects the handle and scoop. It is a large, six sided metal screw. If the screw fell out and is lost somewhere in the snow, purchase one at a hardware store. Drive the screw through the blade socket and into the handle to securely unite the two.
Step 3
Replace a broken handle if the handle cracked. Find a shaft with the same, or similar, length and width at a hardware or garden store. Remove the securing screws or bolt to disconnect the shovel and shaft.
Step 4
Clean the new wooden handle using a stiff-bristled brush to smooth away nicks or splinters. Give it a final rub with a sheet of medium-grit or stronger sandpaper.
Step 5
Shape the replacement handle, so that the shovel fits securely to new handle, by filing or sanding both ends of the wood handle.
Step 6
Condition the handle. Soak a rag in boiled linseed oil or a similar lubricating and protective agent. Rub the handle gently. Allow the wood to absorb all the oil. Let sit. Repeat this process throughout the winter to prevent wood splintering and drying and cracking caused by cold to warm temperature change.
Video of the Day