Things You'll Need
Wooden clothes hanger
Wire cutters
High-speed rotary tool
Cutting wheel
Electric hand drill
1/16 diameter drill bit
Nylon thread
Scissors
½ inch diameter jump rings
10mm wooden round beads
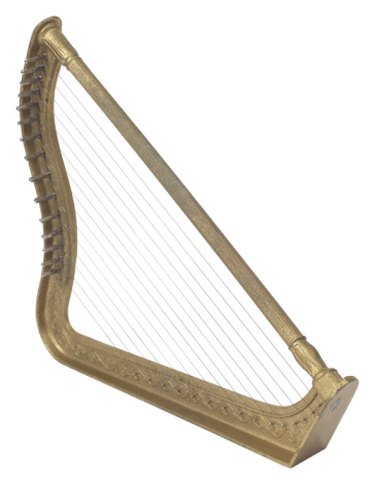
The word "harp" may conjure up images of tall, elaborately carved instruments requiring plenty of muscle and determination to play them. However, harps have been traditional instruments for traveling bards and musicians for centuries. Small lap harps exist in traditional Irish, Scottish and Greek instrument sets. Travelers slung these small harps on their backs and used them to make money on the road. You can emulate these talented travelers by building your own small harp.
Step 1
Place a wooden clothes hanger in front of you with the hook facing you. You can get large packs of these hangers at most department stores or home accessory stores. They should be about 1 inch thick and have heavy curves in the shoulders.
Video of the Day
Step 2
Snip away the hook with wire cutters. Some hangers have hooks that screw in; these you may simply unscrew and discard or save for another project.
Step 3
Cut away the straight crossbar at the bottom of the hanger with a high-speed rotary tool and cutting wheel. If you don't have a rotary tool, you may also use a small saw, like a coping saw. Work slowly and cut the bar as close to the ends of the hanger as possible.
Step 4
Drill three to nine holes straight down through the left arm of the hanger, keeping the drill very straight. Space the holes about ½ inch apart. Repeat on the right arm, checking if the holes are directly across from each other.
Step 5
Cut one piece of nylon thread for each pair of holes. Tie one end of each thread to a ½ inch jump ring (metal ring for jewelry making) and string it down through on of the holes on the left arm.
Step 6
Slip the other end of each thread through the corresponding hole in the hanger's right arm. Slide a 10mm wooden bead onto the other end of each nylon thread, pull the thread tight, and knot it against the end of the bead. Cut away the excess thread.
Step 7
Pluck each string and tune the harp by turning the jump rings. The more you twist, the tighter the threads will become.
Video of the Day