Things You'll Need
Rag
Screwdriver
Utility knife
Adjustable wrench
Pliers

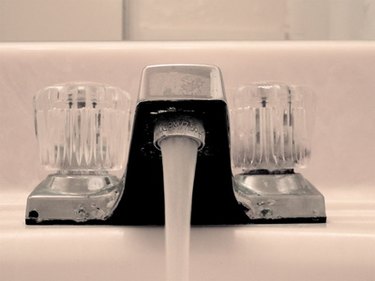
American Standard is a company that manufactures faucets and fixtures for bathrooms and kitchens that are used in many homes. If your American Standard faucet is leaking, replacing the faucet cartridge can solve the problem. This is a fairly simple repair for a do-it-yourself homeowner and can help save water and prevent water damage from occurring.
Step 1
Shut off the water flowing to the faucet. Check under the sink to see if there is a valve there; if there is, shut the water off at that valve. If there is no valve under the sink, shut off the water main where it comes into your house.
Video of the Day
Step 2
Turn on the faucet to drain water from the pipes, then cover the drain with a rag to prevent any parts from falling down the drain.
Step 3
Pry off the plastic cover on top of the faucet with a screwdriver or utility knife.
Step 4
Remove the screw holding the handle in place, then remove the handle. If the handle is on tight, wiggle it around to loosen it then lift it up.
Step 5
Unscrew and remove the retaining nut with an adjustable wrench.
Step 6
Grab the stem of the cartridge with a pair of pliers and pull it straight up and out of the fixture.
Step 7
Install the new cartridge into the faucet.
Step 8
Reassemble the faucet by reversing the steps you took to disassemble it.
Step 9
Reopen the valve to the faucet and turn the faucet on, checking for leaks.
Video of the Day