Things You'll Need
Silicone Plastique Part A
Silicone Plastique Part B
Mold release
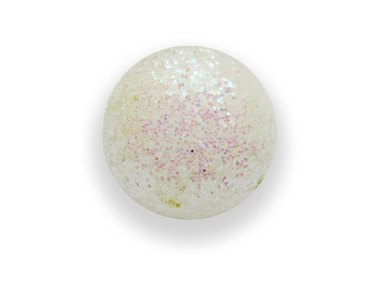
Sphere model
4 wooden craft balls
Rubber band
X-acto knife

Molds, which are template forms for casting multiple identical copies of the mold design, can be created in many different ways. Some popular methods of mold making are creating one-part molds, two-part molds and three part molds. Most molds are made from a liquid material, which must be poured into a mold box or painted onto the model you would like to copy, but you can also shape a flexible solid material directly on your model. To use this type of mold on a sphere, you will be making a two-part mold.
Step 1
Open your containers of Silicone Plastique Parts A and B. Mix each part together in equal amounts, kneading the material like clay. Continue mixing until the colors blend into each other evenly.
Video of the Day
Step 2
Coat your sphere model with mold release, so that the silicone material does not stick permanently to the model.
Step 3
Apply the material to the bottom half of the sphere model, forming it around the bottom of the sphere. You can cover the model with a thin layer of silicone, so that the outside of the mold is spherical, or you can make a thicker, sturdier mold by packing on more silicone, so that the outside of the mold is square. A square mold will be able to stand up on its own.
Step 4
Push any of the excess material up to the middle of the sphere and form a "ledge" there that sticks out away from the sphere, if you have not made a square-shaped mold. Press wooden craft balls into the top of the ledge, so that you will create keying impressions in your mold.
Step 5
Strap the mold half to the model sphere, using a rubber band. Let the mold sit for one hour to cure.
Step 6
Remove the rubber band and wooden craft balls. Coat the top of the mold half with mold release.
Step 7
Make another mixture of Silicone Plastique. Form the mixture over the top of the sphere model, matching the bottom half. Let the mold sit for one hour.
Step 8
Pull the mold halves apart and remove the sphere model. Place the mold halves back together, matching the keying impressions. Wrap a rubber band around the mold to hold it together.
Step 9
Take an X-acto knife or craft knife and cut a small hole in the top of the mold, through which you can pour your casting material.
Video of the Day