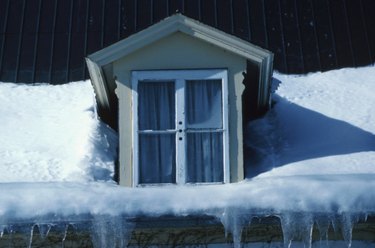
If you live where it snows heavily, you know about the need for a roof rake. The accumulation of snow on a roof can get dangerously heavy. Also, the constant partial thawing during the day and refreezing at night causes "ice dams" along the edge of the roof. These dams can prevent melted snow from running off the roof, instead backing it up under the shingles. This can cause a great deal of damage to your roof and even your ceiling. To solve the problem, you need a roof rake, and it's relatively easy to make your own.
Video of the Day
Things You'll Need
Small Crescent Wrench
3 Bolts, 2 1/2 Inches, With Lock Washers And Nuts
C-Clamp
2 Angle Brackets, 4 Inches
Felt-Tip Marker
Pliers
Aluminum Pole, At Least 15 Feet Long
1/8-Inch Thick Metal Plate, 6 1/2 Inches By 22 Inches
6 Bolts, 3/4 Inch, With Lock Washers And Nuts
Power Drill And Drill Bit
Sharpie
Step 1
Attach the two 4-inch angle brackets to the end of your aluminum pole. Position a bracket on each side of the pole, with the holes in the brackets lined up. The angled part of each bracket should be positions at 90 degrees to the end of the pole, forming a sort of "T" shape. Secure the brackets to the pole with the C-clamp.
Video of the Day
Step 2
Drill straight through the aluminum handle, through one bracket hole to the hole on the other side, using your power drill. Repeat the procedure for all the holes in the angle bracket.
Step 3
Insert your 2 1/2-inch bolts straight through the holes you drilled. Slip the matching lock washers, then the nuts, over each bolt. Tighten the nuts firmly with the pliers and crescent wrench to secure the brackets to the end of the aluminum pole. Remove the C-clamp and set it aside.
Step 4
Center your 1/8-inch-thick metal plate on the "T" portion of the angle brackets. The angle brackets should be parallel with the top and bottom of your metal plate. Mark the position of the holes in the "Ts" of the angle brackets, using a felt-tip marker.
Step 5
Drill holes through the metal plate at the marks you made.
Step 6
Align the holes in the metal plate with the holes in the angle brackets. Insert a 3/4-inch bolt in each hole. Slip a matching lock washer and nut on each bolt. Complete the construction of your roof rake by tightening the nuts with your crescent wrench and pliers, securing the metal plate to the angle brackets.
Warning
Be careful when moving the rake that you to not touch any electrical wires around your home. If using a ladder to help rake your roof, have a partner hold the ladder steady. Don't pound your roof rake on the roof, or you could damage the shingles.