
If you love thinking up new ways to wrap presents to make them extra special, these handmade gift tags are easy to make and add the perfect finishing touch to your gift wrap. The tags are great for the holiday season but can also be made for birthdays and other celebrations. I'll show you how to make them in a few simple steps.
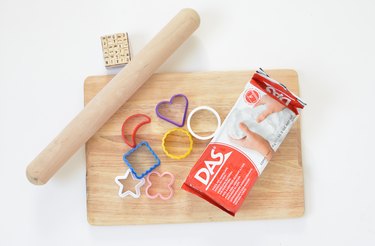
Things You'll Need
Air dry clay
Rolling pin
Cookie cutters
Alphabet rubber stamps
Video of the Day
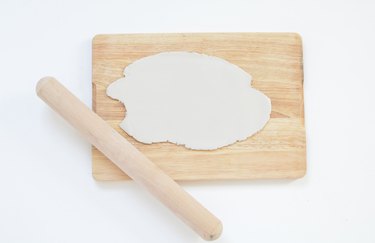
1. Roll out the clay
Roll out the air dry clay to a thickness of approximately 1/8 inch.
Video of the Day
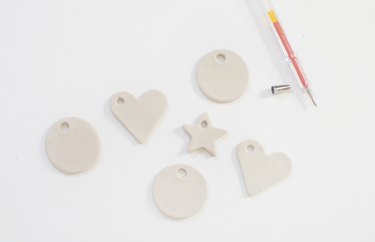
2. Cut the shapes
Cut out shapes using the cookie cutters. As you can see, I've used a variety of shapes for my gift tags!

3. Make holes for ties
Next, cut a small hole in each gift tag to thread string or ribbon through. I've used a pen lid to cut mine but you could use a craft knife to make the hole.
Press the rubber alphabet stamps firmly into the clay to stamp the words. Because you can personalize them, they make the perfect gift toppers all year round!
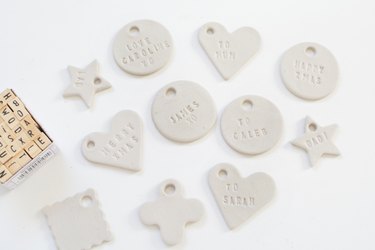
Leave the tags to dry for 1 to 2 days, then tie them onto your gifts using string or ribbon.
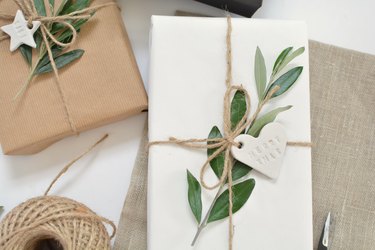
There you have it! A chic and modern update for your presents that will make your friends and family feel extra cherished this year!